Diese Anleitung enthält neuere Änderungen. Wechsel zur neuesten unüberprüften Version.
Einleitung
This guide will show you how to disassemble the back and side panel of the printer.
Was du brauchst
-
-
Remove the following two Phillips screws:
-
Two 7.85 mm Phillips #1 screws
-
-
-
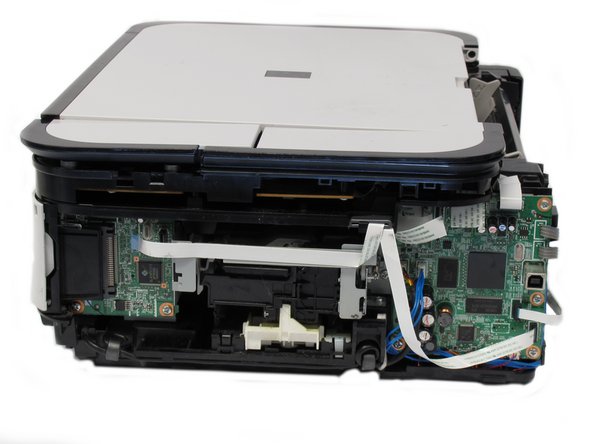
Pull the back cover off by lifting up on the cover.
"quite a bit of force" is almost an understatement, I found 2 clips along the bottom of that rear piece, one at the far left one around the middle (indicated by an arrow on the underside of the machine) - undoing these required much persistence with a screwdriver
Thank you, Perhaps Fuzz. Thank you.
-
-
-
-
After opening up the scanner compartment, make sure the blue lever locks into place, keeping the compartment open.
-
-
-
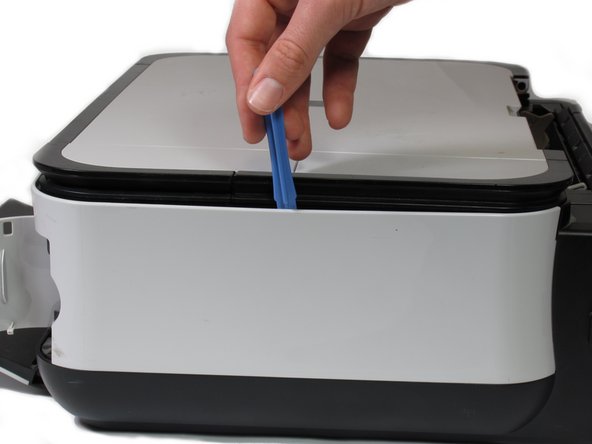
Push the blue lever back while twisting it clockwise in order to remove the lever from its slot.
-
After removing the lever, close the scanner compartment and the scanner cover.
-
-
-
Flip the printer so that you are facing the underside.
-
Use the plastic opening tool to remove the corner of the side panel from the pin.
-
Plastic pin.
-
-
-
Using the plastic opening tool, remove the side panel by loosening it from the bottom of the printer.
-


To reassemble your device, follow these instructions in reverse order.
To reassemble your device, follow these instructions in reverse order.
Rückgängig: Ich habe diese Anleitung nicht absolviert.
6 weitere Nutzer:innen haben diese Anleitung absolviert.
Team

Cal Poly, Team 19-41, Regan Winter 2013 Mitglied von Cal Poly, Team 19-41, Regan Winter 2013
CPSU-REGAN-W13S19G41
4 Mitglieder
6 Anleitungen geschrieben
2 Kommentare
Good job!!!!
Where is the rest of disassembly?