Einleitung
This guide shows how to fully disassemble a Garmin Nuvi 1200 to replace the logic board.
Was du brauchst
-
-
Remove to sticker on the back of the unit and then remove the two T5 scremws once this is done use a spudger to carefully pry off the silver cover.
-
Once the tool is inserted it can slide around the entire device.
-
-
-
-
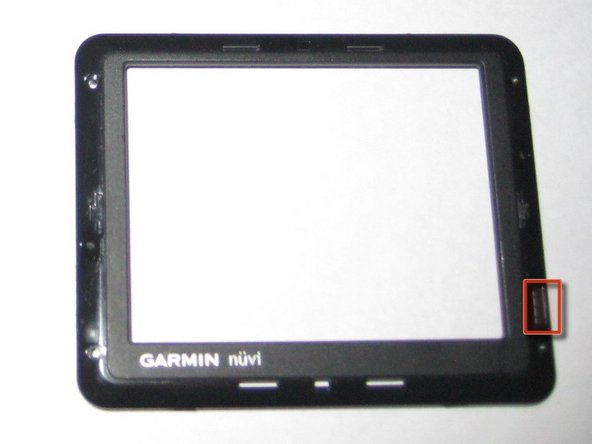
Lift cover off of unit.
-
Be careful not to lose small rubber piece on the bottom right corner.
-
-
-
Gently lift the logic board out of the unit
-
Be careful not to damage the battery connector on the top of the unit.
-


To reassemble your device, follow these instructions in reverse order.
To reassemble your device, follow these instructions in reverse order.
Rückgängig: Ich habe diese Anleitung nicht absolviert.
6 weitere Nutzer:innen haben diese Anleitung absolviert.
