Diese Version enthält möglicherweise inkorrekte Änderungen. Wechsle zur letzten geprüften Version.
Was du brauchst
-
Dieser Schritt ist noch nicht übersetzt. Hilf mit, ihn zu übersetzen!
-
Turn the phone over to expose the battery cover.
-
Apply pressure to the back of the battery cover to slide it down.
-
The battery cover is now separate from the phone.
-
-
Dieser Schritt ist noch nicht übersetzt. Hilf mit, ihn zu übersetzen!
-
Remove the battery by pushing it up and out from the bottom.
-
The battery, cover, and phone should now be separated.
-
-
Dieser Schritt ist noch nicht übersetzt. Hilf mit, ihn zu übersetzen!
-
Remove the four screws with the Y0 screwdriver.
-
-
-
Dieser Schritt ist noch nicht übersetzt. Hilf mit, ihn zu übersetzen!
-
Remove the black, rubber screw caps towards the top of the back of the phone to reveal two additional screws.
-
Remove the two screws with a Y0 screwdriver.
-
-
Dieser Schritt ist noch nicht übersetzt. Hilf mit, ihn zu übersetzen!
-
Rotate the phone 180 degrees.
-
Carefully separate the back plate from the remainder of the phone.
-
The back plate should now be detached from the rest of the phone.
-
-
Dieser Schritt ist noch nicht übersetzt. Hilf mit, ihn zu übersetzen!
-
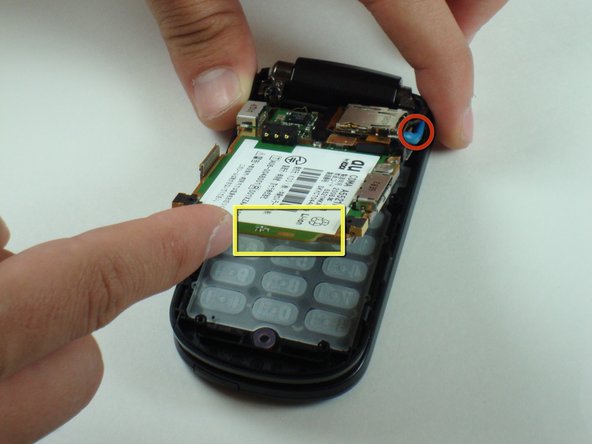
Lift up the bottom of the logic board.
-
Carefully remove the logic board from the lower half of the phone.
-
-
Dieser Schritt ist noch nicht übersetzt. Hilf mit, ihn zu übersetzen!
-
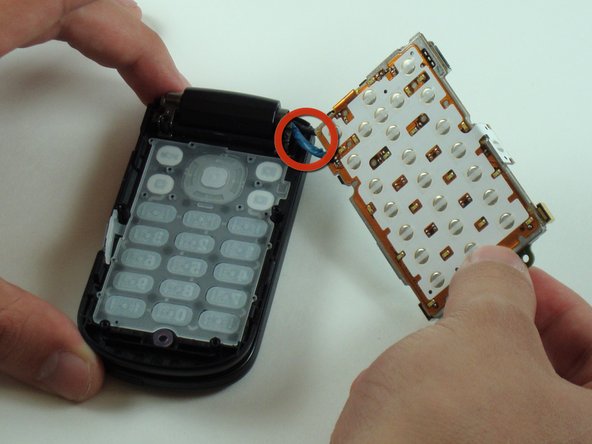
Gently lift the keyboard up with a spudger.
-
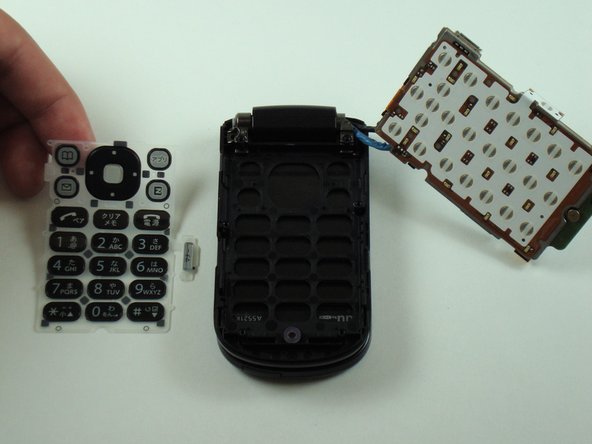
The keyboard is now separate from the remainder of the phone and can be easily removed.
-


Team

Cal Poly, Team 28-25, Regan Spring 2010 Mitglied von Cal Poly, Team 28-25, Regan Spring 2010
CPSU-REGAN-S10S28G25
4 Mitglieder
20 Anleitungen geschrieben