Diese Anleitung enthält neuere Änderungen. Wechsel zur neuesten unüberprüften Version.
Einleitung
The guide is designed specifically for the LG Vortex phone. This guide gives detailed instructions on the removal of the back case and the face from the frame.
Was du brauchst
-
-
Power the phone off
-
The power button is located on top of the phone
-
-
-
Find the two thumbnail ridges on the side and top of the phone.
-
One is next to the micro SD slot and the other at the top of the phone
-
Once the ridges are located, use the blue plastic opening tool to pry the back cover away from the rest of the phone.
-
Remove the back cover and set it to the side.
-
-
-
-
Remove the battery using the blue plastic opening tool.
-
There is a small thumbnail ridge at the top left corner of the battery for ease of removal.
-
Put the battery aside.
-
-
-
NOTE: All screws are the same size
-
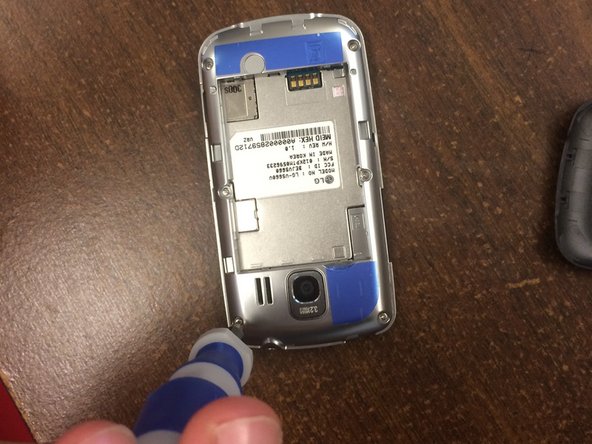
Use the precision screwdriver head #00 to remove the 6 screws along the edges of the phone.
-
There are 2 screws at the top in each corner, 2 in the middle on the sides, and 2 in the bottom corners.
-
Place the screws in the small container to ensure they aren't lost.
Can you tell me who I or how to get the part that I need?
Hey it's the guy who has the V22 Vortex.That needs the chargring housing. I asked if anyone could possibly steer me in the right direction,as to where and how to get the part.But I know Just thought you AhFuck you.
-
-
-
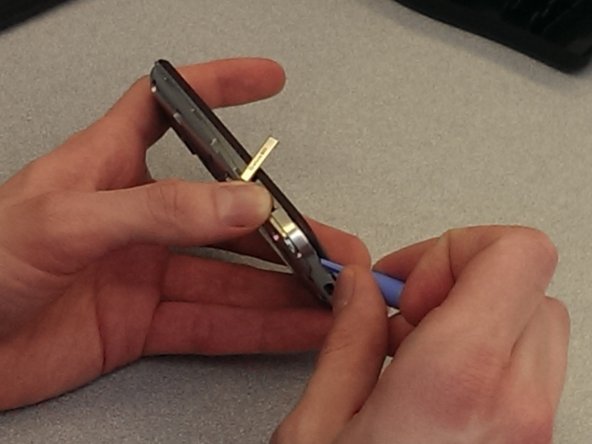
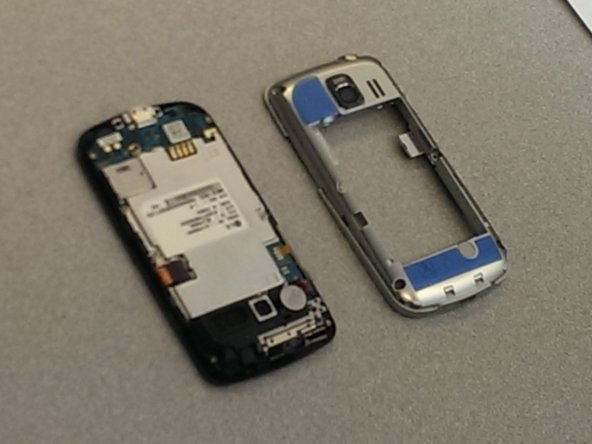
Use the blue plastic opening tool to remove the back frame from the rest of the phone.
-
Pry at the micro SD slot. Push the cover for the SD slot away from the front of the phone and pry the back frame away from the rest of the phone.
-
Pry your way around the entire phone to separate the face from the frame.
ModelV22 Vortex. I need the charging port hole assembly.
Ok I have aV22 Vortex.Or should I say.I need the charging plug in assembly.C charger port.I'm sure I didn't say that right.But if needed I will send a picture of it.
-
To reassemble your device, follow these instructions in reverse order.
To reassemble your device, follow these instructions in reverse order.
Rückgängig: Ich habe diese Anleitung nicht absolviert.
2 weitere Nutzer:innen haben diese Anleitung absolviert.


