Einleitung
If you need to take apart the entire LG420G phone, follow this disassembly guide. You may need this guide to access internal components or investigate potential problems that are occurring with your phone.
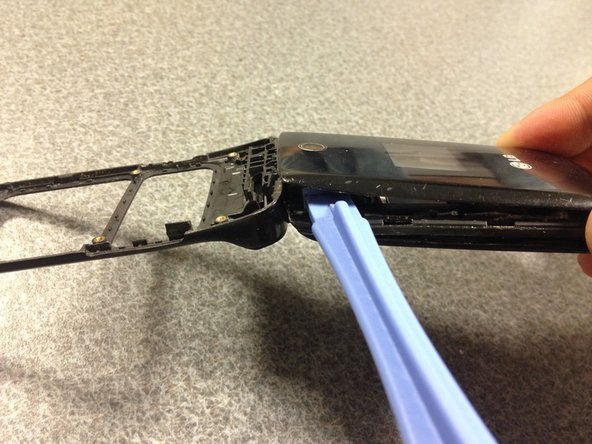
Make sure that the phone is powered off before you begin. One thing to note is that some of the components are glued down at points of the disassembly so you may want to use an iOpener to loosen the glue and make the process easier.
Was du brauchst
-
-
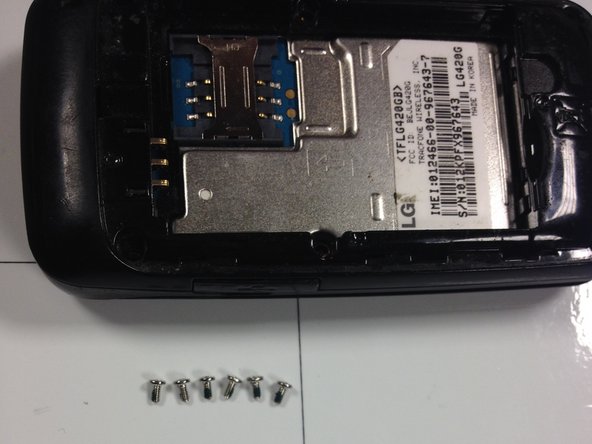
Start with the back of the phone (the battery and cover has already been taken out.)
-
-
-
-
Remove all loose part, and should result in the components shown in the picture.
-


To reassemble your device, follow these instructions in reverse order.
To reassemble your device, follow these instructions in reverse order.
Rückgängig: Ich habe diese Anleitung nicht absolviert.
2 weitere Nutzer:innen haben diese Anleitung absolviert.
Team

University of Maryland, Team 1-6, Calloway Spring 2014 Mitglied von University of Maryland, Team 1-6, Calloway Spring 2014
UMD-CALLOWAY-S14S1G6
1 Mitglied
1 Anleitung geschrieben