Einleitung
How to disassemble the inside of your Nokia 1100b RH-36 to access the inner components.
Was du brauchst
-
-
Flip the phone over so that the screen faces down.
-
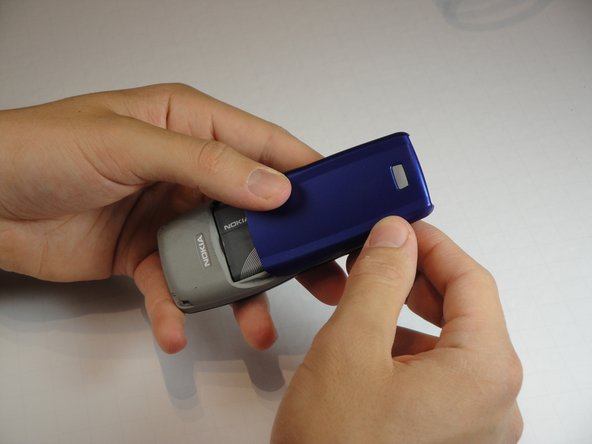
Press the gray button on the battery cover and slide it down off the back of the phone.
-
-
-
Wedge the flat end of the spudger into the small indent next to the Nokia logo on the battery.
-
Gently pry the battery out of the phone.
-
-
-
-
Firmly grip the back of the casing.
-
Separate the front and back casings either by pulling them apart from the middle or gently prying the front off with your fingers from the bottom.
-
-
-
Remove the six 6mm T6 Torx screws around the edge of the front of the phone.
-
Remove the metal frame holding the screen and speaker.
-
To reassemble your device, follow these instructions in reverse order.
To reassemble your device, follow these instructions in reverse order.
Rückgängig: Ich habe diese Anleitung nicht absolviert.
6 weitere Nutzer:innen haben diese Anleitung absolviert.


