Einleitung
A step by step guide for taking apart the Palm Zire 72v1. You will need this guide if you are planning to replace any of the internal components.
Was du brauchst
-
-
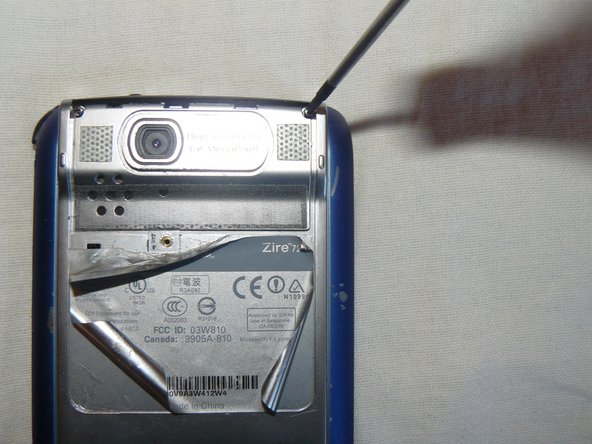
Peel back the information sticker.
-
Remove the one screw that connects the metal panel to the body of the Zire72.
-
-
-
Use the tip of your screwdriver to pop the metal panel off the top of the rear of the unit to expose two more screws on the top corners.
-
-
-
-
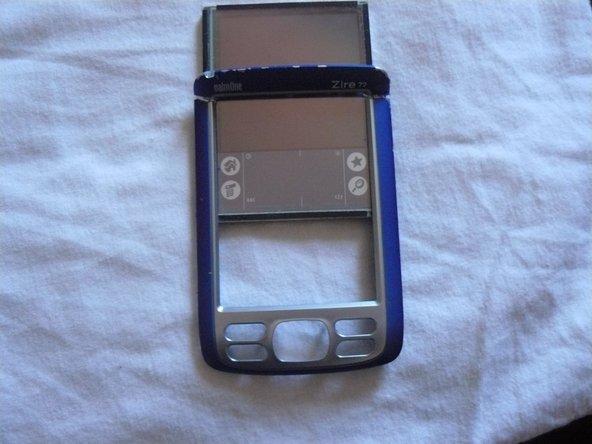
Insert the tip of your screwdriver in the seam where the front frame meets the body of the unit and pry the frame up to pop it off. Remove it.
-
-
-
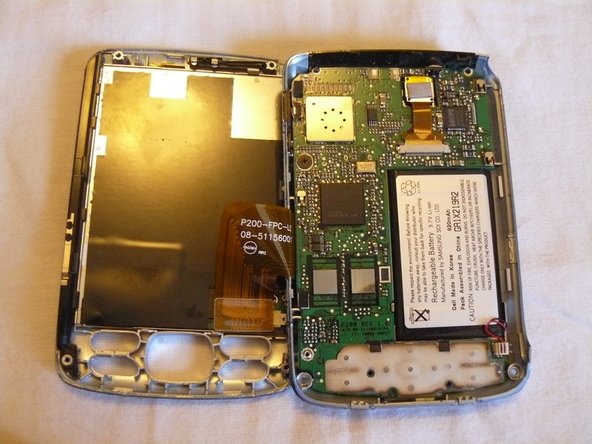
Pull the back panel off the body of the unit to expose the motherboard in the body.
-
-
-
Unplug the two orange ribbon cables at the top of the motherboard and remove the motherboard from the body. All that is left is the LCD screen in the front housing of the unit.
-
-
-
Now that you have your Zire open, you can remove and replace the defective part.
-


To reassemble your device, follow these instructions in reverse order.
To reassemble your device, follow these instructions in reverse order.
Team

University of Maine, Team 1-29, Diaz Fall 2011 Mitglied von University of Maine, Team 1-29, Diaz Fall 2011
UMAINE-DIAZ-F11S1G29
2 Mitglieder
1 Anleitung geschrieben