Zum Hauptinhalt wechseln

Disassembling Samsung SPH-A760 Screen

Was du brauchst

  1. Disassembling Samsung SPH-A760 Screen, Disassembling Samsung SPH-A760 Battery: Schritt 1, Bild 1 von 2 Disassembling Samsung SPH-A760 Screen, Disassembling Samsung SPH-A760 Battery: Schritt 1, Bild 2 von 2
    • Push open the latch and remove the battery.

  2. Disassembling Samsung SPH-A760 Screen, Disassembling Samsung SPH-A760 Antenna: Schritt 2, Bild 1 von 2 Disassembling Samsung SPH-A760 Screen, Disassembling Samsung SPH-A760 Antenna: Schritt 2, Bild 2 von 2
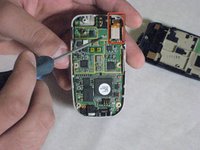
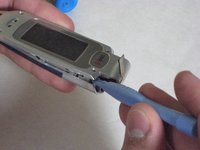
    • Twist off the antenna.

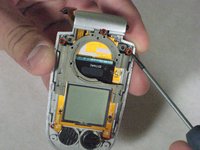
    • Pop off the transparent cylinder.
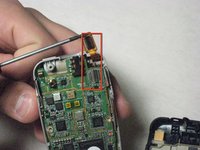
  3. Disassembling Samsung SPH-A760 Screen, Logic Board: Schritt 3, Bild 1 von 1
    • Remove the five screws as shown.

  4. Disassembling Samsung SPH-A760 Screen: Schritt 4, Bild 1 von 1
    • Carefully pry the back plate off.

  5. Disassembling Samsung SPH-A760 Screen: Schritt 5, Bild 1 von 2 Disassembling Samsung SPH-A760 Screen: Schritt 5, Bild 2 von 2
    • Carefully detach golden screen connector.

  6. Disassembling Samsung SPH-A760 Screen: Schritt 6, Bild 1 von 2 Disassembling Samsung SPH-A760 Screen: Schritt 6, Bild 2 von 2
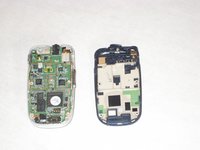
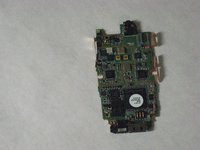
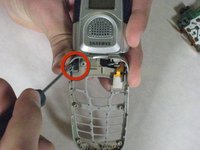
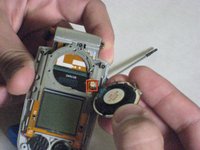
    • Pop out the logic board with spudger.

    • Caution: Do not touch with bare hands, use tweezers or wash hands before contact.

  7. Disassembling Samsung SPH-A760 Screen: Schritt 7, Bild 1 von 2 Disassembling Samsung SPH-A760 Screen: Schritt 7, Bild 2 von 2
    • Place the logic board on a clean tray.

  8. Disassembling Samsung SPH-A760 Screen, Speakers: Schritt 8, Bild 1 von 2 Disassembling Samsung SPH-A760 Screen, Speakers: Schritt 8, Bild 2 von 2
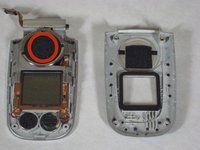
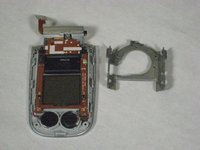
    • Remove the hinge on the phone.

    • Put pressure on the spring with the screwdriver to unhinge phone.

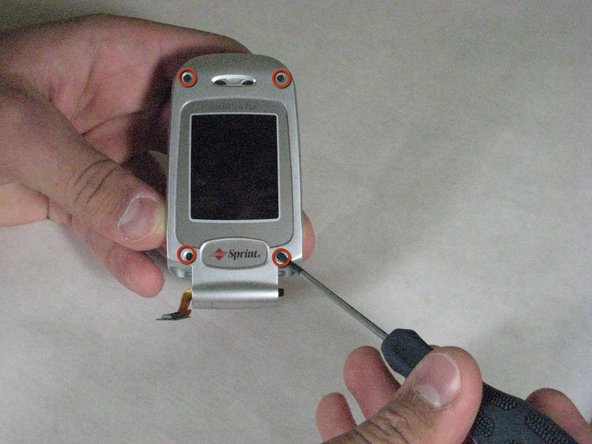
    • Make sure to pull the gold wire through, don't let it rip.

  9. Disassembling Samsung SPH-A760 Screen: Schritt 9, Bild 1 von 3 Disassembling Samsung SPH-A760 Screen: Schritt 9, Bild 2 von 3 Disassembling Samsung SPH-A760 Screen: Schritt 9, Bild 3 von 3
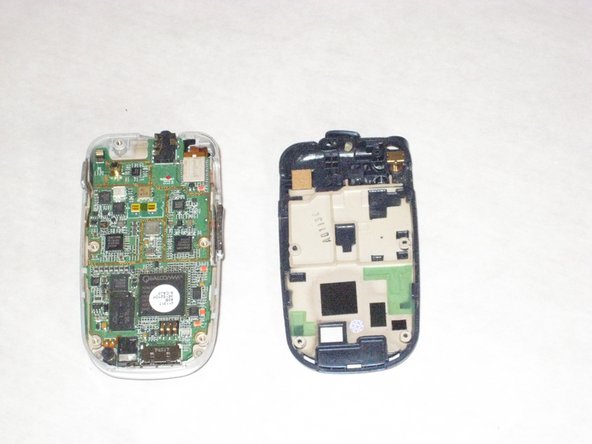
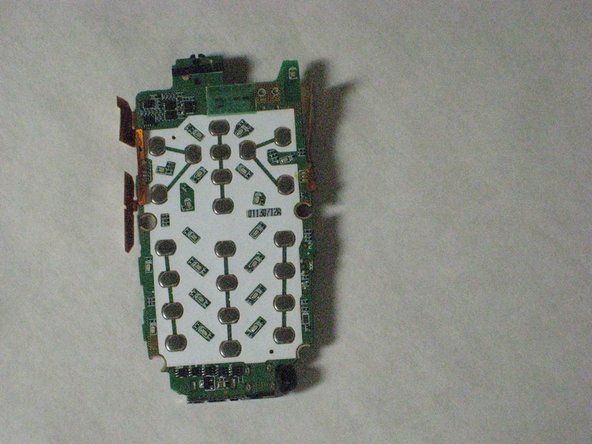
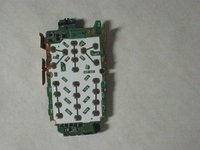
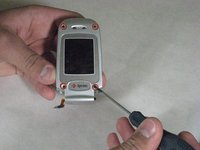
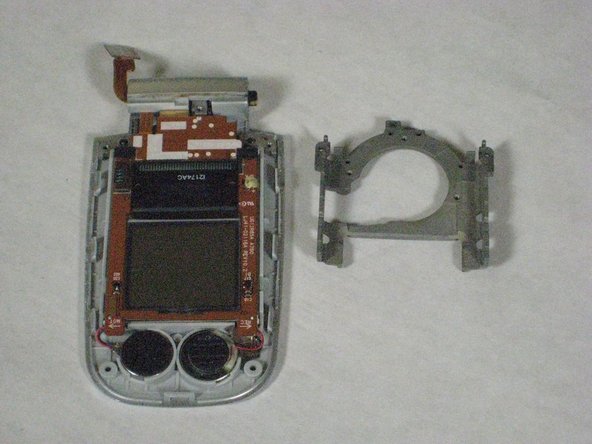
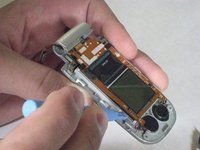
    • Remove the four screws as shown

    • Use the spudger to pry it open, excessive force may be necessary.

  10. Disassembling Samsung SPH-A760 Screen: Schritt 10, Bild 1 von 3 Disassembling Samsung SPH-A760 Screen: Schritt 10, Bild 2 von 3 Disassembling Samsung SPH-A760 Screen: Schritt 10, Bild 3 von 3
    • Remove the three screws that hold the big speaker

    • Caution: The wires are attached to the screen and should be removed with care.

  11. Disassembling Samsung SPH-A760 Screen, Screen: Schritt 11, Bild 1 von 2 Disassembling Samsung SPH-A760 Screen, Screen: Schritt 11, Bild 2 von 2
    • Remove the three screws as shown.

    • Pull off the metal bracket.

  12. Disassembling Samsung SPH-A760 Screen: Schritt 12, Bild 1 von 3 Disassembling Samsung SPH-A760 Screen: Schritt 12, Bild 2 von 3 Disassembling Samsung SPH-A760 Screen: Schritt 12, Bild 3 von 3
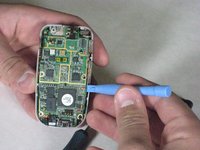
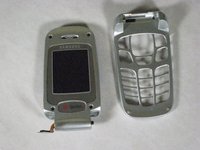
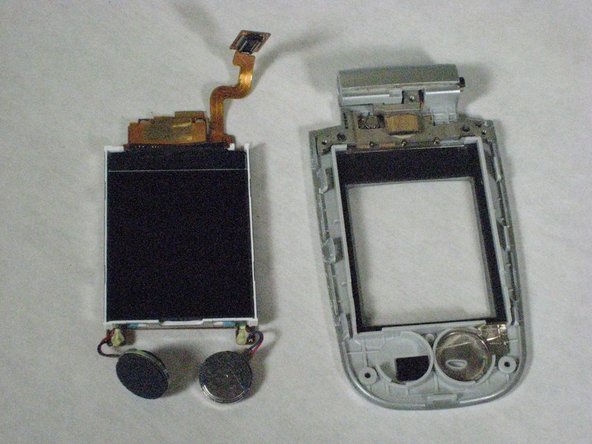
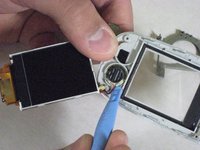
    • Use the spudger to pop off the screen.

    • Pop off the Microphone/Speaker as well.

    • Place all of the components on a clean tray and clean environment.

Abschluss

To reassemble your device, follow these instructions in reverse order.

David

Mitglied seit: 04/19/10

25 Reputation

6 Anleitungen geschrieben

Team

Cal Poly, Team 10-43, Garner Spring 2010 Mitglied von Cal Poly, Team 10-43, Garner Spring 2010

CPSU-GARNER-S10S10G43

5 Mitglieder

12 Anleitungen geschrieben

0 Kommentare

Kommentar hinzufügen

Seitenaufrufe:

Letzte 24 Stunden: 0

Letzte 7 Tage: 1

Letzte 30 Tage: 2

Insgesamt: 1,906