Diese Version enthält möglicherweise inkorrekte Änderungen. Wechsle zur letzten geprüften Version.
Was du brauchst
-
Dieser Schritt ist noch nicht übersetzt. Hilf mit, ihn zu übersetzen!
-
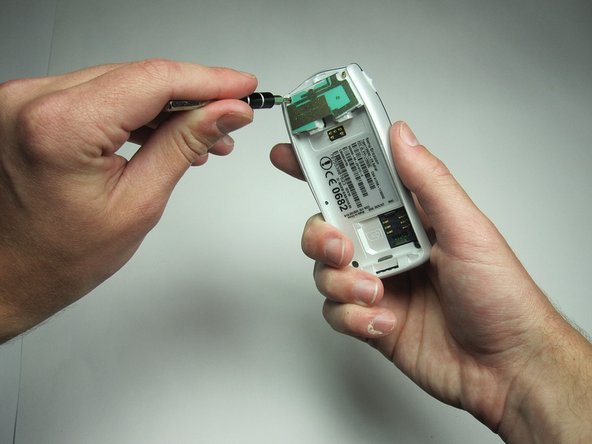
Remove the battery from the back.
-
-
Dieser Schritt ist noch nicht übersetzt. Hilf mit, ihn zu übersetzen!
-
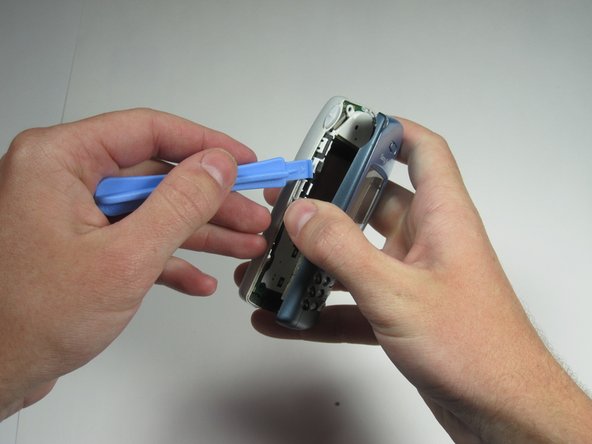
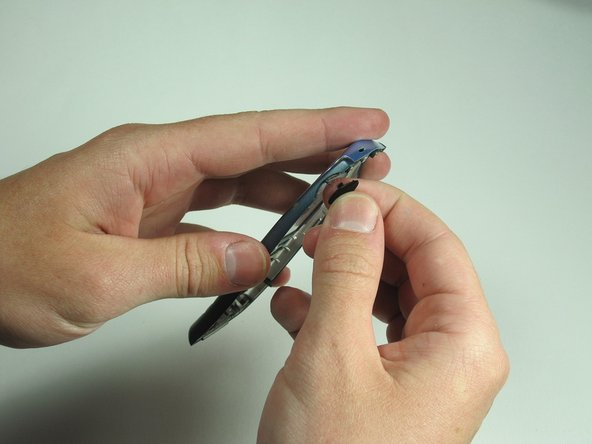
Remove the plastic cover from the back. Pry it off from the top first with a thin plastic shim, then remove it from the two bottom clips.
-
-
Dieser Schritt ist noch nicht übersetzt. Hilf mit, ihn zu übersetzen!
-
Unscrew all four Torx T6 screws.
-
-
Dieser Schritt ist noch nicht übersetzt. Hilf mit, ihn zu übersetzen!
-
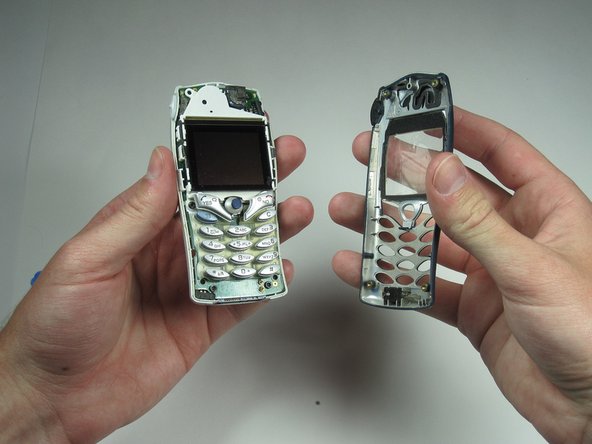
After removing the screws, the two halves will separate. If not, then pry them gently apart.
-
-
-
Dieser Schritt ist noch nicht übersetzt. Hilf mit, ihn zu übersetzen!
-
Gently pull off the infra red window and the vibra motor.
-
-
Dieser Schritt ist noch nicht übersetzt. Hilf mit, ihn zu übersetzen!
-
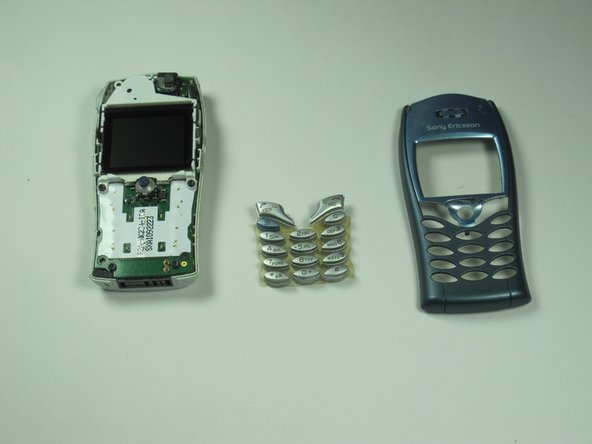
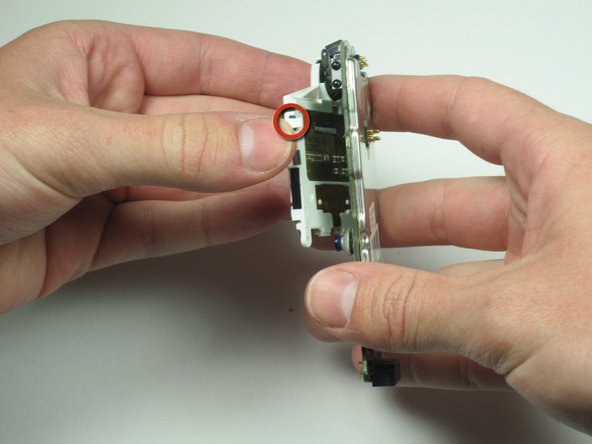
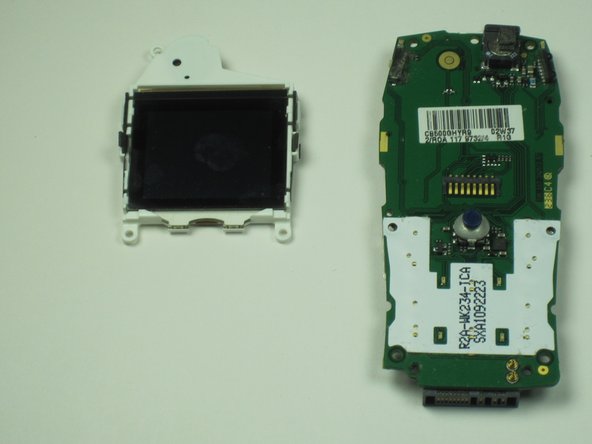
Remove the circuit board and screen from the device.
-
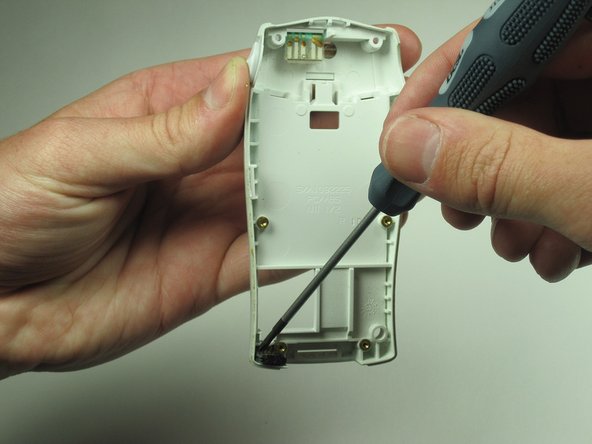
Use your T6 to remove the 4 screws holding the cover on.
-
-
Dieser Schritt ist noch nicht übersetzt. Hilf mit, ihn zu übersetzen!
-
Lever out the microphone using a small screwdriver or any similar tool.
-
-
Dieser Schritt ist noch nicht übersetzt. Hilf mit, ihn zu übersetzen!
-
Carefully remove the plastic clips holding the screen on the board.
-
-
Dieser Schritt ist noch nicht übersetzt. Hilf mit, ihn zu übersetzen!
-
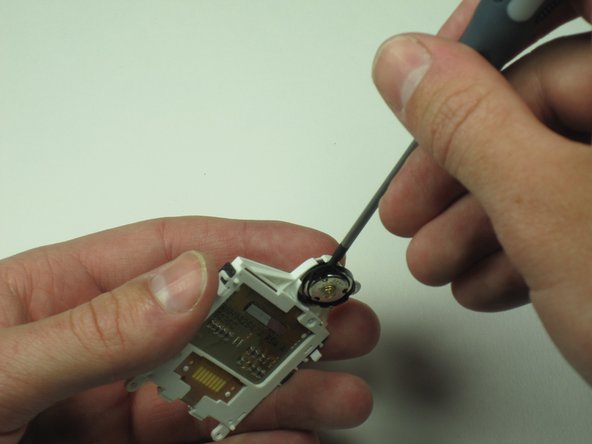
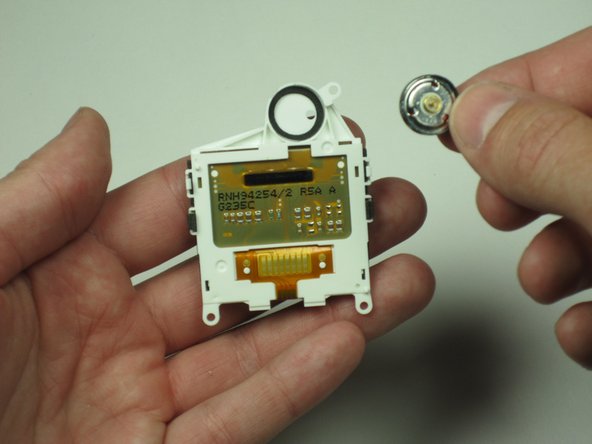
Remove the speaker located in the screen housing just above the screen.
-
Gently pry it out with a small screwdriver or similar tool.
-
-
Dieser Schritt ist noch nicht übersetzt. Hilf mit, ihn zu übersetzen!
-
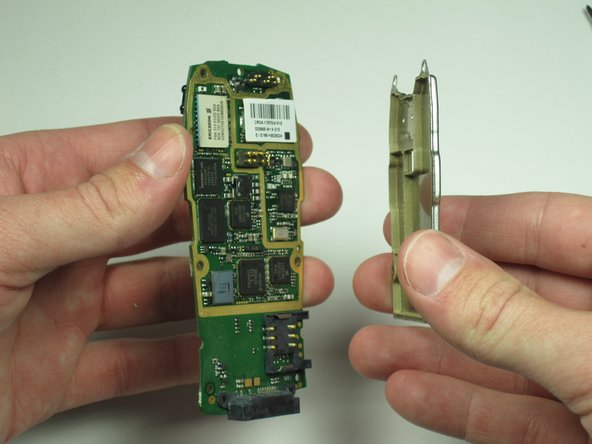
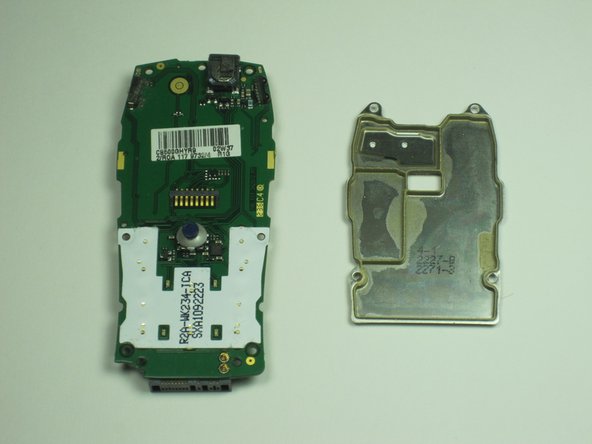
Remove the plate from the circuit board protecting the more delicate processing parts.
-
-
Dieser Schritt ist noch nicht übersetzt. Hilf mit, ihn zu übersetzen!
-
Congratulations, you have successfully disassembled your Sony Ericsson T68i!
-


Rückgängig: Ich habe diese Anleitung nicht absolviert.
6 weitere Nutzer:innen haben diese Anleitung absolviert.
Team

Cal Poly, Team 26-34, Regan Spring 2010 Mitglied von Cal Poly, Team 26-34, Regan Spring 2010
CPSU-REGAN-S10S26G34
4 Mitglieder
13 Anleitungen geschrieben