Diese Version enthält möglicherweise inkorrekte Änderungen. Wechsle zur letzten geprüften Version.
Was du brauchst
-
Dieser Schritt ist noch nicht übersetzt. Hilf mit, ihn zu übersetzen!
-
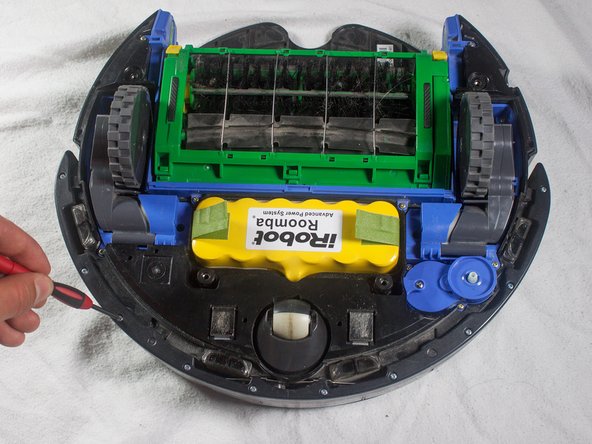
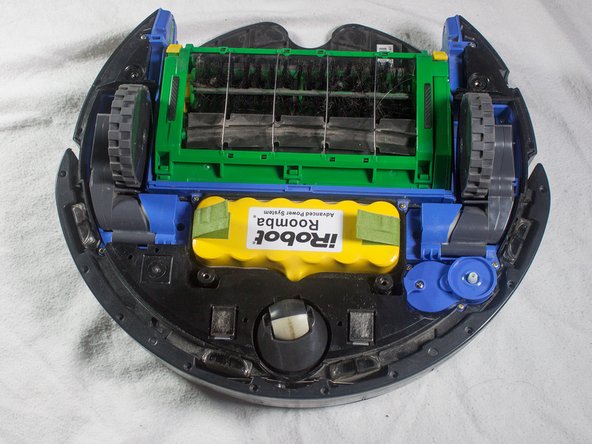
Place your Roomba upside-down on a hard surface.
-
-
Dieser Schritt ist noch nicht übersetzt. Hilf mit, ihn zu übersetzen!
-
While holding the side brush in place, use a Phillips #1 screwdriver to remove the 4.5mm screw from the center of the brush.
-
-
Dieser Schritt ist noch nicht übersetzt. Hilf mit, ihn zu übersetzen!
-
Gently pull upwards on the brush to remove it.
-
-
-
Dieser Schritt ist noch nicht übersetzt. Hilf mit, ihn zu übersetzen!
-
Rotate the Roomba upside-down so the bottom is facing towards you.
-
-
Dieser Schritt ist noch nicht übersetzt. Hilf mit, ihn zu übersetzen!
-
Using a Phillips #2 screwdriver, remove the captive screws that hold the bottom plate in place.
-
-
Dieser Schritt ist noch nicht übersetzt. Hilf mit, ihn zu übersetzen!
-
Carefully lift the bottom plate.
-
-
Dieser Schritt ist noch nicht übersetzt. Hilf mit, ihn zu übersetzen!
-
With a Phillips #1 screwdriver, remove the ten 12mm screws located along the bottom of the bumper.
-
-
Dieser Schritt ist noch nicht übersetzt. Hilf mit, ihn zu übersetzen!
-
Lift the bottom cover and set it to the side.
-
-
Dieser Schritt ist noch nicht übersetzt. Hilf mit, ihn zu übersetzen!
-
Flip the Roomba over, grasp the bumper, and gently lift to remove.
-


Rückgängig: Ich habe diese Anleitung nicht absolviert.
Ein:e weitere:r Nutzer:in hat diese Anleitung absolviert.
Team

Cal Poly, Team 13-14, Regan Winter 2014 Mitglied von Cal Poly, Team 13-14, Regan Winter 2014
CPSU-REGAN-W14S13G14
4 Mitglieder
19 Anleitungen geschrieben
Ein Kommentar
Mine had a wire leading from the body to the bumper. The bumper end was held on by two small Phillips screws, which I undid to disconnect it (the bit it screws on to falls off the top of the bumper).
When putting it back together, make sure to put it on again the right way round, with the wire towards the front of the roomba (i.e. furthest from the main body), otherwise you will find the wire gets in the way of the bumper working, and you'll have to take it all apart again, like I did!