Einleitung
These are instructions to disassemble the camera case so that internal components can be accessed.
This is a prerequisite guide for repairs to the Canon PowerShot A200.
Was du brauchst
-
-
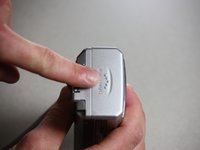
Use a Phillips #00 screwdriver to remove the two screws located at the bottom of the camera.
-
-
-
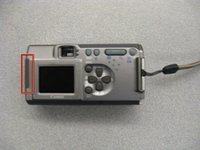
Locate the screw and the rubber covering on the left side of the camera. Slide the rubber covering to expose a second screw.
-
Remove the two screws with the Phillips #00 screwdriver.
-
-
-
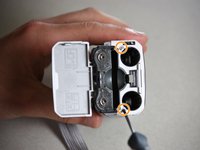
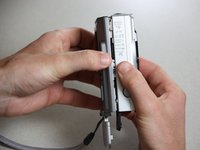
Open the battery compartment on the right side of the camera by pushing slightly in the direction of the arrow.
-
Remove the two screws by the memory card slot using the Phillips #00 screwdriver.
-
-
-
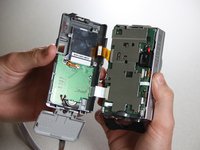
Pull the grey tab towards the back of the camera. Lift the black cover to expose the battery slots.
-
Remove the two visible screws with the Phillips #00 screwdriver.
-
-
-
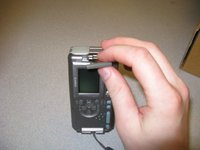
Remove the screen battery located to the left of the screen.
-
Set the screen battery aside for reassembly
-
-
In diesem Schritt verwendetes Werkzeug:Tweezers$4.99
-
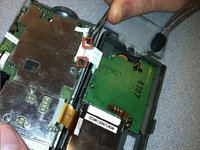
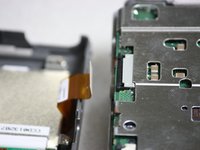
Locate the black tabs on either side of the white ribbon.
-
Use the metal tweezers to gently move these tabs to the outside edges of the ribbon.
-
Gently pull the white ribbon out from its connection.
-
-
-
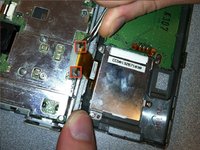
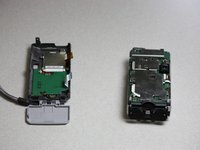
Locate the black tabs on either side of the orange ribbon.
-
Use the metal tweezers to gently move these tabs to the outside edges of the ribbon.
-
Gently pull the orange ribbon out of its connection.
-


To reassemble your device, follow these instructions in reverse order.
To reassemble your device, follow these instructions in reverse order.
Team

Cal Poly, Team 7-37, Regan Winter 2011 Mitglied von Cal Poly, Team 7-37, Regan Winter 2011
CPSU-REGAN-W11S7G37
4 Mitglieder
10 Anleitungen geschrieben