Diese Version enthält möglicherweise inkorrekte Änderungen. Wechsle zur letzten geprüften Version.
Was du brauchst
-
Dieser Schritt ist noch nicht übersetzt. Hilf mit, ihn zu übersetzen!
-
Remove the other 6 screws.
-
Remove the hard disk and the RAM slots.
-
-
Dieser Schritt ist noch nicht übersetzt. Hilf mit, ihn zu übersetzen!
-
This is the hard disk - Hitachi 500 GB
-
-
Dieser Schritt ist noch nicht übersetzt. Hilf mit, ihn zu übersetzen!
-
Ensure that the hard disk has been removed. Carefully detach the bottom cover.
-
-
Dieser Schritt ist noch nicht übersetzt. Hilf mit, ihn zu übersetzen!
-
Once the bottom cover is removed, your device should look like this.
-
-
Dieser Schritt ist noch nicht übersetzt. Hilf mit, ihn zu übersetzen!
-
Remove the 4 screws to detach the battery.
-
Remove all of the sticky tape.
-
Carefully disconnect the small power connector by using a tool to push the connector out through the small gap in the middle of the connector.
-
-
-
Dieser Schritt ist noch nicht übersetzt. Hilf mit, ihn zu übersetzen!
-
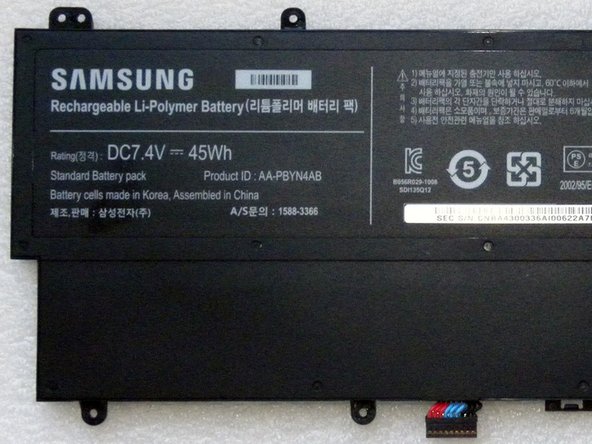
This is the Samsung 7.4V 45Wh battery.
-
Ensure that the battery is removed before continuing.
-
-
Dieser Schritt ist noch nicht übersetzt. Hilf mit, ihn zu übersetzen!
-
When the battery is removed, this is how it will look.
-
-
Dieser Schritt ist noch nicht übersetzt. Hilf mit, ihn zu übersetzen!
-
Remove the processor fan.
-
There are 2 screws holding it in place. Loosen and remove them.
-
-
Dieser Schritt ist noch nicht übersetzt. Hilf mit, ihn zu übersetzen!
-
Remove the processor heat sink.
-
3 screws hold this part in place. Loosen and remove them.
-
-
Dieser Schritt ist noch nicht übersetzt. Hilf mit, ihn zu übersetzen!
-
Disconnect the antenna cables from the WiFi card.
-
Remove the screw.
-
-
Dieser Schritt ist noch nicht übersetzt. Hilf mit, ihn zu übersetzen!
-
Remove the screw.
-
Lift the latch upwards to loosen the cable.
-
-
Dieser Schritt ist noch nicht übersetzt. Hilf mit, ihn zu übersetzen!
-
To remove the Motherboard, carefully disconnect the cables.
-
-
Dieser Schritt ist noch nicht übersetzt. Hilf mit, ihn zu übersetzen!
-
This is the Motherboard - there is a front and rear view.
-


Rückgängig: Ich habe diese Anleitung nicht absolviert.
34 weitere Nutzer:innen haben diese Anleitung absolviert.

30 Kommentare
Hello,
Do you know where can i reset the Bios CMOS in that motherboard?
I think there are people who wants to know becose system upgrade is leading to bios ACPI Error.
Thanks for your help
No, I do not know where is a reset pin of BIOS.
Try to disconnect NVRAM battery.
Wait 15 minutes and reconnect again.