Einleitung
Purchasing a new or used front-facing camera will be necessary.
Was du brauchst
-
-
The rear panel is secured to the front case and can simply be pried apart without damage.
-
-
-
Carefully, wedge the plastic opening tool in-between the seam that separates both halves of the tablet.
-
-
-
-
Run the plastic opening tool along the seam looking for the clips and lift up on the rear panel.
-
-
-
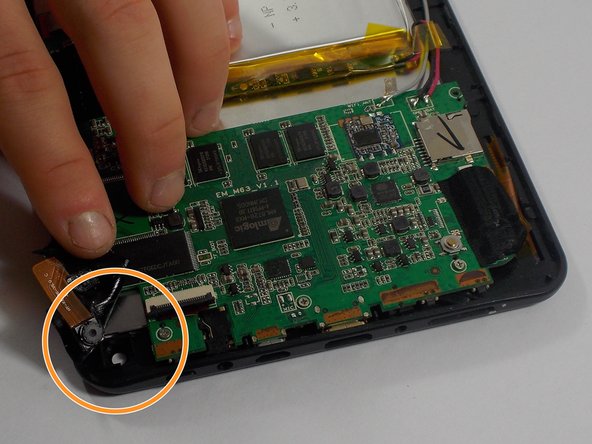
Use the flat end of a spudger to disconnect the front-facing camera cable from its socket on the motherboard.
-
Simply, pull back the tape and remove the camera.
-


To reassemble your device, follow these instructions in reverse order.
To reassemble your device, follow these instructions in reverse order.
Rückgängig: Ich habe diese Anleitung nicht absolviert.
Eine weitere Person hat diese Anleitung absolviert.

Team

UMass Dartmouth, Team 1-2, Miles Fall 2015 Mitglied von UMass Dartmouth, Team 1-2, Miles Fall 2015
UMASSD-MILES-F15S1G2
4 Mitglieder
12 Anleitungen geschrieben