Zum Hauptinhalt wechseln

Dremel 4000 Back Case Replacement

Grundständige Anleitung
Dies ist eine grundständige Anleitung, die nur als Teil einer anderen Anleitung verwendet werden sollte.

Was du brauchst

  1. Dremel 4000 Back Case Replacement, Back Case: Schritt 1, Bild 1 von 2 Dremel 4000 Back Case Replacement, Back Case: Schritt 1, Bild 2 von 2
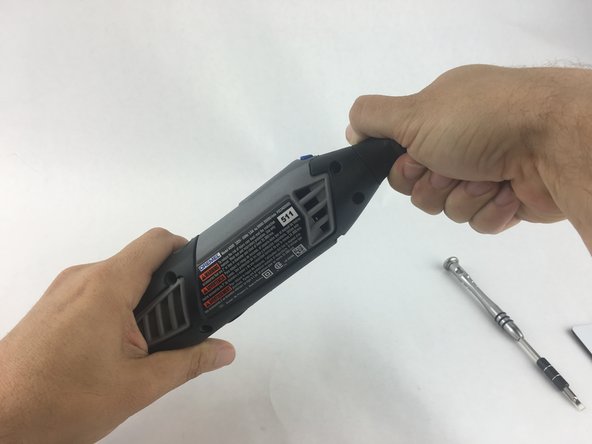
    • Start by removing the housing cap by unscrewing it.

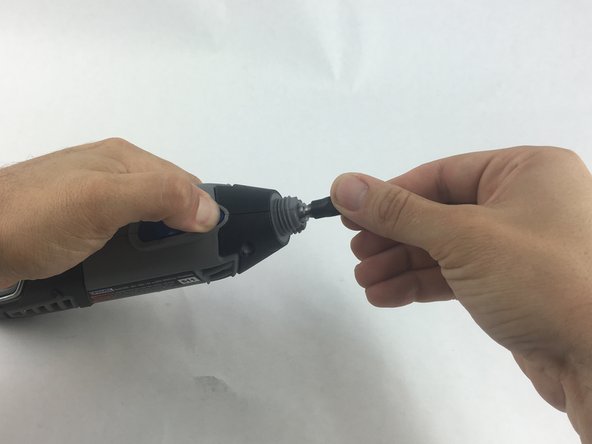
    • Next, unscrew the now exposed collet nut while holding down the shaft lock button.

    • To remove the collet nut, you may need to use the small open-end wrench provided with the Dremel.

  2. Dremel 4000 Back Case Replacement: Schritt 2, Bild 1 von 1
    • Using your hands, carefully remove hanger from casing.

  3. Dremel 4000 Back Case Replacement: Schritt 3, Bild 1 von 2 Dremel 4000 Back Case Replacement: Schritt 3, Bild 2 von 2
    • Remove the brush caps (one on each side) by using a flathead screwdriver bit.

    • The brush caps are spring loaded.

  4. Dremel 4000 Back Case Replacement: Schritt 4, Bild 1 von 1
    • Using the Torx 15 screwdriver tip, remove the 5 screws (12.5 mm) that hold the casing together.

  5. Dremel 4000 Back Case Replacement: Schritt 5, Bild 1 von 1
    • Use a plastic opening tool to gently wedge apart the hard plastic threads.

  6. Dremel 4000 Back Case Replacement: Schritt 6, Bild 1 von 1
    • Use your hands to carefully remove the back casing so that none of the components fall out.

Abschluss

To reassemble your device, follow these instructions in reverse order.

2 weitere Nutzer:innen haben diese Anleitung absolviert.

John Cobb

Mitglied seit: 01/20/16

1.689 Reputation

4 Anleitungen geschrieben

Team

USF Tampa, Team 15-4, Remmell Spring 2016 Mitglied von USF Tampa, Team 15-4, Remmell Spring 2016

USFT-REMMELL-S16S15G4

4 Mitglieder

13 Anleitungen geschrieben

0 Kommentare

Kommentar hinzufügen

Seitenaufrufe:

Letzte 24 Stunden: 0

Letzte 7 Tage: 1

Letzte 30 Tage: 7

Insgesamt: 1,657