Einleitung
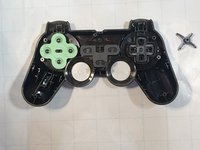
Improper care and attention to a PlayStation 2 controller can wear down buttons and analog sticks. The D-pad is no exception and can become unusable and sticky to the point of repairs being required. Fortunately, D-pads can be easily replaced so you can get back to playing your favorite PlayStation 2 games. To complete this repair, you'll need a Phillips #00 screwdriver, a D-pad replacement, and tweezers.
Once the repair is done, make sure to store and often clean to reduce the chance of needing to replace again.
Was du brauchst
-
-
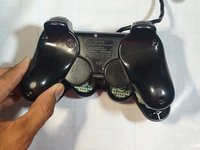
Turn the controller over.
-
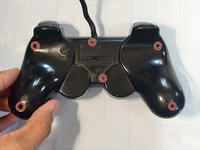
Unscrew the six screws using your Phillips #00 screwdriver.
-
-
-
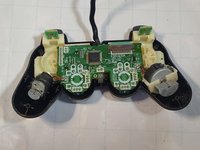
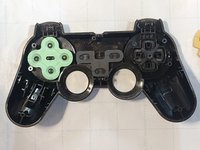
Remove the back cover from the controller.
-
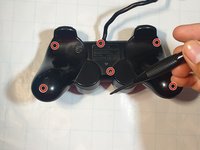
Slide the triggers off by pulling the trigger off the controller and repeat for another side.
-
-
-
In diesem Schritt verwendetes Werkzeug:Tweezers$4.99
-
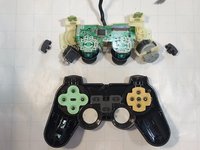
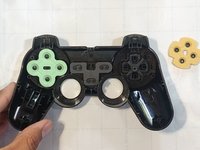
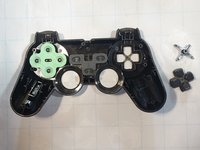
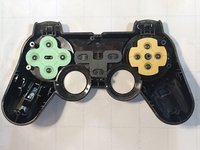
Remove the yellow rubber from the D-pad.
-
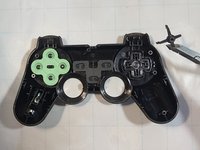
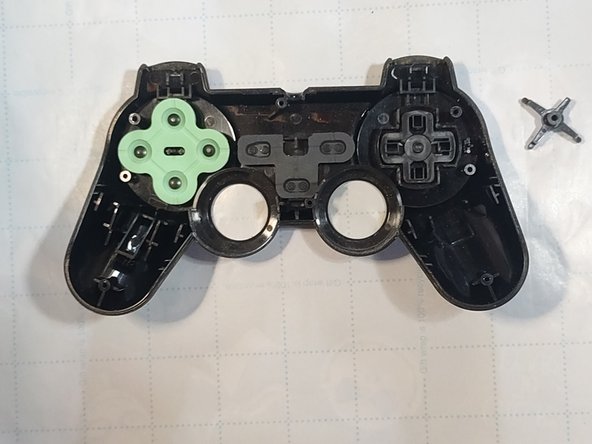
Remove the black plastic bracket with a pair of tweezers.
-
-
-
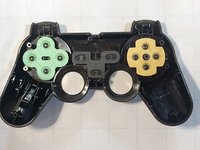
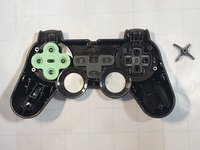
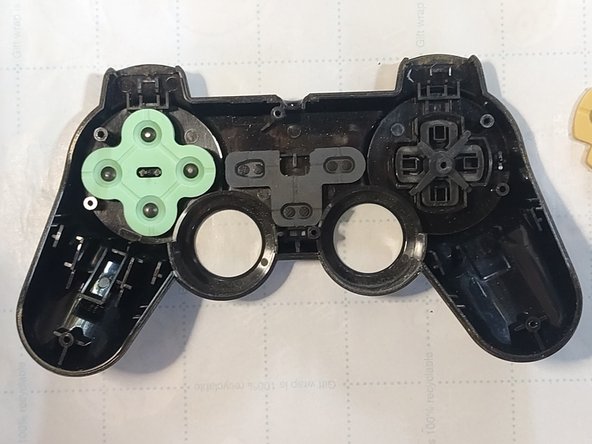
Put the replacement D-pad in the controller.
-
Put the plastic bracket back on carefully.
-
-
-
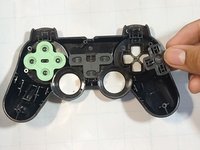
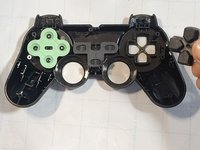
Replace the yellow rubber.
-
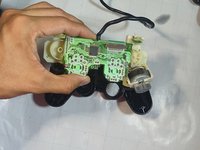
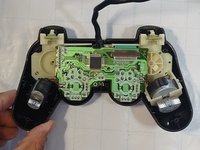
Carefully insert the circuit board and reclip the triggers.
-
Insert the back cover back in place.
-
-
-
Screw the back cover on again clockwise.
-
Test D-pad to make sure its in working order.
-


Enjoy your new D-pad.
Enjoy your new D-pad.
Rückgängig: Ich habe diese Anleitung nicht absolviert.
6 weitere Personen haben diese Anleitung absolviert.

Team

CSU Los Angeles, Team 3-77, Briggs Fall 2022 Mitglied von CSU Los Angeles, Team 3-77, Briggs Fall 2022
CSULA-BRIGGS-F22S3G77
1 Mitglied
4 Anleitungen geschrieben