Einleitung
Follow this guide to replace the joystick covers on a Sony Dualshock 4 CHU-ZCT2U PlayStation controller.
Was du brauchst
-
-
Use a Phillips screwdriver to remove the four 6.4 mm-long screws from the rear panel.
-
-
-
Insert an opening tool into the crease where the front and rear panel meet, starting from the outside edge of either handle.
-
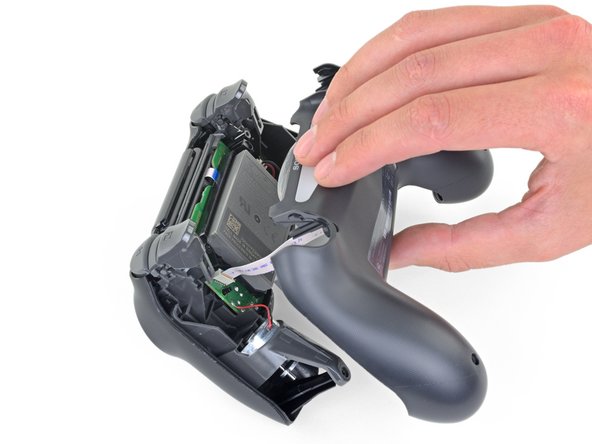
Gently pry the rear panel off of the front panel until they become partially separated.
-
-
-
Use the opening tool to separate the panels by releasing the plastic clips around the perimeter of the controller.
-
-
-
Use your fingers to gently pull the ribbon cable straight out of its connector on the motherboard.
-
-
-
-
Use a pair of tweezers to pull the battery's power connector straight up from the motherboard.
-
-
-
Use a Phillips screwdriver to remove the 6.4 mm-long screw securing the battery bracket.
-
-
-
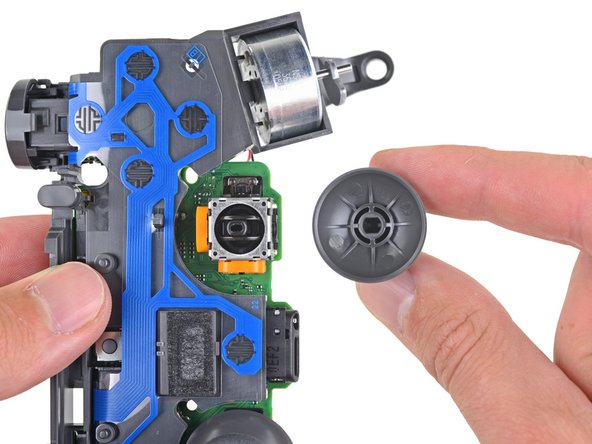
Pull the right joystick cover straight off the joystick module to remove it.
-
To reassemble your device, follow the above steps in reverse order.
Repair didn’t go as planned? Check out our Answers community for troubleshooting help.
To reassemble your device, follow the above steps in reverse order.
Repair didn’t go as planned? Check out our Answers community for troubleshooting help.
Rückgängig: Ich habe diese Anleitung nicht absolviert.
30 weitere Nutzer:innen haben diese Anleitung absolviert.
Ein Kommentar
Are you able to replace the actual joystick with a diffrent one or are we only able to switch out covers?


