Einleitung
I absolutely love this humidifier, although I can understand why it is discontinued and unpopular - it is hard or impossible to clean. It self-cleans via an ultra-violet light, but the tank collects green moss and the fan collects dust over time. This guide walks through the process of cleaning the humidifier.
Einführungsvideo
-
-
Use these brushes from AliExpress to clean the tank insides. Each one provides a slightly different position. Together they cost about $7 and can be used for other hard-to-reach places. The tank has a few unreachable places which are in the last 2 images. I cleaned >95% of the moss.
-
-
-
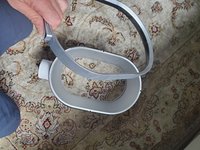
Need torx (star-shaped) screwdriver (8 & 10). BE CAREFUL with screws, because they are anchored in the plastic!! Too far and you crack it, so use your hands and move slowly. A few tools to get: Magnetizer to hold torx screws, Lastly, image 1 shows me sliding the top forward into the tabs - move slowly because it feels fragile.
-
-
-
-
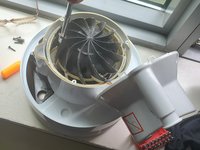
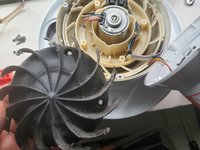
I rinsed it with water There are 3 levels of screws to take out: The white outside cover, this black capsule in frame #2 and the rotor in my hand (image #3).
-
-
-
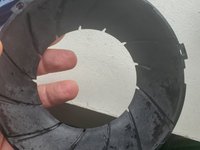
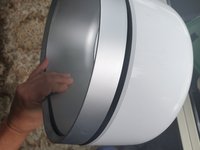
In image 1 I'm pressing the white outside with my thumb while digging fingernails in this crack and pulling up carefully. Work your way around slowly and the rim comes off. I have no idea how to get the rest apart and I don't think you need it.
-


Ein Kommentar
Nowadays it seems difficult to find the brushes. Do you have a tag or link towards those? Maybe even on another platform?