Was du brauchst
-
-
Locate the red lever parallel to the red trigger and on the side of the clear bin.
-
-
-
Push the red lever downward to open the clear bin. You may need to do this over a trash bin if there is debris in the clear bin.
-
-
-
Push the red lever downward again while pulling the clear bin away from the main body of the Dyson vacuum.
-
-
-
-
Flip the vacuum over so that the silver cyclone part of the vacuum is now at the base.
-
-
-
Locate the two visible white clips seen between the main body and the purple cyclone of the vacuum.
-
Use tweezers to pinch the two visible white clips together.
-
-
-
Use the metal spudger placed between the black rim and the purple rim to separate the purple screen cover from the cyclone body.
-
Pry all the way around the screen cover.
-
-
-
Use a T9 screw driver to remove the five 14mm screws around the edge of the cyclone body.
-
-
-
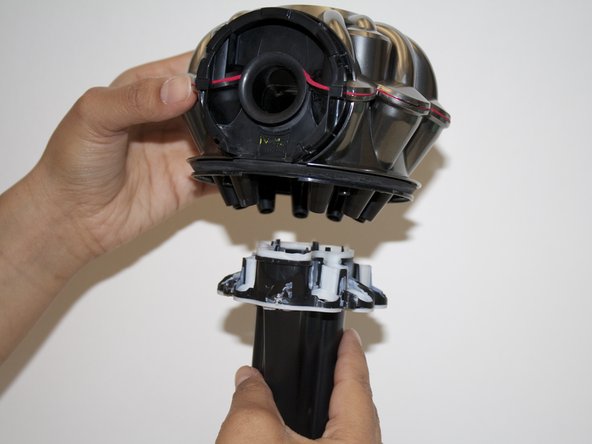
Pull down on the black tube-like part of the silver cyclone body to remove it from the cyclone of the Dyson.
-


To reassemble your device, follow these instructions in reverse order.
To reassemble your device, follow these instructions in reverse order.
Rückgängig: Ich habe diese Anleitung nicht absolviert.
19 weitere Nutzer:innen haben diese Anleitung absolviert.
Team

CSU Fullerton, Team 2-4, Bruce Fall 2015 Mitglied von CSU Fullerton, Team 2-4, Bruce Fall 2015
CSUF-BRUCE-F15S2G4
4 Mitglieder
19 Anleitungen geschrieben
11 Kommentare
Thanks. Had to wash out the dog smell. This did the trick.
Thanks. Had to wash out the dog smell. This did the trick when new filters wouldn't. Shame on Dyson for not making an easier to clean vacuum.