Zum Hauptinhalt wechseln

Dyson Pure Cool AM11 Power Cord Replacement

Was du brauchst

  1. Dyson Pure Cool AM11 Power Cord Replacement, Power Cord: Schritt 1, Bild 1 von 2 Dyson Pure Cool AM11 Power Cord Replacement, Power Cord: Schritt 1, Bild 2 von 2
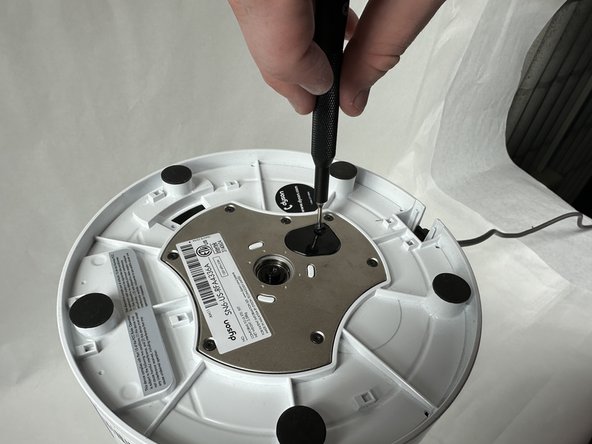
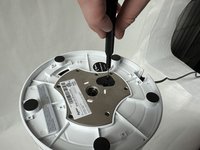
    • Using a Phillips screwdriver, carefully remove the screws securing the base.

  2. Dyson Pure Cool AM11 Power Cord Replacement: Schritt 2, Bild 1 von 2 Dyson Pure Cool AM11 Power Cord Replacement: Schritt 2, Bild 2 von 2
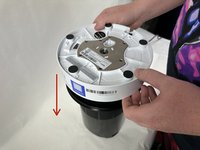
    • Gently pry open the base.

    • Be cautious not to apply too much force.

  3. Dyson Pure Cool AM11 Power Cord Replacement: Schritt 3, Bild 1 von 1
    • Inside the base, you'll find the power cord connected to the motherboard.

  4. Dyson Pure Cool AM11 Power Cord Replacement: Schritt 4, Bild 1 von 2 Dyson Pure Cool AM11 Power Cord Replacement: Schritt 4, Bild 2 von 2
    • Place the base back onto the device. Make sure it fits snugly.

    • Reinsert the previously removed screws and tighten them using the Phillips #00 screwdriver. Ensure they are tight, but do not over-tighten as this can damage the plastic.

    • Turn on your Dyson Pure Cool AM11 to ensure it's functioning correctly.

Ziellinie

Zepei

Mitglied seit: 11/01/23

255 Reputation

2 Anleitungen geschrieben

Team

UMass Dartmouth, Team 2-7, Gulbrandsen Fall 2023 Mitglied von UMass Dartmouth, Team 2-7, Gulbrandsen Fall 2023

UMASSD-GULBRANDSEN-F23S2G7

3 Mitglieder

5 Anleitungen geschrieben

0 Kommentare zur Anleitung

Kommentar hinzufügen

Seitenaufrufe:

Letzte 24 Stunden: 2

Letzte 7 Tage: 5

Letzte 30 Tage: 29

Insgesamt: 398