Zum Hauptinhalt wechseln
Gemeinsam reparieren - Jetzt registrieren

Dyson V6 Motorhead Motor Replacement

Was du brauchst

  1. Dyson V6 Motorhead Motor Replacement, Collection Bin: Schritt 1, Bild 1 von 2 Dyson V6 Motorhead Motor Replacement, Collection Bin: Schritt 1, Bild 2 von 2
    • Pull down on the red release tab.

    • When the tab is fully engaged, the bottom of the bin should open.

    Frag FixBot

    Kommentar hinzufügen

  2. Dyson V6 Motorhead Motor Replacement: Schritt 2, Bild 1 von 2 Dyson V6 Motorhead Motor Replacement: Schritt 2, Bild 2 von 2
    • Pull down on the release tab a second time, this time the collection bin should release from the upper vacuum head.

    Frag FixBot

    Kommentar hinzufügen

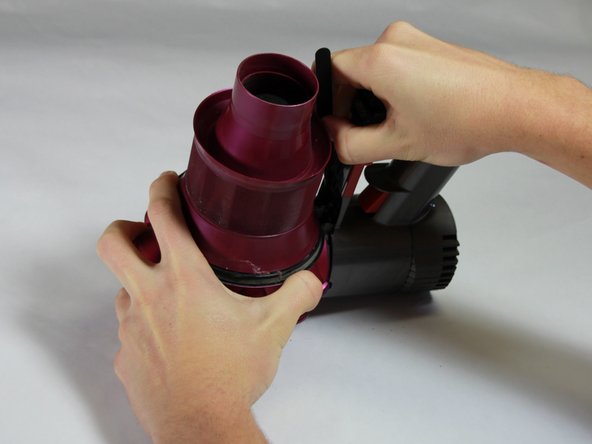
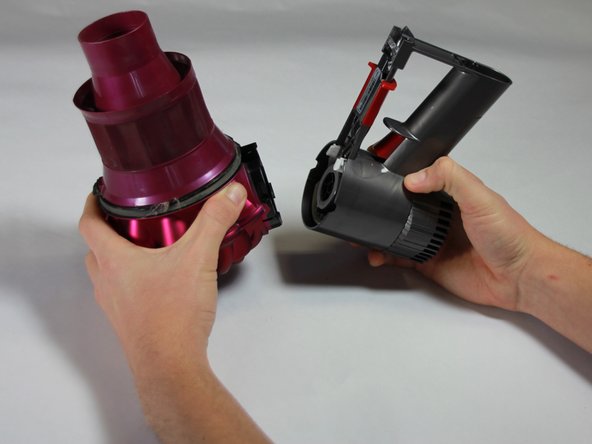
  3. Dyson V6 Motorhead Motor Replacement: Schritt 3, Bild 1 von 3 Dyson V6 Motorhead Motor Replacement: Schritt 3, Bild 2 von 3 Dyson V6 Motorhead Motor Replacement: Schritt 3, Bild 3 von 3
    • Pull the collection bin away from the upper vacuum head.

    Frag FixBot

    Kommentar hinzufügen

  4. Dyson V6 Motorhead Motor Replacement, Motor: Schritt 4, Bild 1 von 1
    • Identify the two white components between the vacuum handle and the attached component.

    Frag FixBot

    Kommentar hinzufügen

  5. Dyson V6 Motorhead Motor Replacement: Schritt 5, Bild 1 von 2 Dyson V6 Motorhead Motor Replacement: Schritt 5, Bild 2 von 2
    • Insert each arm of the tweezer into each white component area and squeeze simultaneously to release the motor from the attached component.

    Frag FixBot

    Kommentar hinzufügen

  6. Dyson V6 Motorhead Motor Replacement: Schritt 6, Bild 1 von 2 Dyson V6 Motorhead Motor Replacement: Schritt 6, Bild 2 von 2
    • Detach the motor from the remaining motor head assembly.

    Frag FixBot

    Kommentar hinzufügen

Abschluss

To reassemble your device, follow these instructions in reverse order.

Rückgängig: Ich habe diese Anleitung nicht absolviert.

10 weitere Personen haben diese Anleitung absolviert.

Team

Cal Poly, Team 22-6, Maness Winter 2017 Mitglied von Cal Poly, Team 22-6, Maness Winter 2017

CPSU-MANESS-W17S22G6

4 Mitglieder

10 Anleitungen geschrieben

3 Kommentare zur Anleitung

really good can understand and not too technical

kelvin - Antwort Teilen

I am terrible at fixing things and this helped me put my vacuum back together after it fell and the motor detached from the handle. Thank you!!!

Chris Tadda - Antwort Teilen

Can't see the tweezer being inserted into the white tabs. Picture not clear. Could not dislodge motorhead from cannister bin. Show a clearer picture. Thanks

Hem - Antwort Teilen

Kommentar hinzufügen

Seitenaufrufe:

Letzte 24 Stunden: 1

Letzte 7 Tage: 5

Letzte 30 Tage: 49

Insgesamt: 20,426