Zum Hauptinhalt wechseln

EOS Chapstick Repair

Was du brauchst

  1. EOS Chapstick Repair, EOS Chapstick Repair: Schritt 1, Bild 1 von 1
    • Open your broken/melted EOS chapstick.

  2. EOS Chapstick Repair: Schritt 2, Bild 1 von 1
    • Use a spudger to scrape out the chap stick pieces.

    • Pry out the middle divider.

  3. EOS Chapstick Repair: Schritt 3, Bild 1 von 1
    • Place the chapstick pieces into a microwavable bowl.

  4. EOS Chapstick Repair: Schritt 4, Bild 1 von 1
    • Melt the chap stick pieces in a microwave for 30 second increments or until completely liquid.

    • CAUTION: the heated liquid may be hot to the touch.

  5. EOS Chapstick Repair: Schritt 5, Bild 1 von 1
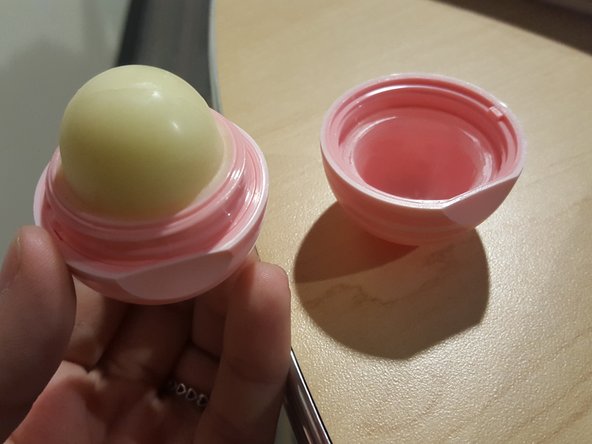
    • Pour the liquid chapstick into the top of the EOS container and screw on the divider.

  6. EOS Chapstick Repair: Schritt 6, Bild 1 von 1
    • Freeze the liquid in the EOS container for 20-30 minutes or until solid.

  7. EOS Chapstick Repair: Schritt 7, Bild 1 von 2 EOS Chapstick Repair: Schritt 7, Bild 2 von 2
    • Screw the EOS container back together and enjoy your chapstick!

Abschluss

To reassemble your device, follow these instructions in reverse order.

Michaela Alexander

Mitglied seit: 01/31/17

101 Reputation

1 Anleitung geschrieben

Team

USF Sarasota-Manatee, Team 1-1, Stewart Spring 2017 Mitglied von USF Sarasota-Manatee, Team 1-1, Stewart Spring 2017

USFSM-STEWART-S17S1G1

19 Mitglieder

20 Anleitungen geschrieben

0 Kommentare

Kommentar hinzufügen

Seitenaufrufe:

Letzte 24 Stunden: 0

Letzte 7 Tage: 3

Letzte 30 Tage: 10

Insgesamt: 598