Einleitung
Following these easy steps will allow you to successfully replace the battery in the device.
Was du brauchst
-
-
Remove the two screws located on the bottom of the device with a phillips head screw driver.
-
The bottom cap will come off to reveal the inside main component.
-
-
-
Remove the main inner component using Spudger, by pushing on the USB port. This will take some force.
-
Hold on the sides with your fingers, and push to release from the top.
-
-
-
-
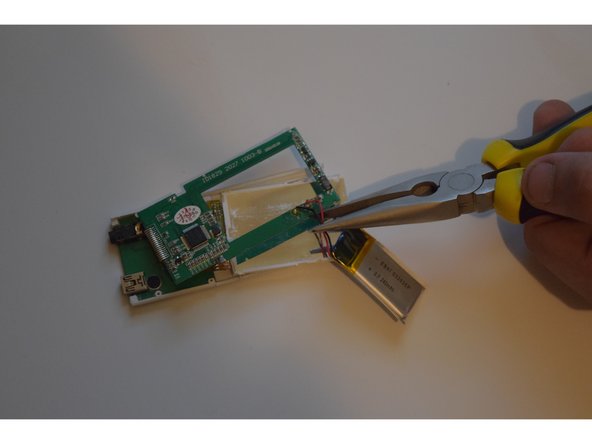
To Replace, connect the two new lines ( red and black) between the new battery and the device.
-
You have successfully replaced the battery!
-


To reassemble your device, follow these instructions in reverse order.
To reassemble your device, follow these instructions in reverse order.
Rückgängig: Ich habe diese Anleitung nicht absolviert.
3 weitere Personen haben diese Anleitung absolviert.
Team

USF Sarasota-Manatee, Team 1-2, Stewart Fall 2015 Mitglied von USF Sarasota-Manatee, Team 1-2, Stewart Fall 2015
USFSM-STEWART-F15S1G2
5 Mitglieder
17 Anleitungen geschrieben