Diese Version enthält möglicherweise inkorrekte Änderungen. Wechsle zur letzten geprüften Version.
Was du brauchst
-
Dieser Schritt ist noch nicht übersetzt. Hilf mit, ihn zu übersetzen!
-
Disconnect the spark plug to prevent the engine from accidentally starting up during service:
-
Grab the plastic spark plug cap at the end of the spark plug wire.
-
Firmly pull to disconnect the spark plug cap from the spark plug.
-
-
Dieser Schritt ist noch nicht übersetzt. Hilf mit, ihn zu übersetzen!
-
To prevent the concrete saw from rolling during service, place wheel chocks in front of and behind a rear wheel.
-
-
Dieser Schritt ist noch nicht übersetzt. Hilf mit, ihn zu übersetzen!
-
Use a 3/8-inch wrench to remove the two bolts securing the arbor guard.
-
Remove the arbor guard.
-
-
Dieser Schritt ist noch nicht übersetzt. Hilf mit, ihn zu übersetzen!
-
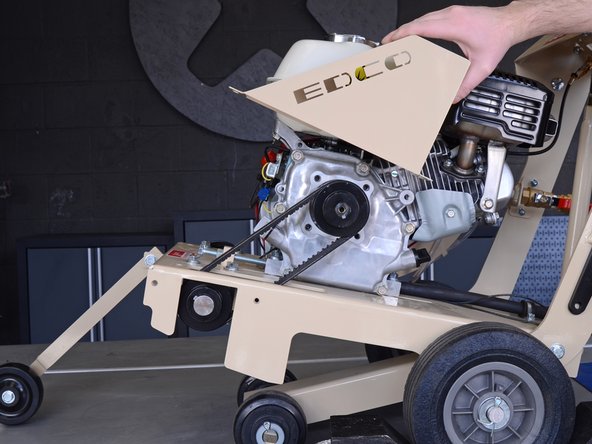
Use a 3/8-inch wrench to remove the two bolts securing the belt guard.
-
Remove the belt guard.
-
-
Dieser Schritt ist noch nicht übersetzt. Hilf mit, ihn zu übersetzen!
-
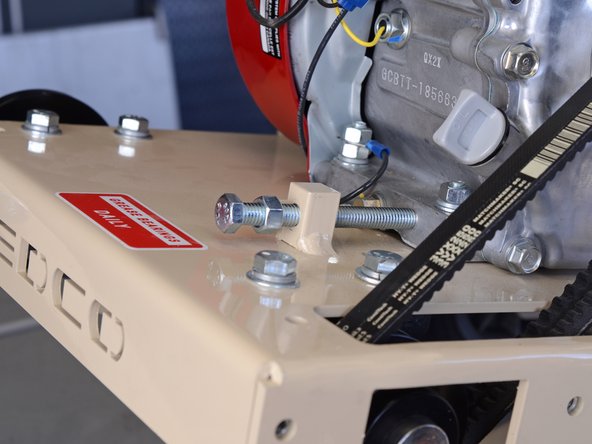
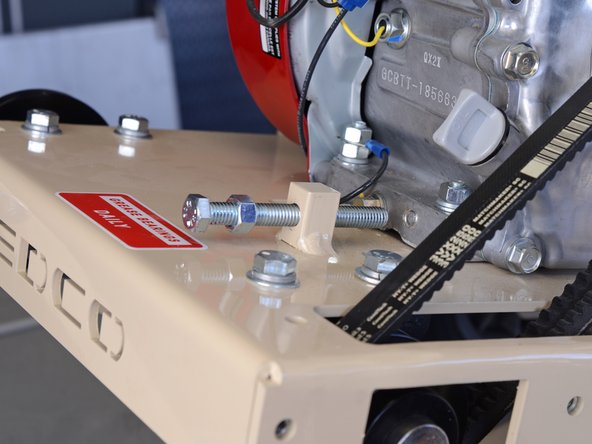
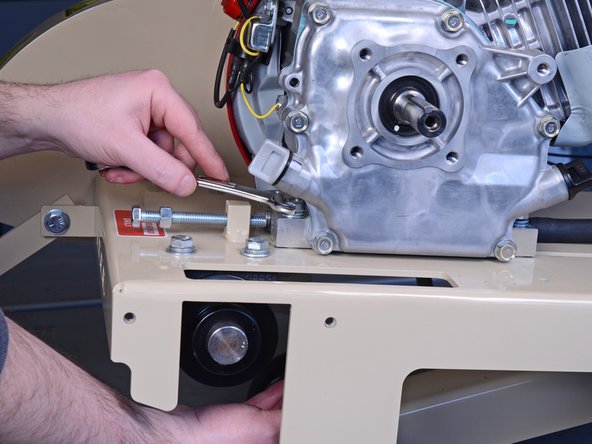
Use a 9/16-inch wrench to loosen the lock nut on the engine's tap bolt.
-
-
Dieser Schritt ist noch nicht übersetzt. Hilf mit, ihn zu übersetzen!
-
Use a 9/16-inch wrench to loosen the engine's tap bolt until the tip of the bolt is about an inch away from the engine.
-
-
Dieser Schritt ist noch nicht übersetzt. Hilf mit, ihn zu übersetzen!
-
Use a 9/16-inch wrench to loosen the five engine mounting nuts on the front and back of the engine, but do not remove them.
-
-
Dieser Schritt ist noch nicht übersetzt. Hilf mit, ihn zu übersetzen!
-
Use a flathead screwdriver or a 3/8-inch wrench to remove the screw securing the drain hose to the concrete saw.
-
-
-
Dieser Schritt ist noch nicht übersetzt. Hilf mit, ihn zu übersetzen!
-
Slide the engine forward on the frame to relieve tension on the belts.
-
-
Dieser Schritt ist noch nicht übersetzt. Hilf mit, ihn zu übersetzen!
-
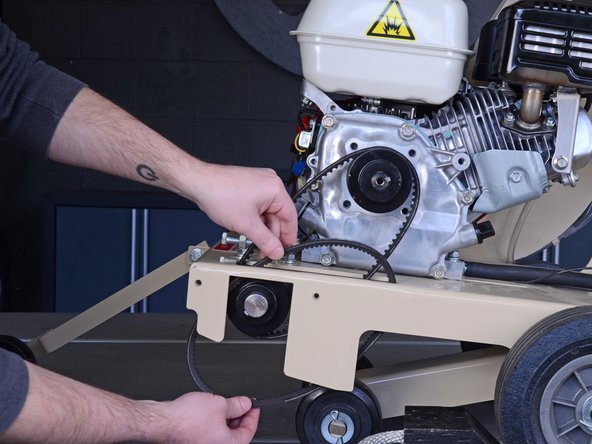
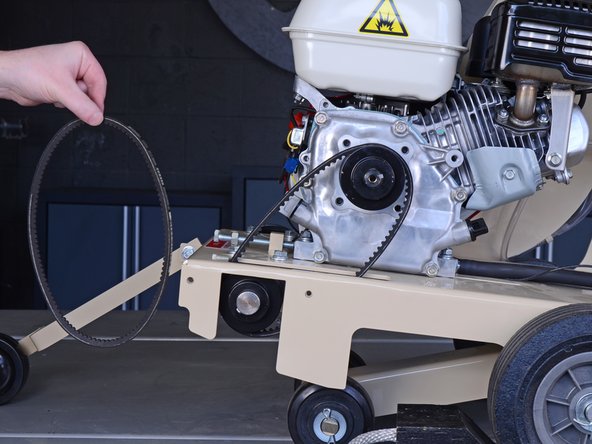
Remove the outer belt from the engine and arbor pulleys.
-
Repeat the process for the inner belt.
-
-
Dieser Schritt ist noch nicht übersetzt. Hilf mit, ihn zu übersetzen!
-
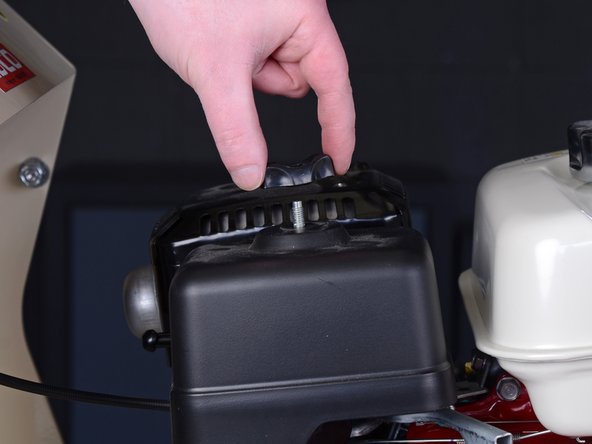
Use your fingers to unscrew and remove the wing nut securing the air filter cover.
-
-
Dieser Schritt ist noch nicht übersetzt. Hilf mit, ihn zu übersetzen!
-
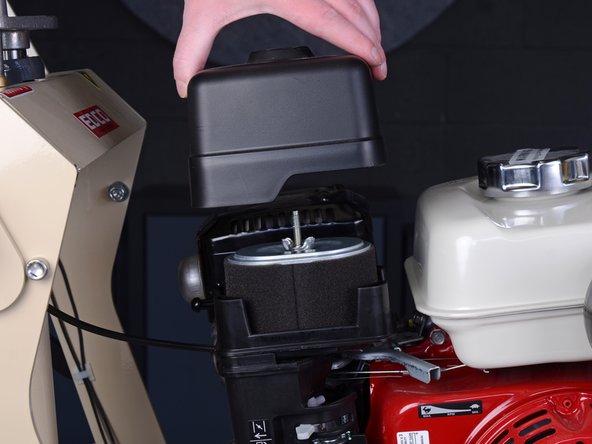
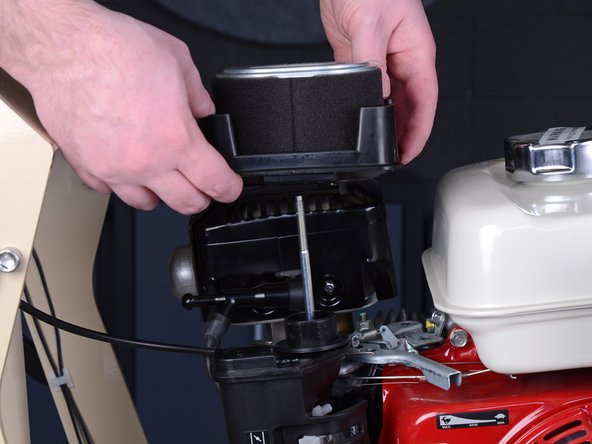
Lift the air filter cover straight up to remove it.
-
-
Dieser Schritt ist noch nicht übersetzt. Hilf mit, ihn zu übersetzen!
-
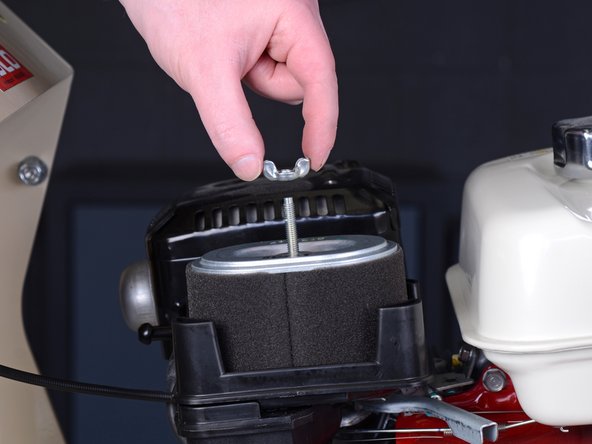
Use your fingers to unscrew and remove the wing nut securing the air filter.
-
-
Dieser Schritt ist noch nicht übersetzt. Hilf mit, ihn zu übersetzen!
-
Grab the black plastic air filter platform and lift it straight up with the air filter to remove both components.
-
-
Dieser Schritt ist noch nicht übersetzt. Hilf mit, ihn zu übersetzen!
-
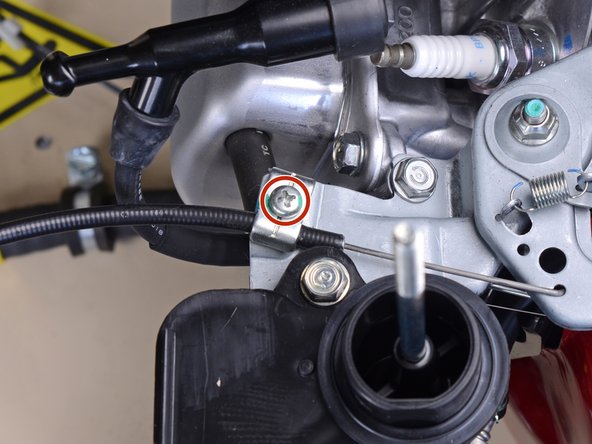
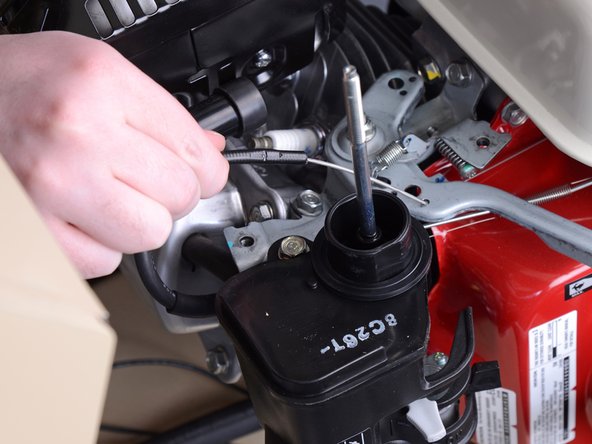
Use a Phillips #2 screwdriver to remove the screw securing the throttle cable to the engine.
-
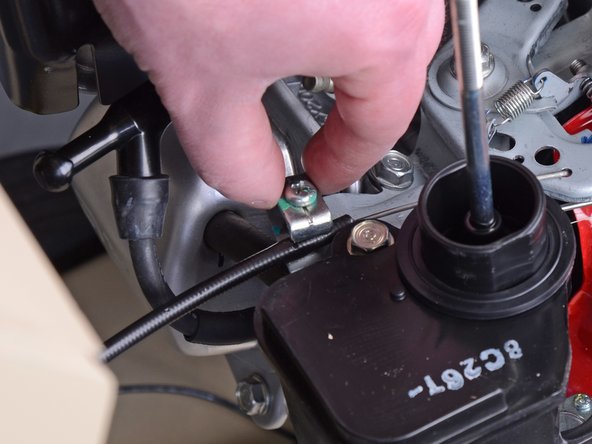
Grab the throttle cable clamp with your fingers and rotate it out of the way of the throttle cable.
-
-
Dieser Schritt ist noch nicht übersetzt. Hilf mit, ihn zu übersetzen!
-
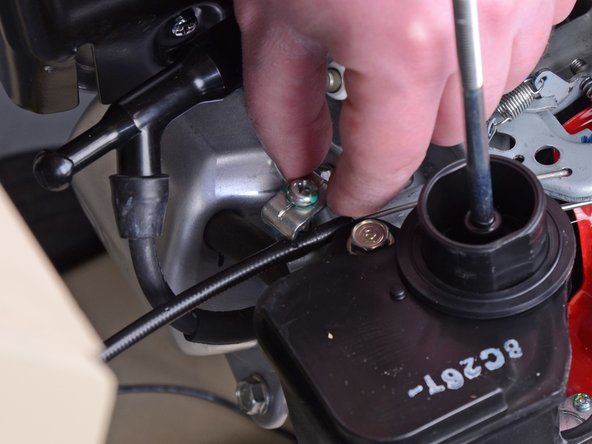
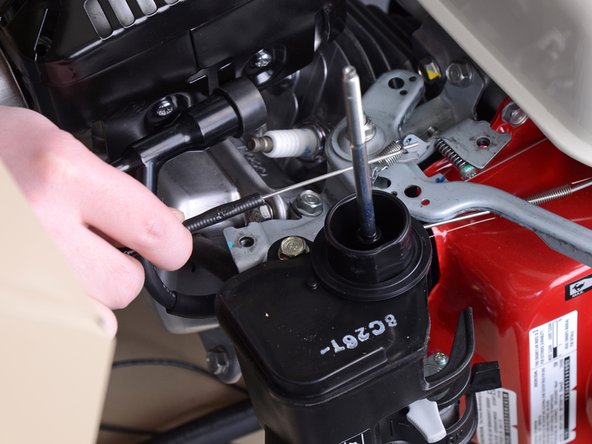
Lift the throttle cable up and pull it the end of the cable out of the hole it hooks into.
-
-
Dieser Schritt ist noch nicht übersetzt. Hilf mit, ihn zu übersetzen!
-
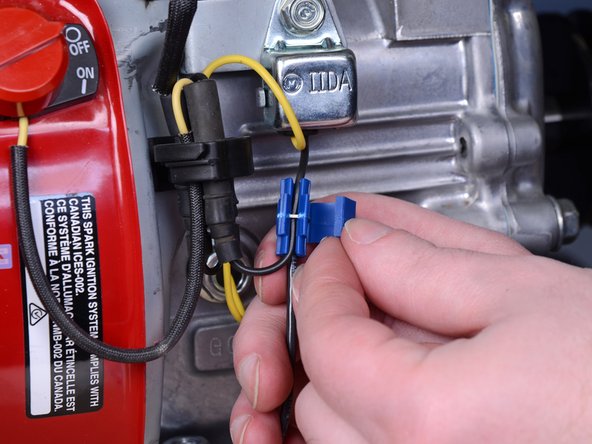
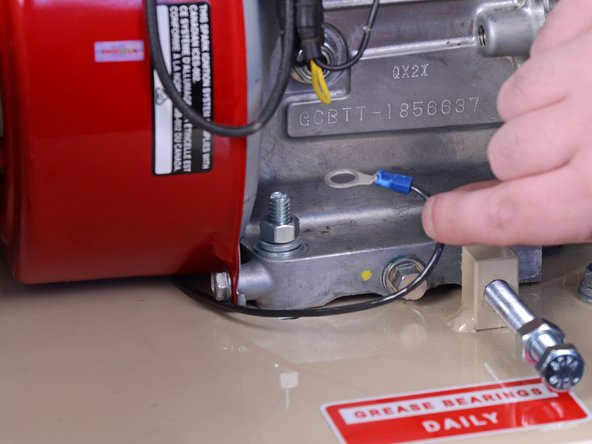
Unclip the blue wire connector on the front of the engine.
-
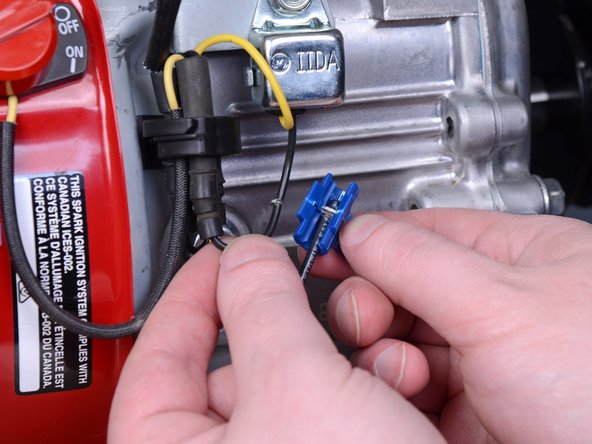
Remove the wire connector from the engine's switch wire.
-
-
Dieser Schritt ist noch nicht übersetzt. Hilf mit, ihn zu übersetzen!
-
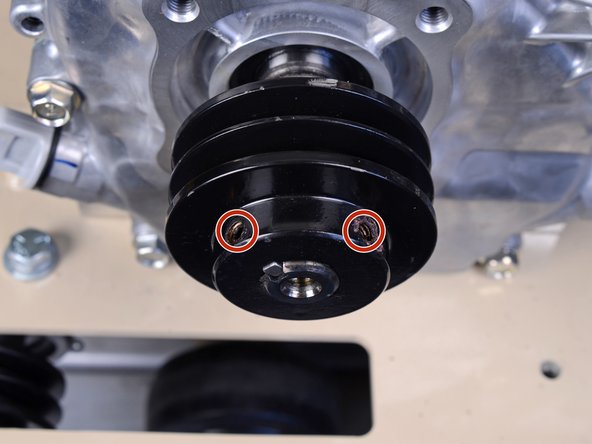
Use a 1/8-inch hex key to loosen the two set screws on the engine's drive pulley.
-
-
Dieser Schritt ist noch nicht übersetzt. Hilf mit, ihn zu übersetzen!
-
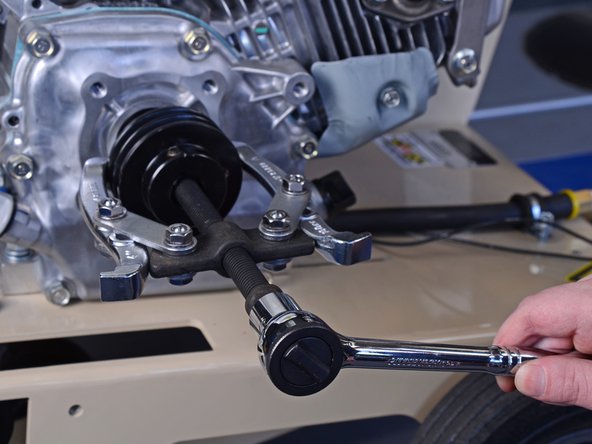
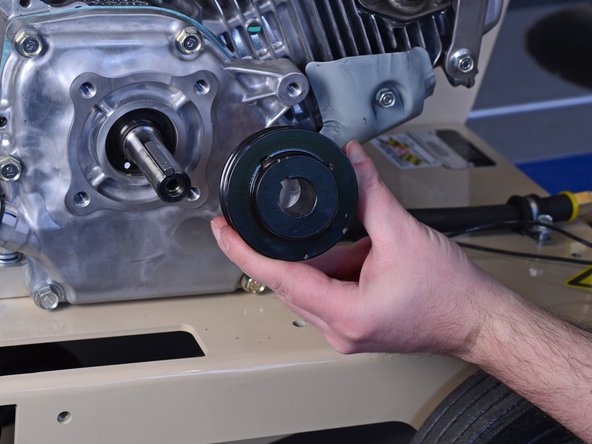
Use a gear puller and a wrench to remove the pulley from the engine's driveshaft.
-
-
Dieser Schritt ist noch nicht übersetzt. Hilf mit, ihn zu übersetzen!
-
Remove the drive pulley key from the driveshaft.
-
-
Dieser Schritt ist noch nicht übersetzt. Hilf mit, ihn zu übersetzen!
-
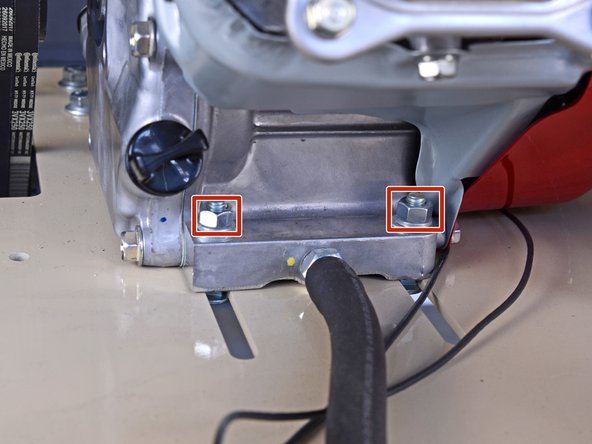
Use a 9/16-inch wrench to remove the three engine mount nuts and the ground wire at the front of the engine.
-
-
Dieser Schritt ist noch nicht übersetzt. Hilf mit, ihn zu übersetzen!
-
Use a 9/16-inch wrench to remove the two engine mount nuts on the back of the engine.
-
-
Dieser Schritt ist noch nicht übersetzt. Hilf mit, ihn zu übersetzen!
-
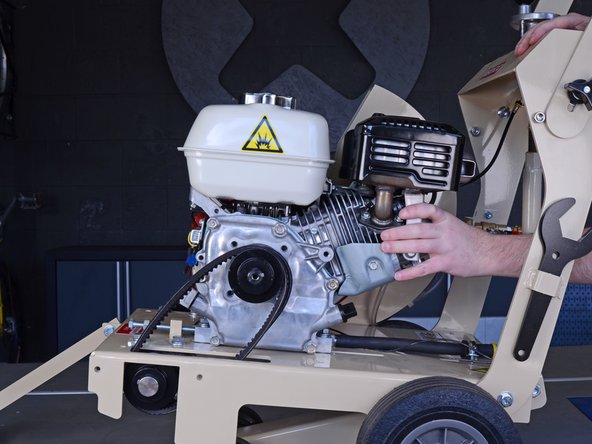
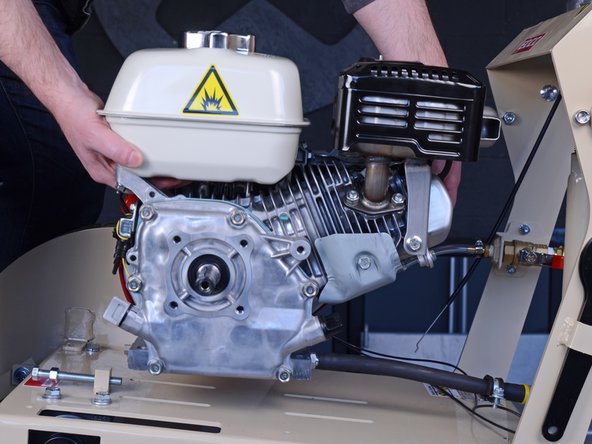
Use both hands and carefully lift the engine straight up off the concrete saw to remove it.
-
-
Dieser Schritt ist noch nicht übersetzt. Hilf mit, ihn zu übersetzen!
-
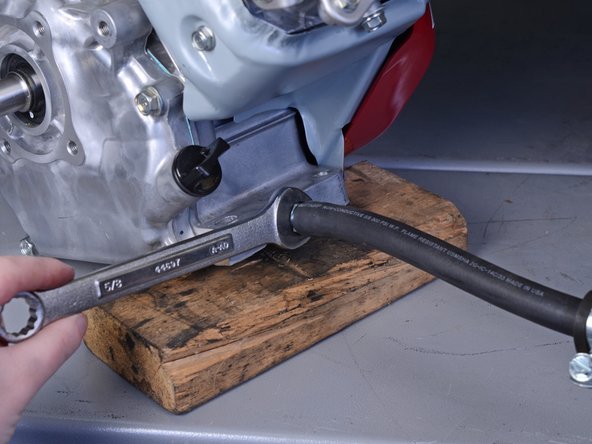
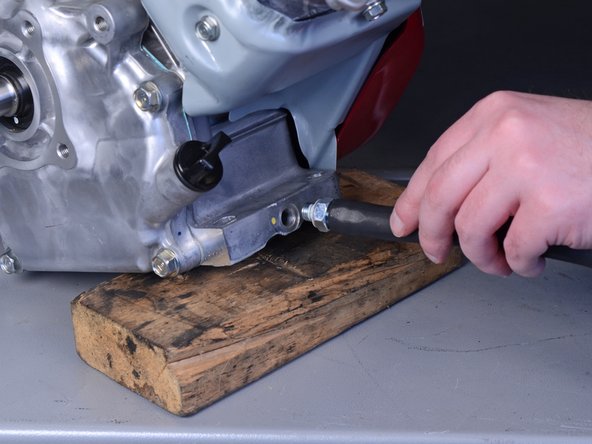
Place the engine on your work surface and prop up the rear by placing a wooden block underneath it.
-
Use a 5/8-inch wrench to unscrew and remove the drain bolt from the engine.
-


Rückgängig: Ich habe diese Anleitung nicht absolviert.
Ein:e weitere:r Nutzer:in hat diese Anleitung absolviert.
