Was du brauchst
-
-
Tools Needed and Safety Recomendation Items.
-
-
-
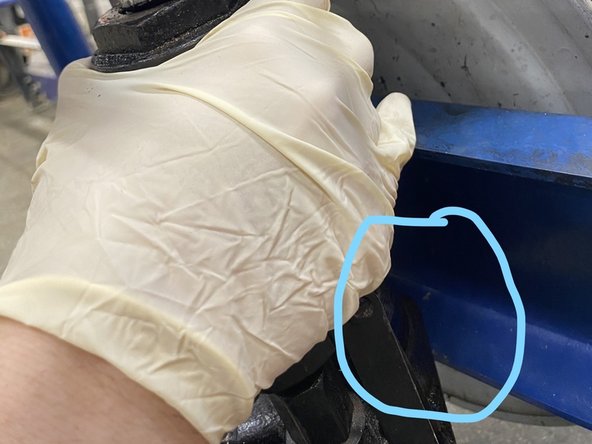
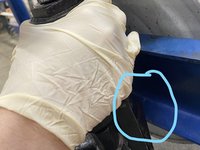
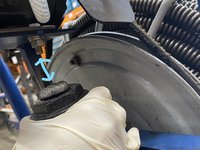
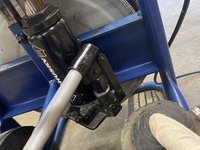
Start by placing the bottle jack ontop of the metal with the corner being on lip of the structur.
-
After its set on the lip line the middle/top of the bottle jack with the bolt of the snake motor mount
-
-
-
-
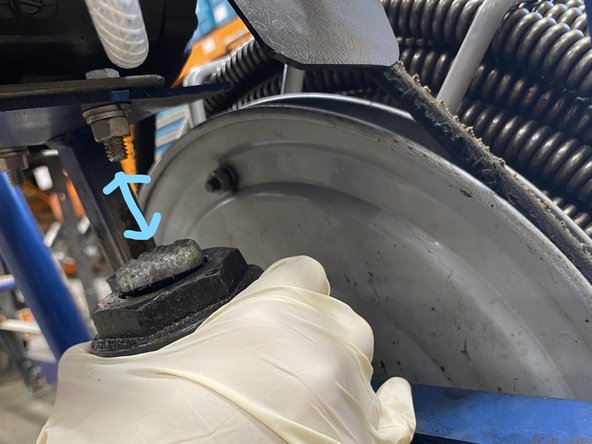
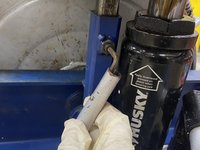
Adjust the rode of the bottle jack up till the rods head and the bolt have a nice firm and connection
-
Do Not: Over crank the rod with too much torque.
-
-
-
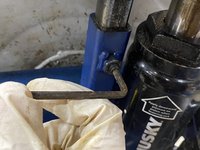
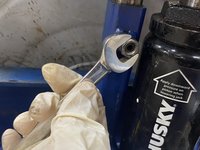
Using the 5/32 Head on a alen wrench, unscrew till the head of the screw is loose.
-
Tip: Use the bar of the bottle jack as a breaker bar for more leverage.
-
-
-
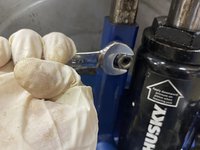
Using a 1/2" wrench, take off the Hex nut on the Screw hex point.
-
-
-
Crank the bottle jack up and feel for tention.
-
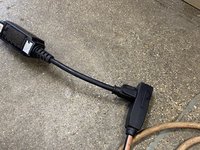
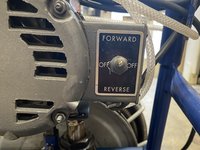
When your at the desired tention. Plug the snake into an outlet and flip the switch too ON.
-
WARNING: Be aware of the cage and wire from the snake. Failure to do so could result in injury, Please be safe when unit is on!
-
Squeez the petal too test if unit is at the desired hight and tention
-
Unit should have just enough tention not be able too stop the cage from spinning.
-
Note: Place your foot or hand against the cage with a fair amount of force. If you are able too stop the cage from spinning, the unit will need more adjustment on the belt.
-
When finished Retighten the hex screw and bolt on the shaft shown on step 5 and 6.
-
Finally remove pump jack from the unit
-


To reassemble your device, follow these instructions in reverse order.
To reassemble your device, follow these instructions in reverse order.
Rückgängig: Ich habe diese Anleitung nicht absolviert.
Eine weitere Person hat diese Anleitung absolviert.
Team
