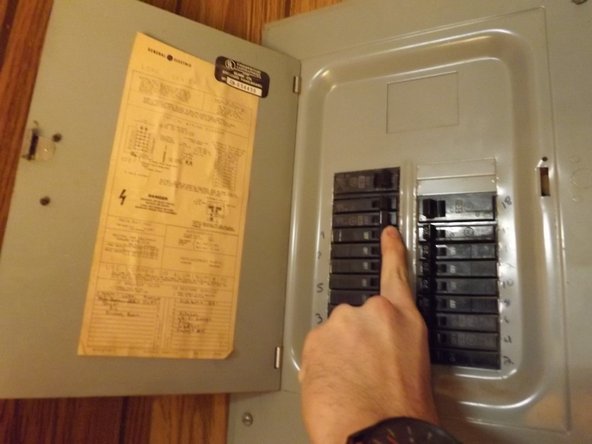
Zum Hauptinhalt wechseln

Electrical Wall Outlet Replacement

Archivierte Anleitung
Diese Anleitung wurde ausschließlich für historische Zwecke erhalten. Verwende die aktualisierte Version dieser Anleitung, um deine Reparatur durchzuführen.

Was du brauchst

  1. Electrical Wall Outlet Replacement, Wall Outlet: Schritt 1, Bild 1 von 2 Electrical Wall Outlet Replacement, Wall Outlet: Schritt 1, Bild 2 von 2
    • Turn off electrical power from the breaker by switching off the breaker that is connected to the designated area.

    • Check power by plugging in rechargeable device and check if charging. If not charging, power to the wall is off.

  2. Electrical Wall Outlet Replacement: Schritt 2, Bild 1 von 1
    • Remove the screw from the outlet plate using a flathead screwdriver.

  3. Electrical Wall Outlet Replacement: Schritt 3, Bild 1 von 1
    • Remove plate from outlet using a Phillips screwdriver.

  4. Electrical Wall Outlet Replacement: Schritt 4, Bild 1 von 1
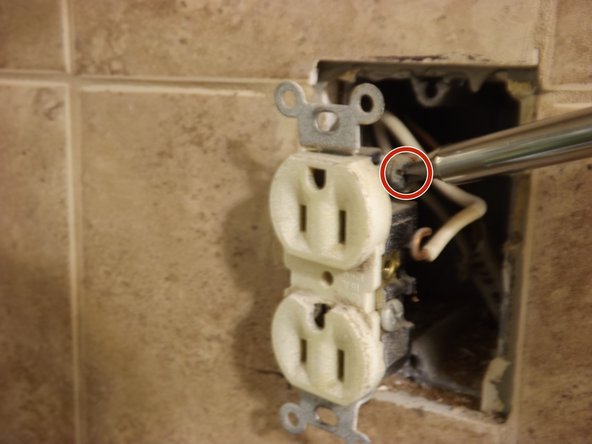
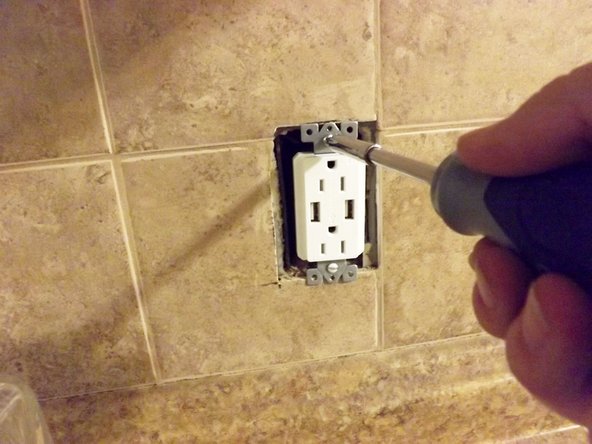
    • Remove screws from outlet that are connected to the wall using a Phillips screwdriver.

  5. Electrical Wall Outlet Replacement: Schritt 5, Bild 1 von 1
    • Remove wires from outlet by gently pulling them out of the outlet and wall.

  6. Electrical Wall Outlet Replacement: Schritt 6, Bild 1 von 2 Electrical Wall Outlet Replacement: Schritt 6, Bild 2 von 2
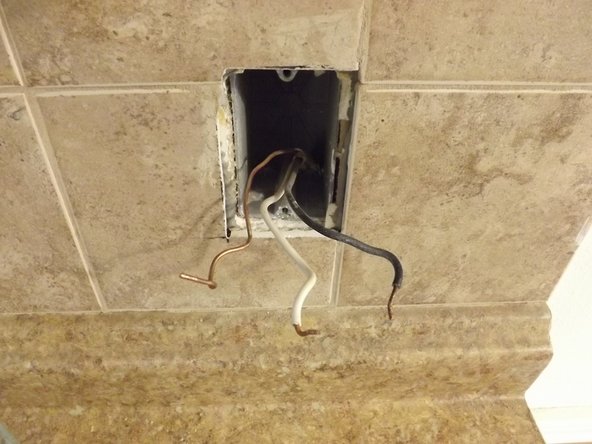
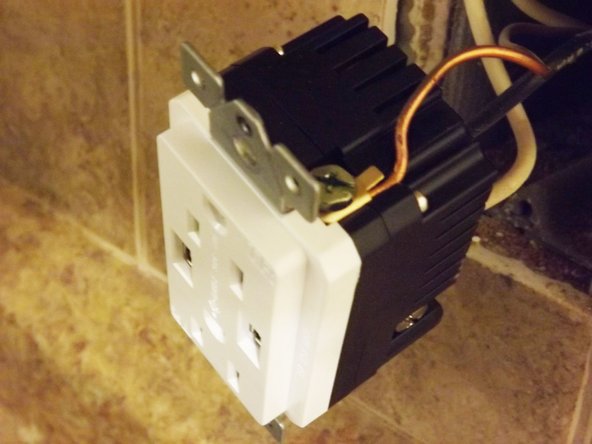
    • Connect wires to new outlet being sure to connected them to their designated port. They are labeled on the back of the outlet with: neutral, ground and hot.

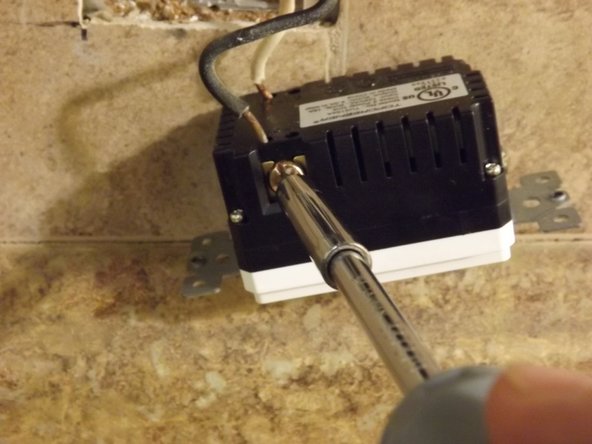
    • Insert wire into the designated port and tighten with Phillips Screwdriver.

    • Neutral Wire- White

    • Ground Wire- Copper

    • Hot Wire- Black

  7. Electrical Wall Outlet Replacement: Schritt 7, Bild 1 von 3 Electrical Wall Outlet Replacement: Schritt 7, Bild 2 von 3 Electrical Wall Outlet Replacement: Schritt 7, Bild 3 von 3
    • Reassemble the outlet as it was removed.

Abschluss

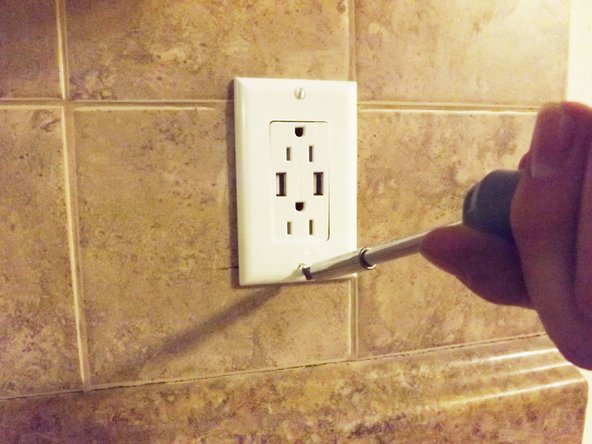
To reassemble your device, follow these instructions in reverse order.

5 weitere Nutzer:innen haben diese Anleitung absolviert.

Team

Texas Tech, Team 22-4, Rauch Spring 2016 Mitglied von Texas Tech, Team 22-4, Rauch Spring 2016

TTU-RAUCH-S16S22G4

2 Mitglieder

1 Anleitung geschrieben

0 Kommentare

Kommentar hinzufügen

Seitenaufrufe:

Letzte 24 Stunden: 0

Letzte 7 Tage: 0

Letzte 30 Tage: 1

Insgesamt: 1,209