Einleitung
Use this guide if your USB devices like smartphones are not charging from the port in your electrohome EAAC475. Also, you can use this guide to replace the port with the new one.
Was du brauchst
-
-
Remove the 10 mm Phillips #1 screw from the battery cover.
-
Remove the battery cover.
-
-
-
Remove the two 10 mm Phillips #1 screws from the bottom of the device.
-
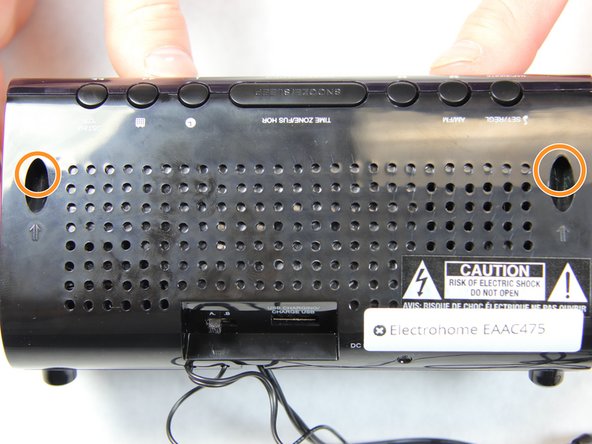
Remove two 10 mm Phillips #1 screws from the back side of the device.
-
-
-
-
Carefully and slowly pull the lower case away from the rest of the device.
-
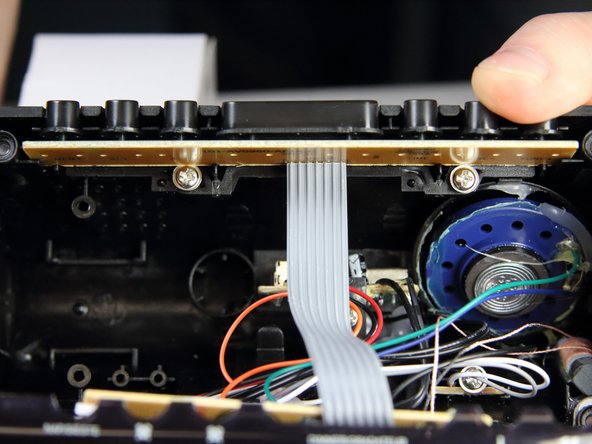
Flip the device over to access the button assembly.
-
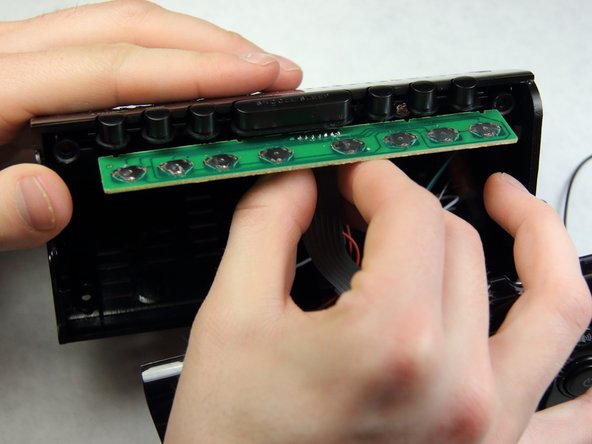
Slowly remove the button contact board from the assembly.
-
-
-
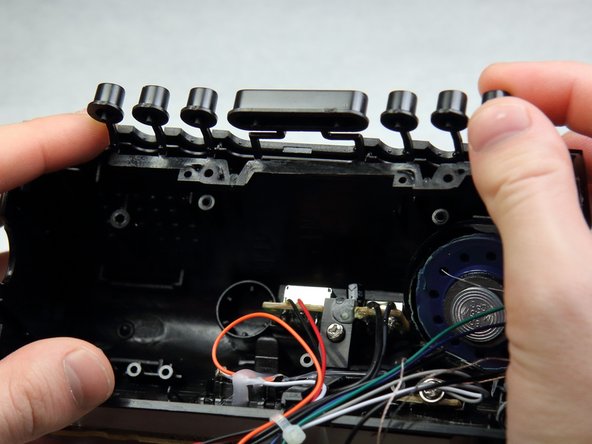
Remove the two 7 mm Phillips # 1 screws holding the buttons.
-
Remove the plastic buttons.
-
-
-
Locate the screw holding the USB circuit board in place.
-
Take a Philips head screwdriver and remove the 10 mm screw.
-
-
-
Upon removing the screw, the circuit board should slide right out to look like this.
-
-
-
Find the pins of the USB port that are soldered into the circuit board.
-
Compare the new port with the old port to be sure which pins to work with.
-
Take the soldering gun and heat up the pins one at a time.
-
Use solder wick with each pin to remove the solder.
-
Remove the USB port.
-


To reassemble your device, follow these instructions in reverse order.
To reassemble your device, follow these instructions in reverse order.
Rückgängig: Ich habe diese Anleitung nicht absolviert.
Ein:e weitere:r Nutzer:in hat diese Anleitung absolviert.
Team

IUPUI, Team 2-1, Harley Spring 2016 Mitglied von IUPUI, Team 2-1, Harley Spring 2016
IUPUI-HARLEY-S16S2G1
4 Mitglieder
6 Anleitungen geschrieben