Einleitung
If your device is on and there is no light coming from the bulb it is safe to say that the bulb itself is no longer functioning properly or has burned out. Replacement lamps can be found on the market, but you can buy bulbs to replace from the bulb cannister and replace them that way. Bulbs do tend to burn out throughout time because of use and time, it is important to make sure to check on these parts and replace them if they no longer functioning.
Was du brauchst
-
-
Remove the screw from the corner panel that houses the bulb chamber using a Phillips #0 screwdriver.
-
Slide off the panel by pulling it away from the machine.
-
-
-
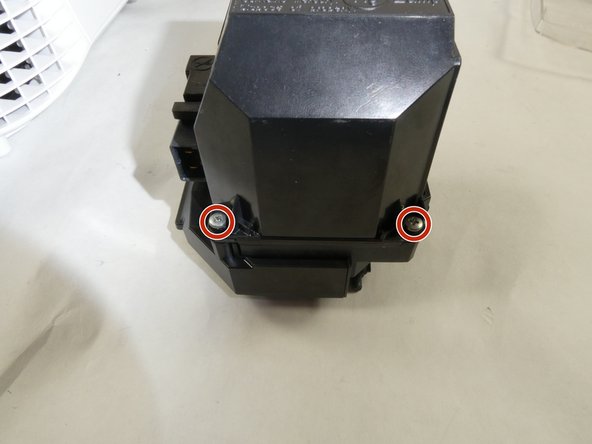
Remove the two screws from the top of the black casing using a Phillips #0 screwdriver.
-
Pull the casing out of its chamber.
-
-
-
-
Remove the four screws from the bottom of the casing using a Phillips #0 screwdriver.
-


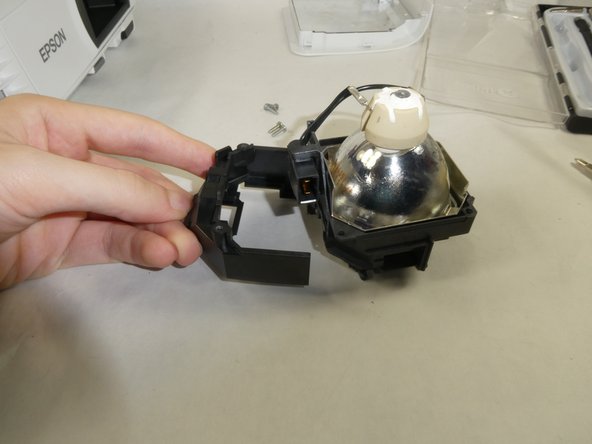
To reassemble your device, follow these instructions in reverse order.
To reassemble your device, follow these instructions in reverse order.
Rückgängig: Ich habe diese Anleitung nicht absolviert.
Ein:e weitere:r Nutzer:in hat diese Anleitung absolviert.

Team

UMass Dartmouth, Team 3-1, Botvin Fall 2022 Mitglied von UMass Dartmouth, Team 3-1, Botvin Fall 2022
UMASSD-BOTVIN-F22S3G1
3 Mitglieder
1 Anleitung geschrieben