Einleitung
If you aren't able to adjust the radio's volume, the volume dial may not be working. In just a few minutes, though, you can get it replaced!
It's important not to mix this up with the tuning dial, as they are unique components and will not be interchangable.
Was du brauchst
-
-
Pull the plastic tab on the battery compartment cover panel to loosen it, then pull the panel off.
-
-
-
On the bottom of the device case's face are two T10 screws. Use a T10 Torx screwdriver to remove the two screws.
-
-
-
While using the T10 screwdriver, remove the two T10 screws on the back of the device's case.
-
-
-
-
Remove the two Phillips #00 screws located in the center of the back of the device.
-
-
-
On the bottom of the device's case there are two rubber feet. Pry the rubber feet off of the case.
-
-
-
Unplug the socket connection from the I/O board as shown in the image.
-
-
-
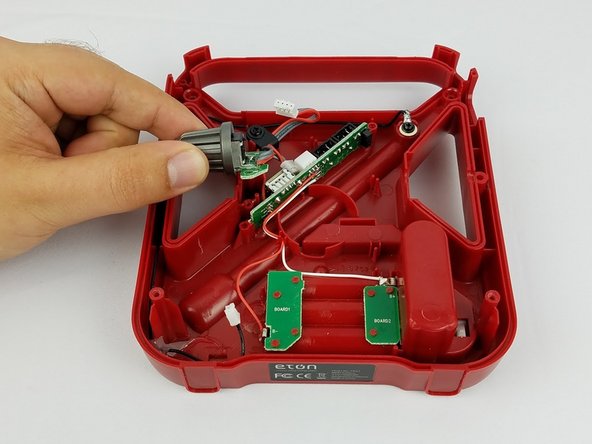
Remove the two 1 cm Philips #0 screws that secure the tuning dial panel to the device case.
-


To reassemble your device, follow these instructions in reverse order.
To reassemble your device, follow these instructions in reverse order.
Rückgängig: Ich habe diese Anleitung nicht absolviert.
Eine weitere Person hat diese Anleitung absolviert.
Team

USF Tampa, Team 1-6, Nance Spring 2016 Mitglied von USF Tampa, Team 1-6, Nance Spring 2016
USFT-NANCE-S16S1G6
4 Mitglieder
13 Anleitungen geschrieben