Zum Hauptinhalt wechseln
Gemeinsam reparieren - Jetzt registrieren

Eureka 1660SP Extendable Pole Realignment

Was du brauchst

  1. Eureka 1660SP Extendable Pole Realignment, Motor Housing: Schritt 1, Bild 1 von 2 Eureka 1660SP Extendable Pole Realignment, Motor Housing: Schritt 1, Bild 2 von 2
    • Before you start, make sure your vacuum is unplugged the power outlet.

    • Press and hold down the black button below the handle while pulling the pole out.

    Frag FixBot
  2. Eureka 1660SP Extendable Pole Realignment: Schritt 2, Bild 1 von 2 Eureka 1660SP Extendable Pole Realignment: Schritt 2, Bild 2 von 2
    • Press the black separator switch to separate the top and bottom halves of the vacuum.

    Frag FixBot
  3. Eureka 1660SP Extendable Pole Realignment: Schritt 3, Bild 1 von 3 Eureka 1660SP Extendable Pole Realignment: Schritt 3, Bild 2 von 3 Eureka 1660SP Extendable Pole Realignment: Schritt 3, Bild 3 von 3
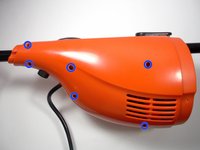
    • Use a #2 Phillips head screwdriver to remove six 13.9mm screws from the side of the motor housing (top half) as shown.

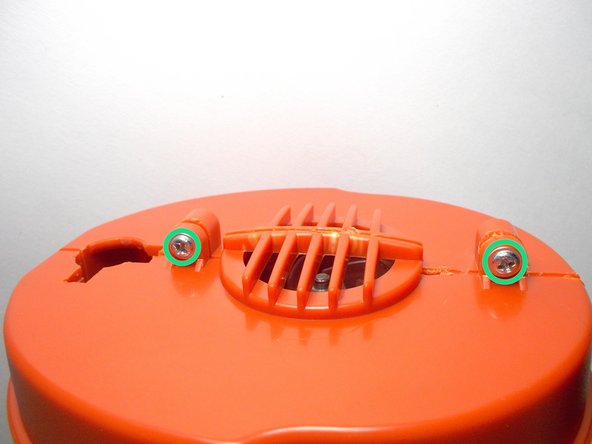
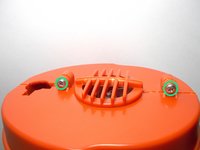
    • Remove two 14.1mm screws from the front face of the housing. You are now all set to open the housing.

    • Keep a watchful eye on the two screws from the front face. These two have additional collars to their necks and will not fit in any of the other holes, yet no other screw will fit in their spots without the collar.

    Frag FixBot
  4. Eureka 1660SP Extendable Pole Realignment, Realignment of the extendable pole: Schritt 4, Bild 1 von 1
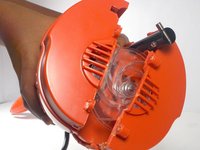
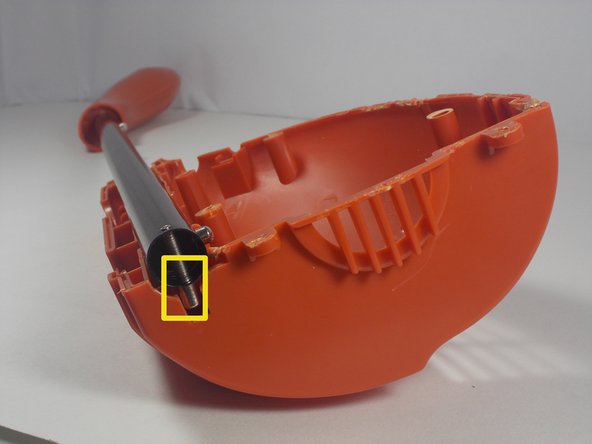
    • Once the housing is open, locate the solid chrome plated piece at the front end of the extendable pole.

    Frag FixBot
  5. Eureka 1660SP Extendable Pole Realignment: Schritt 5, Bild 1 von 2 Eureka 1660SP Extendable Pole Realignment: Schritt 5, Bild 2 von 2
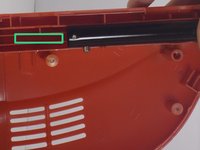
    • On the side of the motor housing which does not hold the engine, find the center track which runs along the inside of the housing.

    • Re-insert the chrome plated piece into the center track.

    Frag FixBot
Abschluss

To reassemble your device, follow these instructions in reverse order.

Eine weitere Person hat diese Anleitung absolviert.

Team

UMass Dartmouth, Team 1-1, Gulbrandsen Fall 2013 Mitglied von UMass Dartmouth, Team 1-1, Gulbrandsen Fall 2013

UMASSD-GULBRANDSEN-F13S1G1

3 Mitglieder

12 Anleitungen geschrieben

0 Kommentare zur Anleitung

Kommentar hinzufügen

Seitenaufrufe:

Letzte 24 Stunden: 0

Letzte 7 Tage: 9

Letzte 30 Tage: 72

Insgesamt: 749