Diese Version enthält möglicherweise inkorrekte Änderungen. Wechsle zur letzten geprüften Version.
Was du brauchst
-
Dieser Schritt ist noch nicht übersetzt. Hilf mit, ihn zu übersetzen!
-
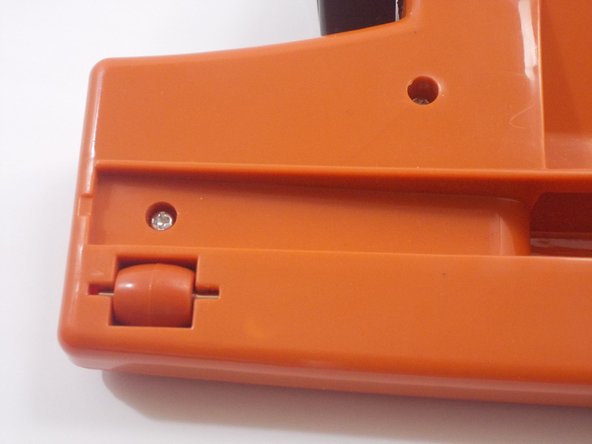
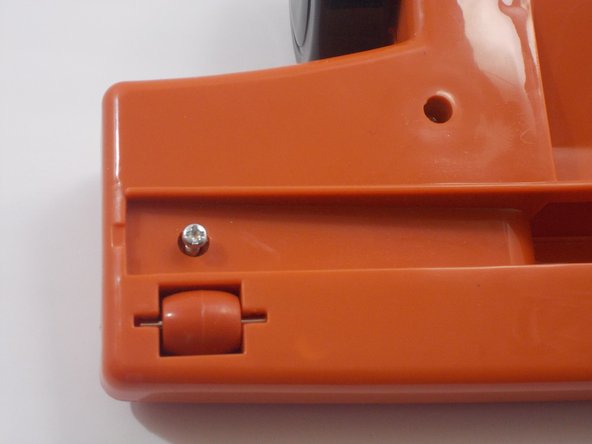
Press the black separator switch and lightly pull the bottom half away from the top.
-
-
Dieser Schritt ist noch nicht übersetzt. Hilf mit, ihn zu übersetzen!
-
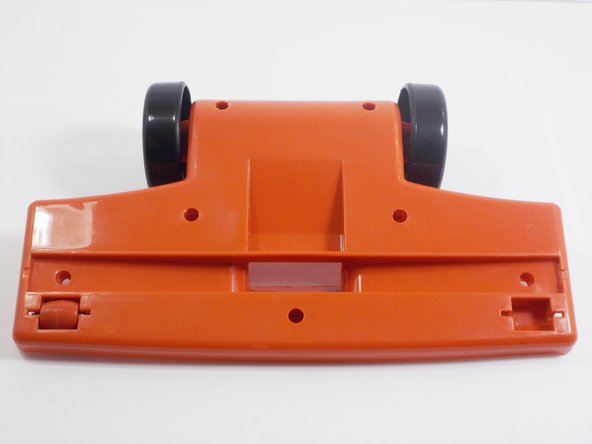
Remove the vacuum head from the lower half of the body.
-
-
-
Dieser Schritt ist noch nicht übersetzt. Hilf mit, ihn zu übersetzen!
-
Turn the vacuum head wheels up and remove all seven 13.9mm screws from the bottom using a #2 Phillips head screwdriver.
-
Separate the top and bottom of the vacuum head. Set the top aside.
-
-
Dieser Schritt ist noch nicht übersetzt. Hilf mit, ihn zu übersetzen!
-
Turn the vacuum head's bottom over so that the inside of the head is facing up.
-
Using a Phillips #00 screwdriver, press down on metal bar of the roller on one side until it releases from the housing.
-
Turn the vacuum head's bottom over and pull at the roller and bar until they are completely out of the housing.
-
-
Dieser Schritt ist noch nicht übersetzt. Hilf mit, ihn zu übersetzen!
-
Press the new bar and roller into place.
-
Replace the screws.
-


Team

UMass Dartmouth, Team 1-1, Gulbrandsen Fall 2013 Mitglied von UMass Dartmouth, Team 1-1, Gulbrandsen Fall 2013
UMASSD-GULBRANDSEN-F13S1G1
3 Mitglieder
12 Anleitungen geschrieben