Einleitung
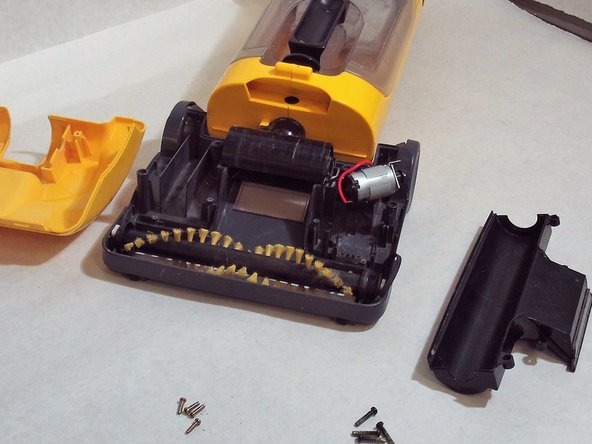
Throughout this repair, you will be guided to complete a belt replacement for the Eureka 402A Mini Light Upright Vacuum. This may be completed in a few steps and is a fairly simple repair.
Was du brauchst
Einführungsvideo
-
-
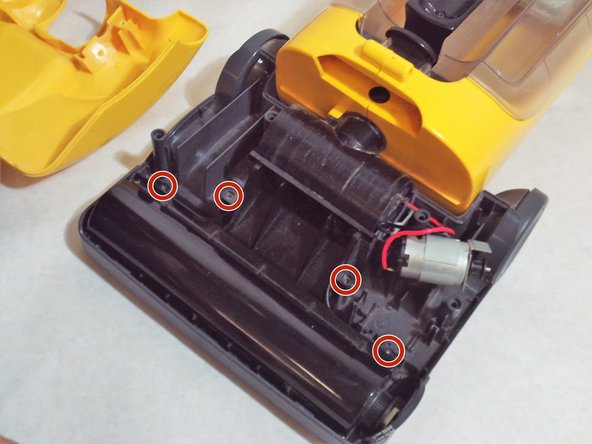
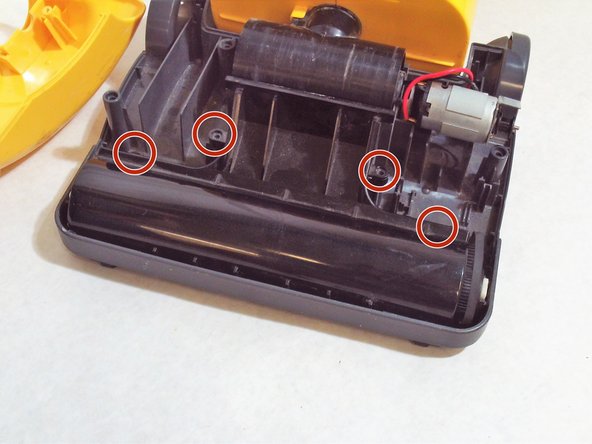
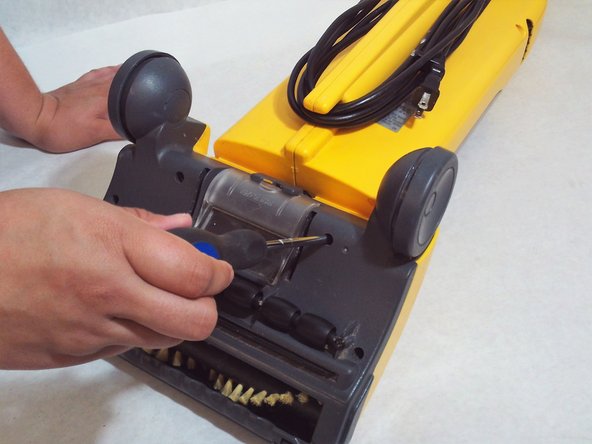
Rotate the vacuum faced down. With your Phillips screwdriver, remove the following four screws.
-
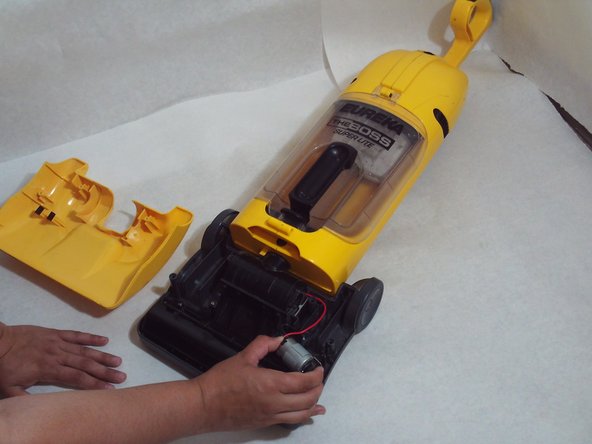
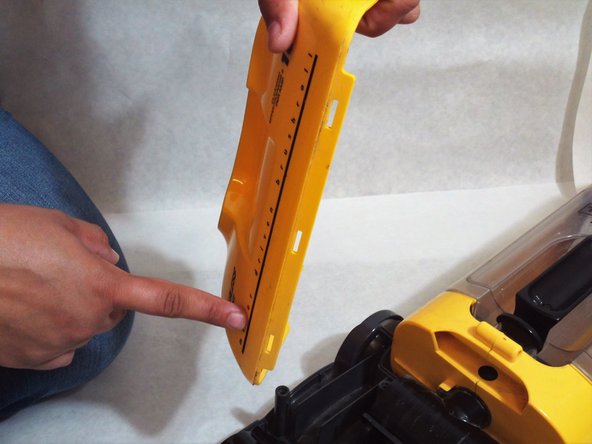
To remove the yellow housing, lift upwards.
-
-
-
-
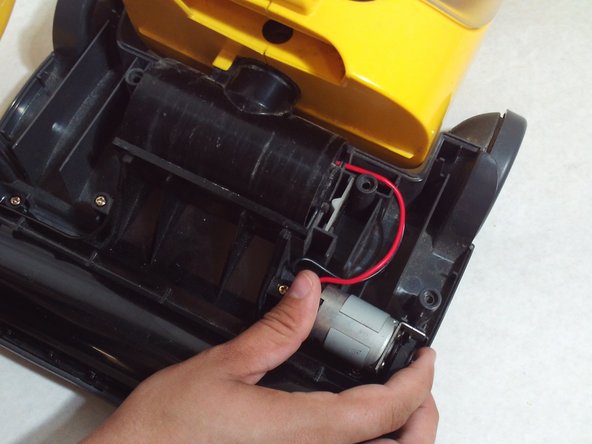
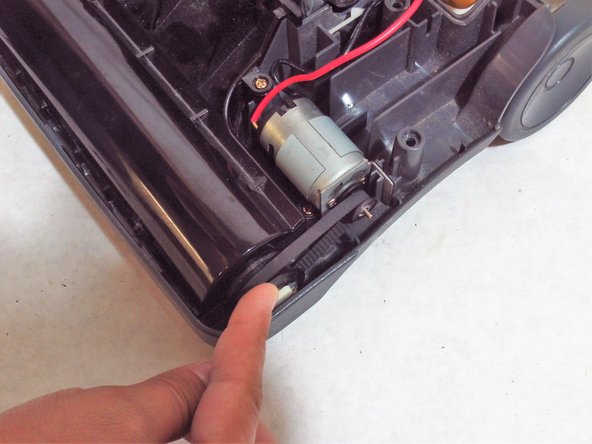
After the brush has been removed, replace the vacuum belt.
-
Following the replacement of the belt, secure the brush back into housing.
-
Place the black cover back on the housing, and secure with screws.
-
-
-
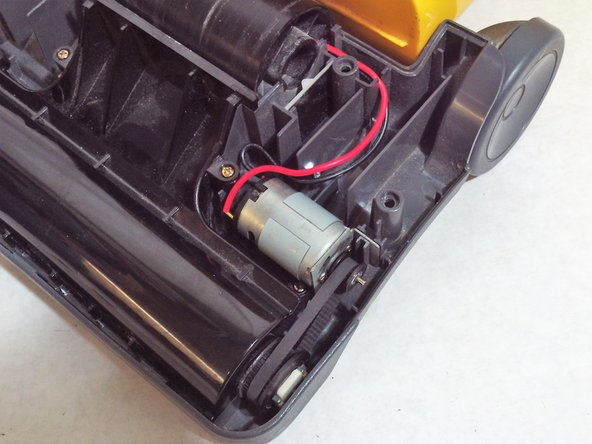
Stretch and wind the belt onto the motor notch.
-
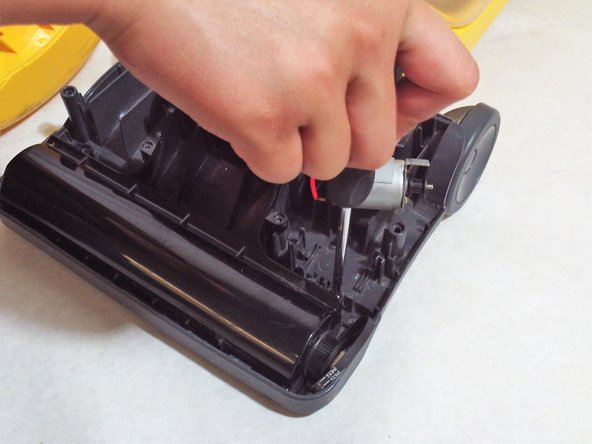
Replace the motor back into position, then check the movement of the belt.
-
-
-
Lock in the yellow housing on front face of the vacuum by pressing and linking it to the grey notches.
-


To reassemble your device, follow these instructions in reverse order.
To reassemble your device, follow these instructions in reverse order.
Rückgängig: Ich habe diese Anleitung nicht absolviert.
Ein:e weitere:r Nutzer:in hat diese Anleitung absolviert.
Team

Washington State, Team S1-G7, Hope Summer 2018 Mitglied von Washington State, Team S1-G7, Hope Summer 2018
WSU-HOPE-SU18S1G7
3 Mitglieder
1 Anleitung geschrieben
2 Kommentare
You might've spent a little more time on the step: "To remove the yellow housing, lift upwards." Not happening on my planet. I have removed just about everything from under the yellow housing and disconnected the wheeled brush nozzle from the upright. Without (yet) disconnecting the two. In all these years no one asking you to reveal this secret?
I just had the same problem removing the yellow cover. With the yellow cover tilted up, insert a very small flat blade screwdriver starting from one side between the grey part and the yellow cover. Work the screwdriver inwards until it hits one of the 3 clips. Then you should be able to release the first clip by working the screwdriver into it. Work the screwdriver across the front to release the other two clips.