Einleitung
This guide walks you through removing the exhaust and dust cup filters in the Eureka SuctionSeal 2.0 Pet vacuum. Refer to this guide if you notice a bad smell coming from your vacuum or you are experiencing poor suction.
-
-
Place the device upright with the brush roller closest to you.
-
Pull up on the latch at the top of the dust cup.
-
Tilt the top of the dust cup forward and pull towards yourself, removing the container from the device.
-
-
-
Locate the gray exhaust filter cover at the top of the vacuum's base.
-
Grip the two tabs in the middle of the filter cover and rotate it counter-clockwise.
-
Lift the cover away from the vacuum.
-
-
-
-
Grab the tab on the exhaust filter.
-
Lift the filter straight up from the vacuum's base.
-
-
-
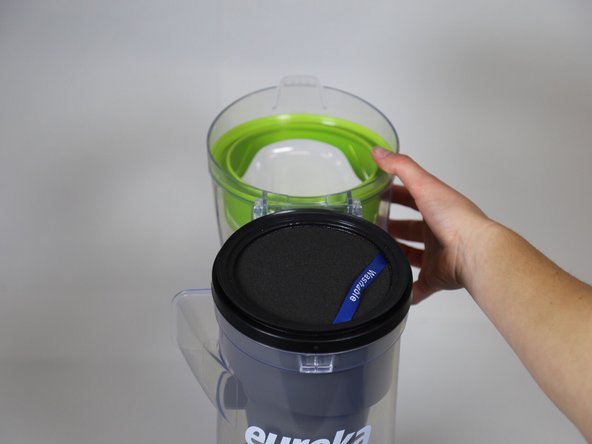
Locate the lid at the top of the previously removed dust cup.
-
Lift the latch and lay the cover back.
-


To reassemble your device, follow these instructions in reverse order.
To reassemble your device, follow these instructions in reverse order.
Team

Cal Poly, Team S4-G5, Livingston Fall 2017 Mitglied von Cal Poly, Team S4-G5, Livingston Fall 2017
CPSU-LIVINGSTON-F17S4G5
3 Mitglieder
16 Anleitungen geschrieben