Einleitung
Is your FAO Schwarz Apex 1 vibrating or making odd noises while driving? This guide will show you how to replace a broken axle to correct any errors shown in the vehicle’s performance. All this fix requires is the J1 Screwdriver Bit to remove and reinstall up to four 10mm screws throughout the axle replacement process.
Was du brauchst
-
-
Position device so that the wheels are on a firm surface .
-
Using a J1 Screwdriver bit, remove the 11 mm screw from the center of the wheel.
-
-
-
After removing the 11 mm screw, firmly grip the wheel and pull away from the vehicle.
-
-
-
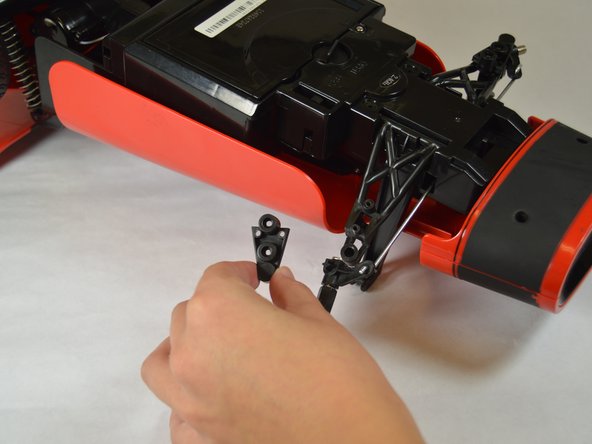
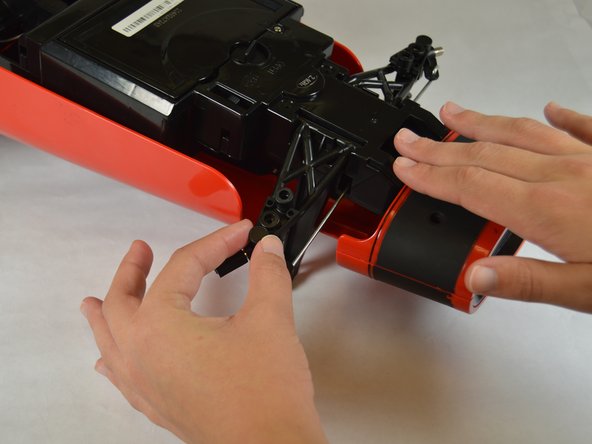
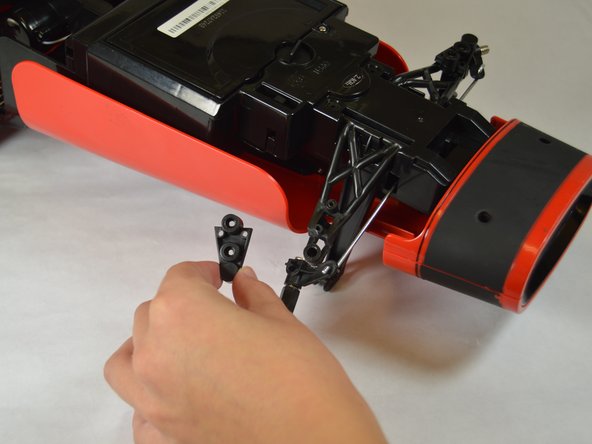
Position device upside down so that the screws on the plastic axle pieces can be removed.
-
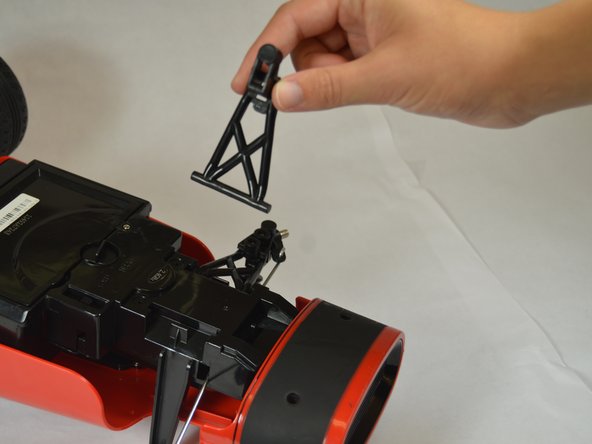
Use J1 screwdriver bit to remove two 10 mm screws to remove the plastic axle pieces to make access to the telescopic piston easier.
-
-
-
-
Using a tool such as a spudger, gradually maneuver spring off of telescopic piston.
-
-
-
Carefully turn the vehicle over so that the bottom side is facing upward.
-
Using a J1 Screwdriver bit, remove the two 10 mm screws that secure the wheel bearing.
-
Pull the plastic piece that secures the wheel bearing off of the axle.
-


To reassemble your device, follow these instructions in reverse order.
To reassemble your device, follow these instructions in reverse order.

Team

Appalachian State University, Team S1-G4, Menagarishvili Fall 2018 Mitglied von Appalachian State University, Team S1-G4, Menagarishvili Fall 2018
APSU-MENAGARISHVILI-F18S1G4
4 Mitglieder
5 Anleitungen geschrieben