Diese Version enthält möglicherweise inkorrekte Änderungen. Wechsle zur letzten geprüften Version.
Was du brauchst
-
Dieser Schritt ist noch nicht übersetzt. Hilf mit, ihn zu übersetzen!
-
Remove 6 Phillips screws securing the back plate.
-
Lift the back panel out of the amp.
-
-
Dieser Schritt ist noch nicht übersetzt. Hilf mit, ihn zu übersetzen!
-
Saw the adhesive from in between the reverb tank and the cabinet until the reverb tank is released.
-
-
Dieser Schritt ist noch nicht übersetzt. Hilf mit, ihn zu übersetzen!
-
Use wire cutters to remove the zip tie fastening the wires to the speaker.
-
-
-
Dieser Schritt ist noch nicht übersetzt. Hilf mit, ihn zu übersetzen!
-
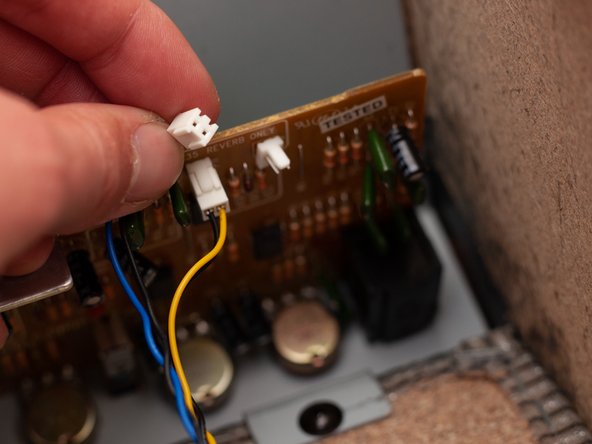
Unplug the wires leading from the reverb tank to the motherboard.
-
Notice they are plugged in where the motherboard is labeled "reverb only."
-
-
Dieser Schritt ist noch nicht übersetzt. Hilf mit, ihn zu übersetzen!
-
Glue the new reverb tank into place following the directions provided with the glue or epoxy of your choice.
-
-
Dieser Schritt ist noch nicht übersetzt. Hilf mit, ihn zu übersetzen!
-
Reconnect the wires and test the new reverb tank ensuring the effect properly matches the knob setting.
-


2 Kommentare
I guess there is 2 versions of this amp the one in this video this version of the tank has 3 springs; this looks like 2…
Wonder which one was the newer version?
Interesting! I wouldn’t know which is the newer version, but the one in the YouTube video does look like it has higher quality parts…