Einleitung
Has your Fitbit Charge HR stopped vibrating? Perhaps your Fitbit vibration motor has gone bad. This guide is a tear-down of the Fitbit Charge HR demonstrating how to replace the Vibration Motor for the Fitbit Charge HR.
Was du brauchst
-
-
Remove the four 2.9 mm screws from the back of the display using a Torx screwdriver.
-
Remove the back cover from the device.
-
-
-
Remove the two 2.9 mm Torx screws holding the circuit board in place.
-
Carefully pry the board out using an opening tool.
-
-
-
-
Locate the vibration motor on the motherboard.
-
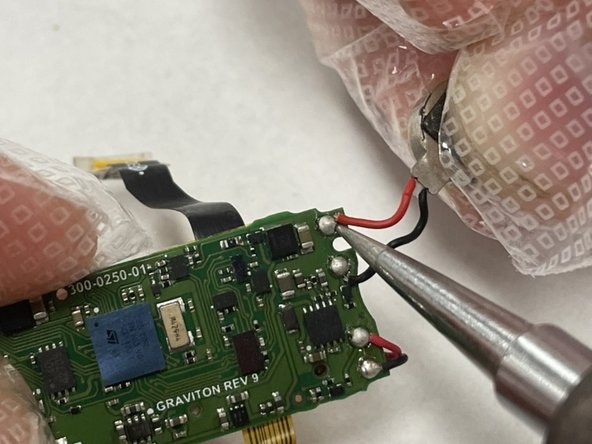
Desolder the red and black wires connected to the motherboard from the vibration motor.
-
Replace with new vibration motor.
-
To reassemble your device, follow these instructions in reverse order.
To reassemble your device, follow these instructions in reverse order.


