Einleitung
This replacement guide will show you how to access the power button chip on a Fujifilm FinePix S5100 camera. Keep in mind, the blue tab at the end of the white digital ribbon is very fragile and easy to break or misplace. It helps keep the digital ribbon tape secured in the receiving port. Take care and be mindful in handling this power button chip, as there is no clamp or part that secures it in place. The white tip of the power button chip slides into place at the top of the battery compartment.
Was du brauchst
-
-
Orient the camera upside down with the lens facing to the left and the battery compartment facing directly toward you.
-
-
-
Open the battery door by pushing down and in the direction of the arrow on the door.
-
-
-
-
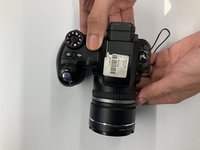
Turn the camera so the screen is facing you and the camera lens is facing away from you.
-
-
-
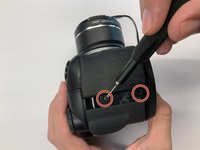
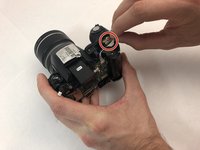
Remove two 0.9mm Phillips #000 screws from the right side of the camera.
-
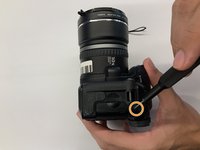
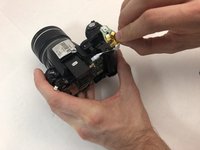
Remove one 0.6mm Phillips #000 screw from the left side of the camera.
-
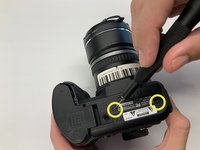
Remove two 0.6mm Phillips #000 screws from the bottom side of the camera.
-
-
-
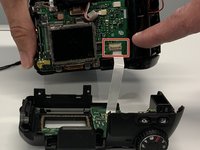
Carefully pull the back cover and separate it from the rest of the camera body.
-
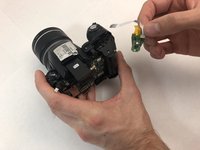
Carefully flip up the top of the tan colored tab to disconnect the ribbon cable and completely remove the back cover.
-
-
-
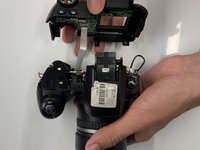
Using your hand, gently grab the back of the power button chip from underneath the actual power button.
-


To reassemble your device, follow these instructions in reverse order.
To reassemble your device, follow these instructions in reverse order.
Team

Embry-Riddle Aeronautical University, Team S6-G1, Salas Fall 2019 Mitglied von Embry-Riddle Aeronautical University, Team S6-G1, Salas Fall 2019
ERAU-SALAS-F19S6G1
4 Mitglieder
8 Anleitungen geschrieben