Was du brauchst
-
-
Locate and remove two 6.4mm screws on the bottom of the camera with a Phillips #00 screwdriver.
-
-
-
Locate the latch on the battery door marked by the word "BATT." Use your finger to pry it open.
-
-
-
Locate and remove three black 3.80mm screws on the back of the camera with the Phillips #00 screwdriver.
-
-
-
-
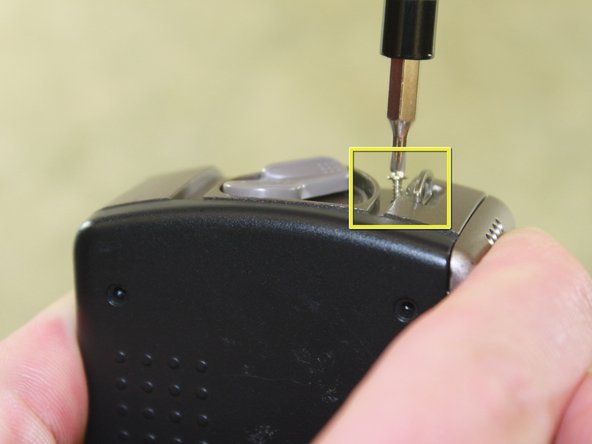
Locate and remove the 6.4mm screws located on either side of the camera with a Phillips #00 screwdriver.
-
-
-
Locate the film door latch located on the side of the camera.
-
Insert the spudger under the latch.
-
Pry the latch upward, applying force perpendicular to the camera.
-
-
-
Insert the flat edge of the spudger between the gold front casing and the black back casing.
-
Pry the spudger upward until the black back casing snaps out and is dislodged on that edge of the camera.
-
-
-
Squeeze the camera by placing a thumb on the tab marked CE.
-
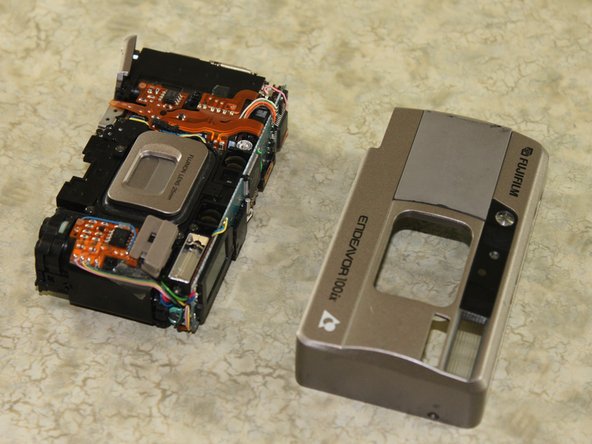
Pull the back half of the camera firmly away from the camera body.
-
-
-
Locate and remove the 3.80mm screw inside the film compartment with the Phillips #00 screwdriver.
-
-
-
Pull the front cover off of the camera by lifting the tripod tab over the tripod hole.
-
-
-
Locate the film door on the bottom of the camera.
-
Locate the pin that connects the film door to the camera
-
-
-
Push the pin from one side with the spudger until it comes out on the opposite side.
-
-
-
Grab the pin with the tweezers and gently pull it out.
-
The film door should feel lose.
-
-
-
Remove the door with your fingers and discard it.
-
Insert the replacement film door appropriately to fit where the broken door was located.
-


To reassemble your device, follow the instructions from the "Disassembling Fujifilm Endeavor 100ix Outer Casing" guide in reverse order.
To reassemble your device, follow the instructions from the "Disassembling Fujifilm Endeavor 100ix Outer Casing" guide in reverse order.
Team

Cal Poly, Team 13-5, Forte Winter 2011 Mitglied von Cal Poly, Team 13-5, Forte Winter 2011
CPSU-FORTE-W11S13G5
5 Mitglieder
11 Anleitungen geschrieben