Zum Hauptinhalt wechseln

Fujifilm FinePix S1 EVF/LCD Button Replacement

Was du brauchst

  1. Fujifilm FinePix S1 EVF/LCD Button Replacement, Back Camera Body: Schritt 1, Bild 1 von 3 Fujifilm FinePix S1 EVF/LCD Button Replacement, Back Camera Body: Schritt 1, Bild 2 von 3 Fujifilm FinePix S1 EVF/LCD Button Replacement, Back Camera Body: Schritt 1, Bild 3 von 3
    • Remove the 7 screws on the perimeter of the camera body.

  2. Fujifilm FinePix S1 EVF/LCD Button Replacement: Schritt 2, Bild 1 von 3 Fujifilm FinePix S1 EVF/LCD Button Replacement: Schritt 2, Bild 2 von 3 Fujifilm FinePix S1 EVF/LCD Button Replacement: Schritt 2, Bild 3 von 3
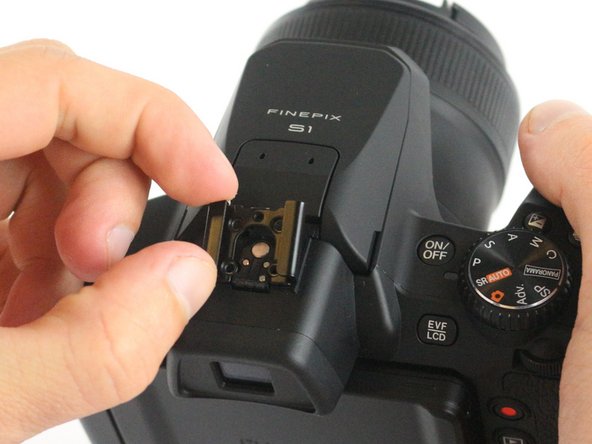
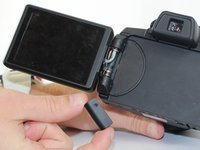
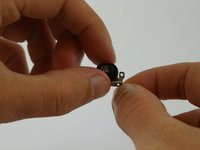
    • Remove the flash accessory cap.

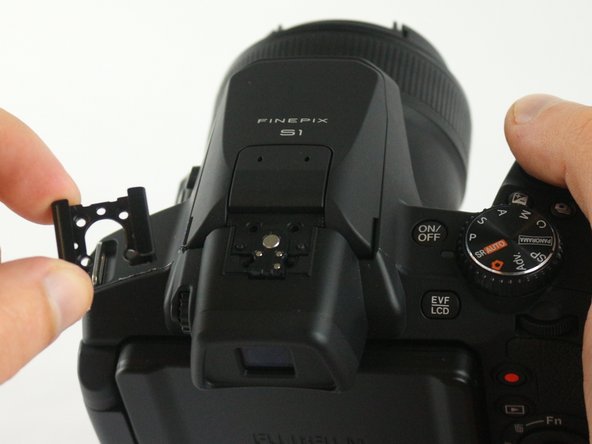
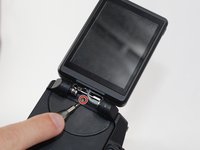
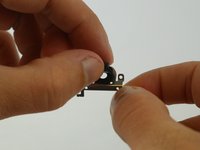
    • Remove the spacer covering the screws under the flash accessory cap.

  3. Fujifilm FinePix S1 EVF/LCD Button Replacement: Schritt 3, Bild 1 von 3 Fujifilm FinePix S1 EVF/LCD Button Replacement: Schritt 3, Bild 2 von 3 Fujifilm FinePix S1 EVF/LCD Button Replacement: Schritt 3, Bild 3 von 3
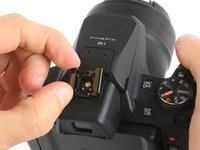
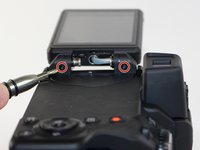
    • Remove the 4 screws from the inside of the flash accessory slot.

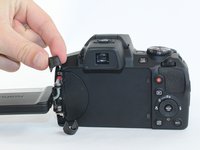
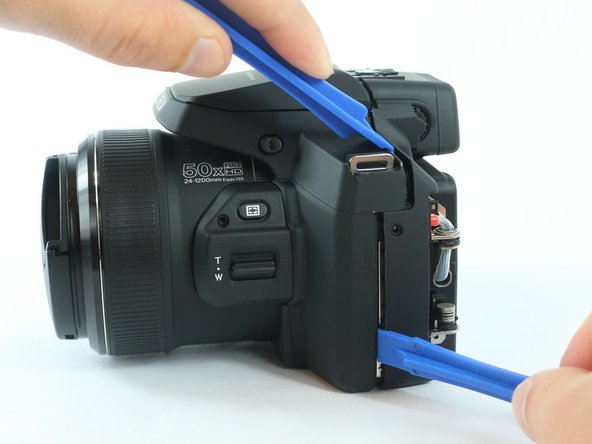
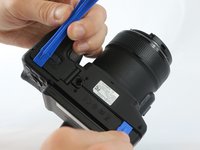
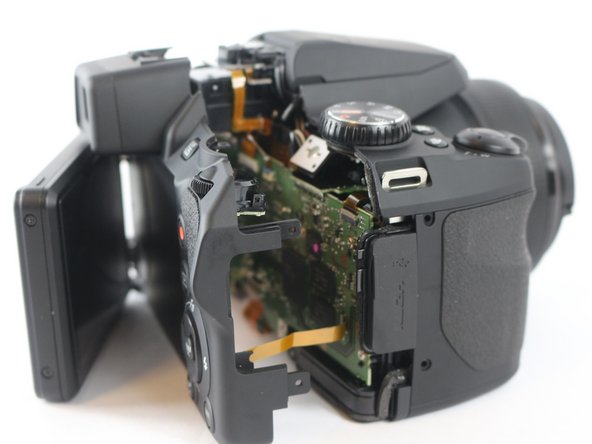
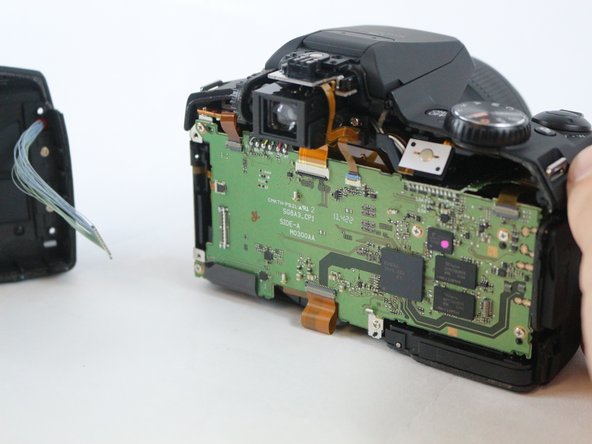
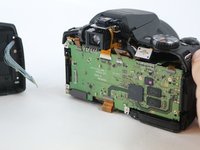
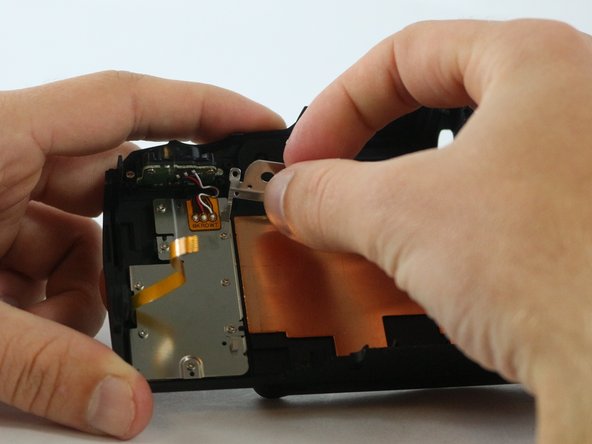
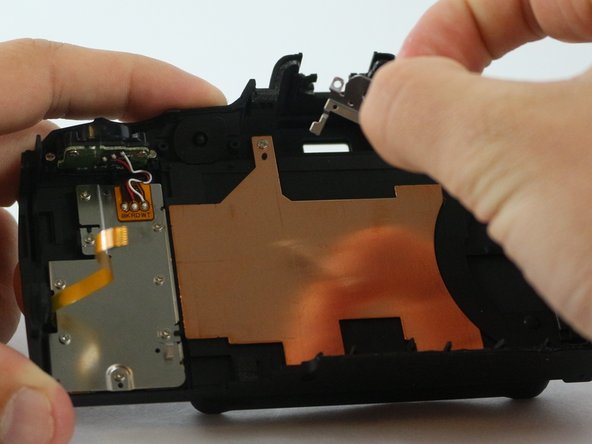
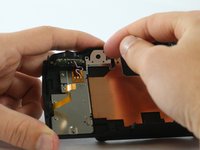
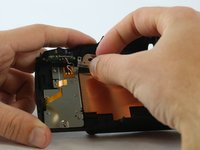
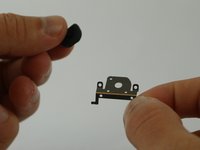
    • Pull off the flash accessory slot.

  4. Fujifilm FinePix S1 EVF/LCD Button Replacement: Schritt 4, Bild 1 von 2 Fujifilm FinePix S1 EVF/LCD Button Replacement: Schritt 4, Bild 2 von 2
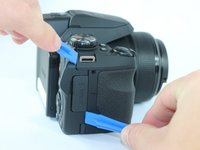
    • Remove the screw from LCD Screen hinge cover.

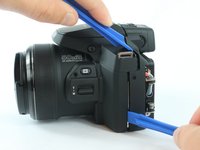
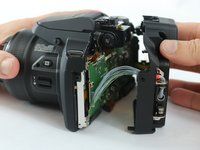
    • Remove the LCD Screen hinge cover.

  5. Fujifilm FinePix S1 EVF/LCD Button Replacement: Schritt 5, Bild 1 von 3 Fujifilm FinePix S1 EVF/LCD Button Replacement: Schritt 5, Bild 2 von 3 Fujifilm FinePix S1 EVF/LCD Button Replacement: Schritt 5, Bild 3 von 3
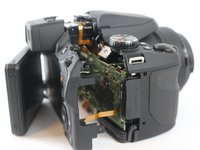
    • Remove the 3 screws located on the LCD screen hinge.

    • Remove the caps from both ends of the LCD screen hinge by lifting them off.

  6. Fujifilm FinePix S1 EVF/LCD Button Replacement: Schritt 6, Bild 1 von 1
    • Remove the 2 screws from under the LCD hinge caps.

  7. Fujifilm FinePix S1 EVF/LCD Button Replacement: Schritt 7, Bild 1 von 3 Fujifilm FinePix S1 EVF/LCD Button Replacement: Schritt 7, Bild 2 von 3 Fujifilm FinePix S1 EVF/LCD Button Replacement: Schritt 7, Bild 3 von 3
    • Pry apart the back body from the rest of the camera.

  8. Fujifilm FinePix S1 EVF/LCD Button Replacement: Schritt 8, Bild 1 von 2 Fujifilm FinePix S1 EVF/LCD Button Replacement: Schritt 8, Bild 2 von 2
    • Carefully pull the back body off of the camera.

    • Make sure to not yank off the connections from the body to the motherboard.

  9. Fujifilm FinePix S1 EVF/LCD Button Replacement: Schritt 9, Bild 1 von 3 Fujifilm FinePix S1 EVF/LCD Button Replacement: Schritt 9, Bild 2 von 3 Fujifilm FinePix S1 EVF/LCD Button Replacement: Schritt 9, Bild 3 von 3
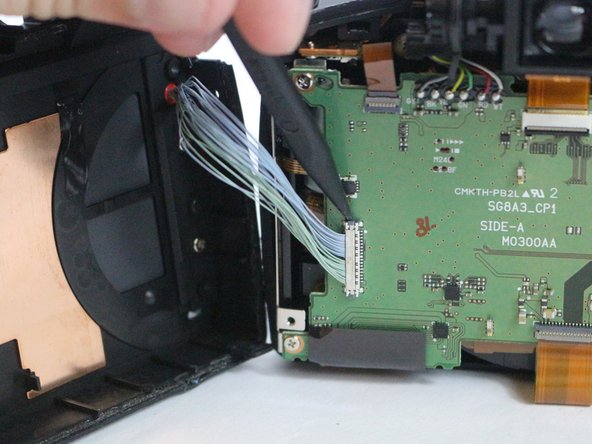
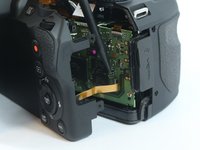
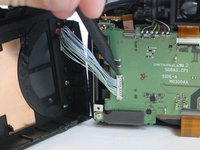
    • Use a spudger to lift up on the tab, releasing the yellow wire strip.

    • Use a spudger to lift up on the side tab, releasing the blue wire connection.

  10. Fujifilm FinePix S1 EVF/LCD Button Replacement, EVF/LCD Button Cover: Schritt 10, Bild 1 von 1
    • Remove 2 screws from back of EVF/LCD button.

  11. Fujifilm FinePix S1 EVF/LCD Button Replacement: Schritt 11, Bild 1 von 3 Fujifilm FinePix S1 EVF/LCD Button Replacement: Schritt 11, Bild 2 von 3 Fujifilm FinePix S1 EVF/LCD Button Replacement: Schritt 11, Bild 3 von 3
    • Pull EVF/LCD button frame out from the camera casing.

  12. Fujifilm FinePix S1 EVF/LCD Button Replacement: Schritt 12, Bild 1 von 3 Fujifilm FinePix S1 EVF/LCD Button Replacement: Schritt 12, Bild 2 von 3 Fujifilm FinePix S1 EVF/LCD Button Replacement: Schritt 12, Bild 3 von 3
    • Pull button cover off of the button frame.

Abschluss

To reassemble your device, follow these instructions in reverse order.

Team

USF Tampa, Team 3-6, Sullivan Spring 2016 Mitglied von USF Tampa, Team 3-6, Sullivan Spring 2016

USFT-SULLIVAN-S16S3G6

4 Mitglieder

12 Anleitungen geschrieben

0 Kommentare

Kommentar hinzufügen

Seitenaufrufe:

Letzte 24 Stunden: 0

Letzte 7 Tage: 3

Letzte 30 Tage: 7

Insgesamt: 1,032