Diese Anleitung enthält neuere Änderungen. Wechsel zur neuesten unüberprüften Version.
Einleitung
This guide will explain how to remove the front cover from the camera. This is the cover that surrounds the lens side of the camera. Removing screws from the motherboard will allow the front casing to be removed.
Was du brauchst
-
-
Remove the screws from the bottom of the camera using the tri-wing screwdriver.
-
Three 5.4 mm tri-head screws.
-
-
-
Remove screws from charger side of camera using the Phillips 00 screwdriver.
-
Two 3.3 mm Phillips #00 screws.
-
-
-
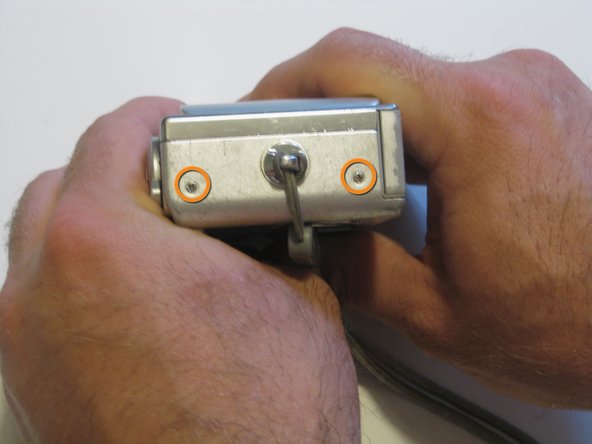
Remove screws from wrist-strap side of camera using the Phillips 00 screwdriver.
-
Two 3.3 mm Phillips #00 screws.
-
-
-
-
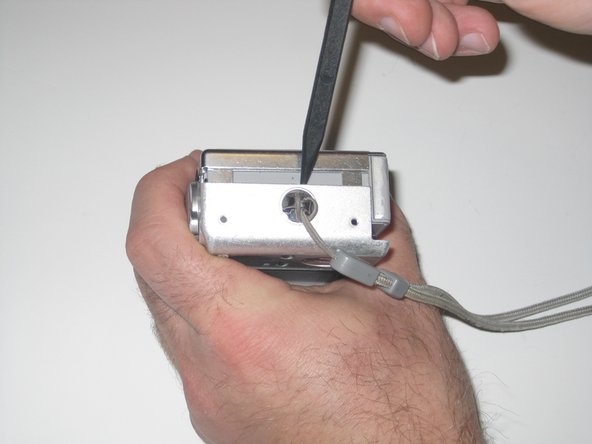
Separate the front and back casing using the spudger.
-
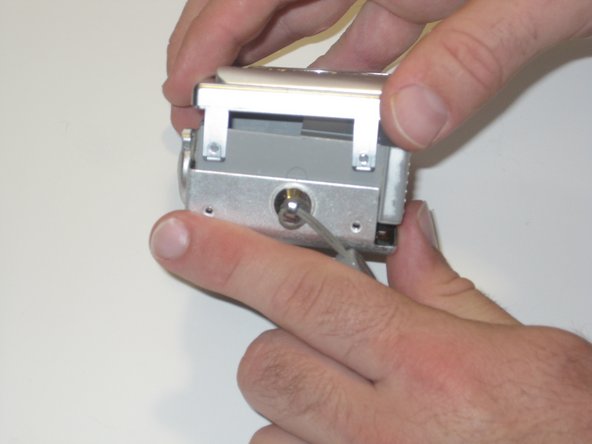
Gently pull apart the two casings.
-
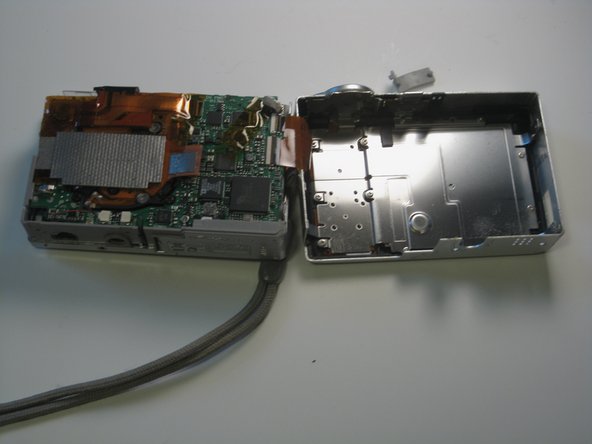
Pull the back casing away from the camera.
-
-
-
Remove screws from motherboard using the Phillips 00 screwdriver.
-
Two 2.5 mm widehead Phillips screws
-
One 3.3 mm #00 Phillips screws
-
Three 2.5 mm #00 Phillips screws (black screws)
-
-
-
Rotate the front cover clockwise onto its side and remove the single screw on the side using a Phillips 00 screwdriver.
-
Remove 3.3 mm #00 Phillips screw from the side of the front screen.
-
-
-
Firmly grasp both the motherboard and front cover. Slowly pull the front cover away from the motherboard.
-


To reassemble your device, follow these instructions in reverse order.
To reassemble your device, follow these instructions in reverse order.
Rückgängig: Ich habe diese Anleitung nicht absolviert.
Ein:e weitere:r Nutzer:in hat diese Anleitung absolviert.
Team

Clemson, Team 13-4, Benson Spring 2013 Mitglied von Clemson, Team 13-4, Benson Spring 2013
CLEM-BENSON-S13S13G4
2 Mitglieder
16 Anleitungen geschrieben