Einleitung
This guide is used to replace or swap the cord/paracord on the G-Wolves Hati mouse.
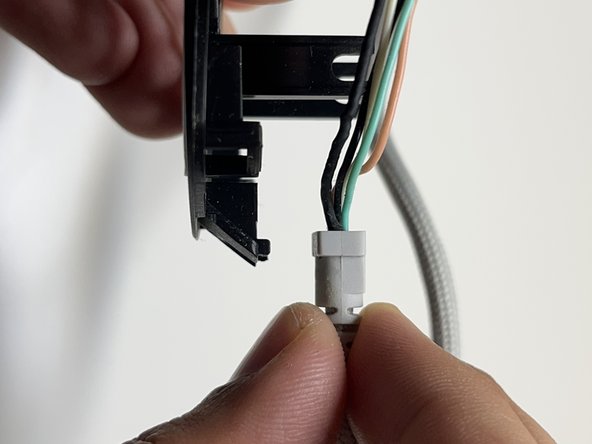
The paracord is the wire which connects the mouse to the computer and allows the mouse to function and guide the cursor. It is a lighter form of cable which is used in gaming mice in order to alleviate the feeling of having a cable attached to a mouse. With a faulty paracord, the mouse sensor could not only be stuttering, but there is a chance the entire mouse will disconnect or not function whatsoever (even if the rest of the components are all in working condition).
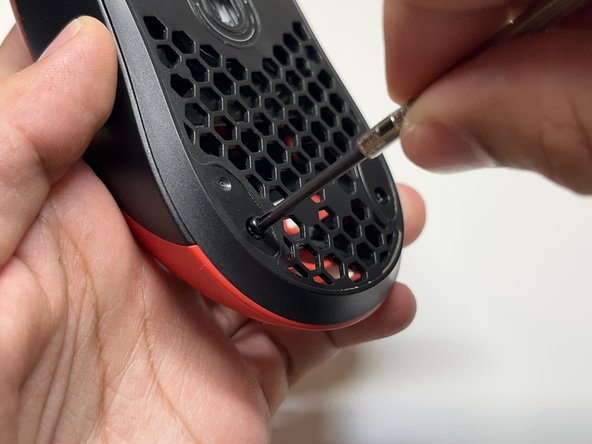
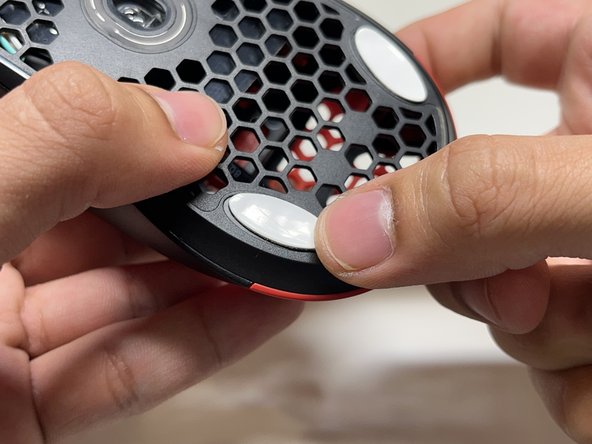
Steps 2 and 3 involve removing mouse skates from the feet. Be careful not to create, bend, or fold lines on these feet as they will be felt when moving the mouse. Peel them slowly.
Make sure to have the mouse disconnected before beginning the guide.
Was du brauchst
-
-
-
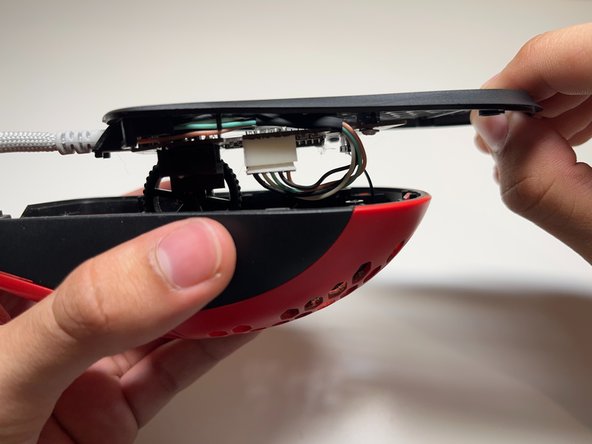
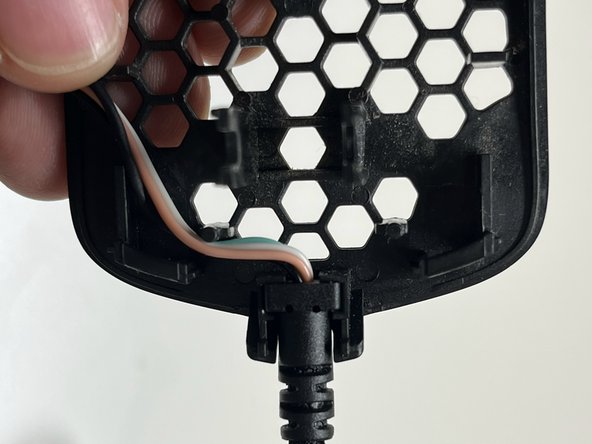
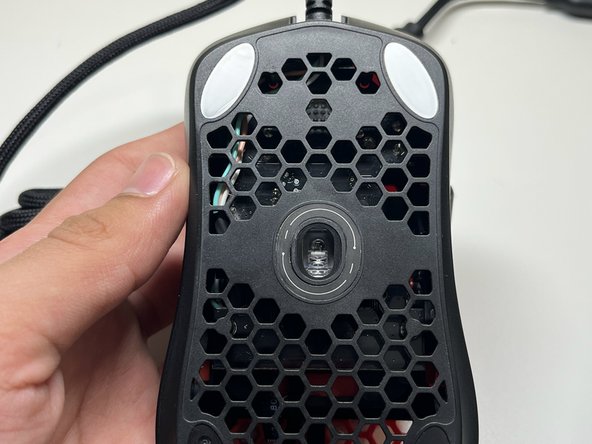
Flip the bottom piece upside down.
-
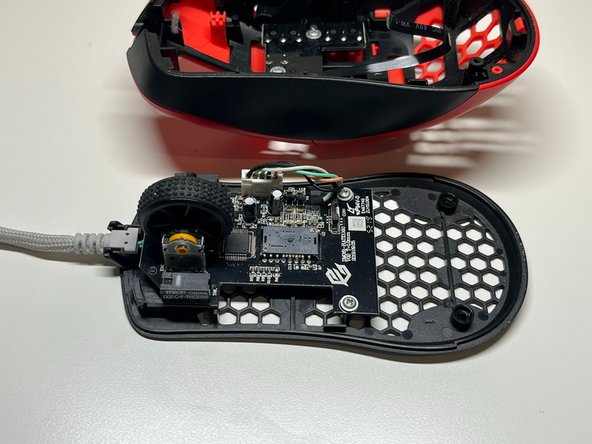
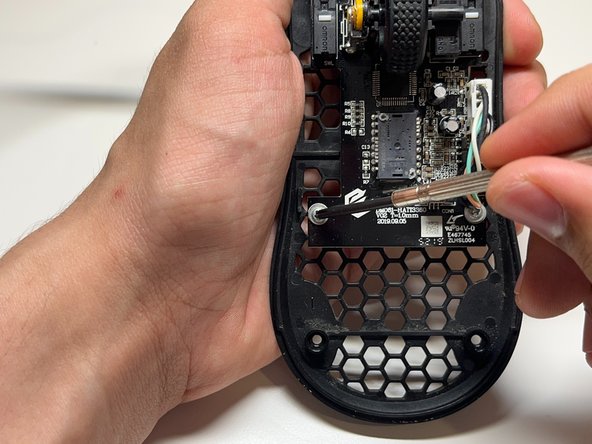
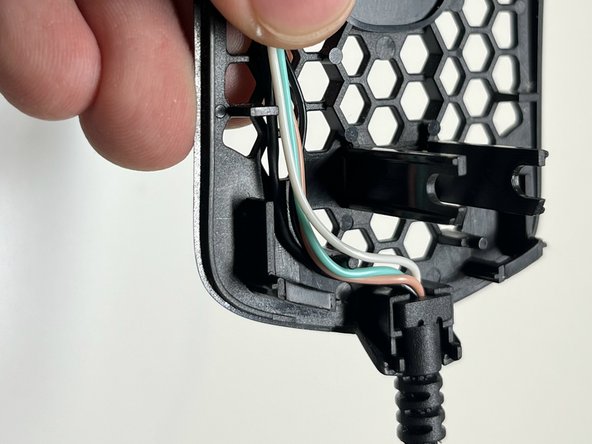
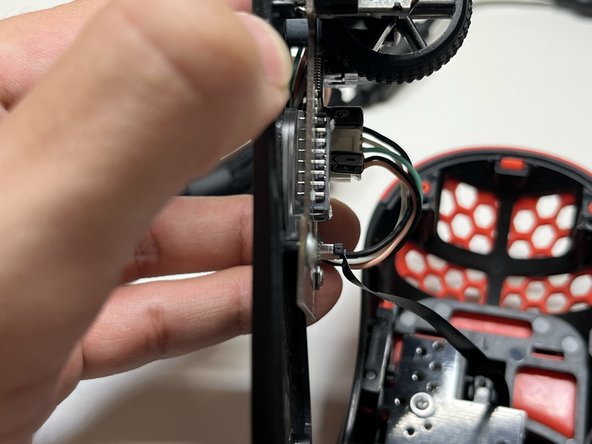
Pull the circuit board off without pulling on the cable.
-
-
-
Re-insert the circuit board by lining up the scroll wheel with the front piece and pressing down.
-
-
-
Hover the bottom piece over the upper piece flipped over.
-
Press the bottom piece down and forward till under clip pieces.
-
Press down where skates where removed till there is a click.
-


Team

CSU Los Angeles, Team 5-11, Kershman Fall 2023 Mitglied von CSU Los Angeles, Team 5-11, Kershman Fall 2023
CSULA-KERSHMAN-F23S5G11
1 Mitglied
1 Anleitung geschrieben