Zum Hauptinhalt wechseln

GK64 Keyboard Key Switches Replacement

Was du brauchst

  1. GK64 Keyboard Key Switches Replacement, Key Switches: Schritt 1, Bild 1 von 2 GK64 Keyboard Key Switches Replacement, Key Switches: Schritt 1, Bild 2 von 2
    • Do not disassemble the keyboard or proceed with this guide if the keyboard is connected to any power source.

    • Unplug the power cord from the keyboard.

  2. GK64 Keyboard Key Switches Replacement: Schritt 2, Bild 1 von 3 GK64 Keyboard Key Switches Replacement: Schritt 2, Bild 2 von 3 GK64 Keyboard Key Switches Replacement: Schritt 2, Bild 3 von 3
    • Never pull in a direction other than straight up. Pulling at an angle poses a high risk to damaging the underlying switch.

    • Position the wired keycap puller so the wire ends are horizontally aligned with the key and the flat ends of the wires rest under the key.

    • Rotate the wire 45 degrees and pull straight up to remove the key. This may require a bit of force, especially if you have never removed the keys before.

    • Remove every key using this method.

  3. GK64 Keyboard Key Switches Replacement: Schritt 3, Bild 1 von 3 GK64 Keyboard Key Switches Replacement: Schritt 3, Bild 2 von 3 GK64 Keyboard Key Switches Replacement: Schritt 3, Bild 3 von 3
    • Do not use isopropyl alcohol or any other solvents for this step. Isopropyl alcohol can damage the coloring and coating of the plastic keys.

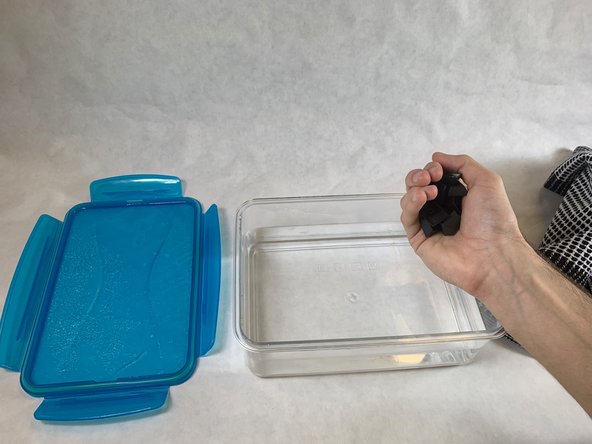
    • Fill the plastic container 3/4 of the way with warm tap water.

    • Put 2 drops of dish soap into the water filled plastic container.

    • Place the keycaps in the water and ensure they are fully submerged.

    • Seal the container with the lid, and let the keycaps sit in the warm water for at least 1 hour.

  4. GK64 Keyboard Key Switches Replacement: Schritt 4, Bild 1 von 2 GK64 Keyboard Key Switches Replacement: Schritt 4, Bild 2 von 2
    • If it's a clear day, it may be tempting to put these outside to dry. Do not do this as direct sunlight will damage your keycaps.

    • Rinse the keys under room temperature tap water for 2 minutes.

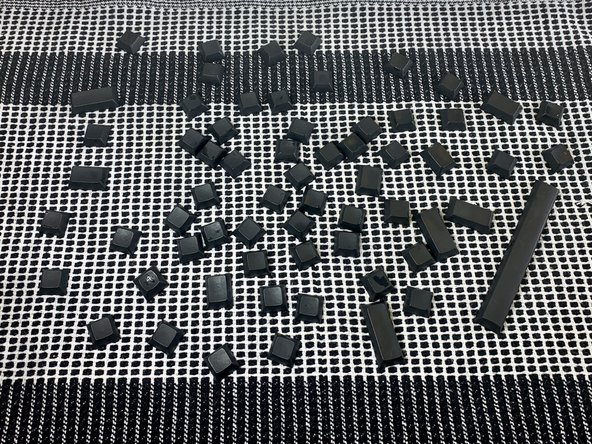
    • Shake each keycap to free any excess water and place them on a dry dish towel. Ensure the keycaps are not stacked on top of one another.

    • Air-dry the keycaps on a dish towel for at least 24 hours or until completely dried.

    • If you cannot wait 24 hours, you can put the keycaps in a cloth bag and use a hair drier to blow hot air onto it for 10 -20 minutes.

  5. GK64 Keyboard Key Switches Replacement: Schritt 5, Bild 1 von 3 GK64 Keyboard Key Switches Replacement: Schritt 5, Bild 2 von 3 GK64 Keyboard Key Switches Replacement: Schritt 5, Bild 3 von 3
    • Unscrew all three 1.5mm screws from the PCB using a Phillips #1 screwdriver.

    • The order in which you remove the screws does not matter.

  6. GK64 Keyboard Key Switches Replacement: Schritt 6, Bild 1 von 3 GK64 Keyboard Key Switches Replacement: Schritt 6, Bild 2 von 3 GK64 Keyboard Key Switches Replacement: Schritt 6, Bild 3 von 3
    • Do not forcefully try and detach the components. The case should come off easily. If it is not coming off easily, look for any screws you may have forgotten to remove.

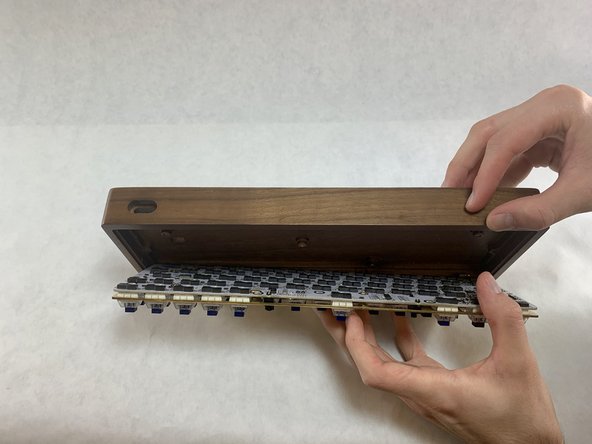
    • Rotate the keyboard so it is standing on its long edge.

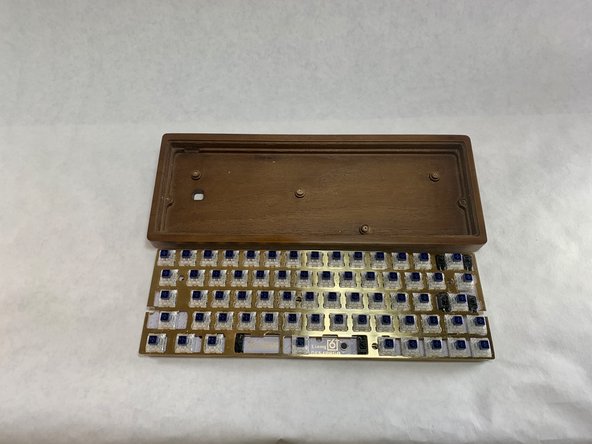
    • Remove the case by gently pulling it from the rest of the keyboard.

  7. GK64 Keyboard Key Switches Replacement: Schritt 7, Bild 1 von 2 GK64 Keyboard Key Switches Replacement: Schritt 7, Bild 2 von 2
    • Never pour the isopropyl alcohol directly on the keyboard.

    • Lightly soak one end of a Q-tip in the isopropyl alcohol.

    • Clean the PCB keyboard by gently wiping the Q-tip along the surface.

    • Make sure that you are always working with an adequately clean Q-tip; change your Q-tip when it becomes too dirty. You may end up using 3 different Q-tips.

    • Take your time on this step. It is important that the PCB be as clean as possible!

  8. GK64 Keyboard Key Switches Replacement: Schritt 8, Bild 1 von 1
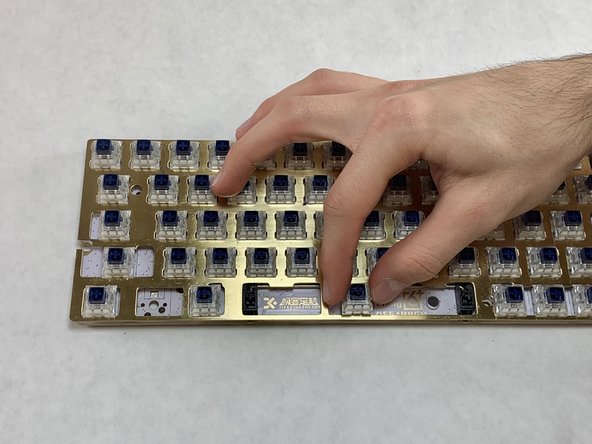
    • Turn the PCB face down.

    • Look for any hot swappable sockets that are not fully connected to the the PCB.

    • Push any misaligned sockets back into place so that they lay flush on the PCB.

  9. GK64 Keyboard Key Switches Replacement: Schritt 9, Bild 1 von 3 GK64 Keyboard Key Switches Replacement: Schritt 9, Bild 2 von 3 GK64 Keyboard Key Switches Replacement: Schritt 9, Bild 3 von 3
    • Do not pull in any direction other than straight up. Not pulling straight up will damage not only the switch, but also the PCB keyboard itself.

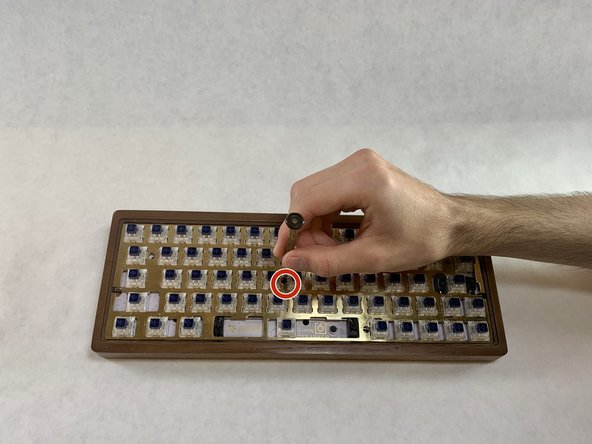
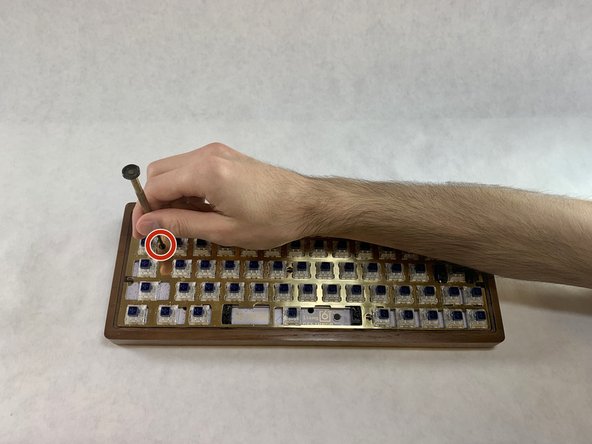
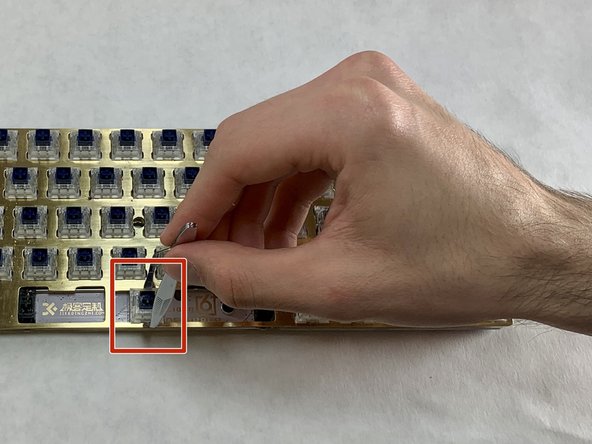
    • Hold the switch puller parallel to the faulty switch and wrap the ends around the inset of the switch.

    • Pull straight up; the switch should pop out of the PCB and case.

  10. GK64 Keyboard Key Switches Replacement: Schritt 10, Bild 1 von 2 GK64 Keyboard Key Switches Replacement: Schritt 10, Bild 2 von 2
    • Never push in any direction other than straight down. It is easy to damage both the PCB keyboard and the switch in this step. You should not wiggle or bend the switch.

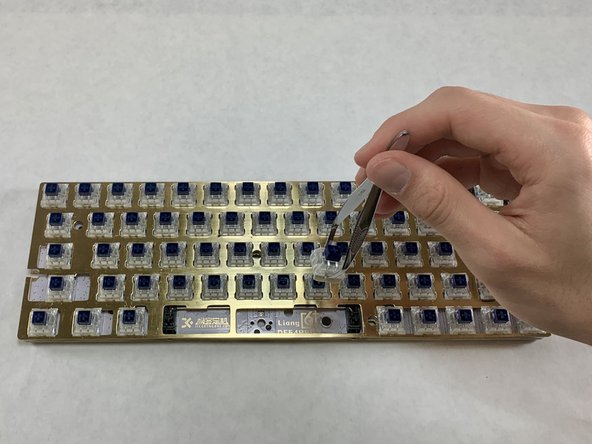
    • Take a replacement switch and orient it so that the two metal sockets line up with the PCB sockets.

    • Once the sockets are lined up, gently push straight down so that the switch lies flush with the plate.

    • You should hear a subtle clicking sound when you insert the switch into the PCB.

  11. GK64 Keyboard Key Switches Replacement: Schritt 11, Bild 1 von 3 GK64 Keyboard Key Switches Replacement: Schritt 11, Bild 2 von 3 GK64 Keyboard Key Switches Replacement: Schritt 11, Bild 3 von 3
    • Place the cleaned keycaps onto their correct position on the keyboard.

    • Align the key mirroring the shape of the switch.

    • Press straight down once the keycap is aligned.

Abschluss

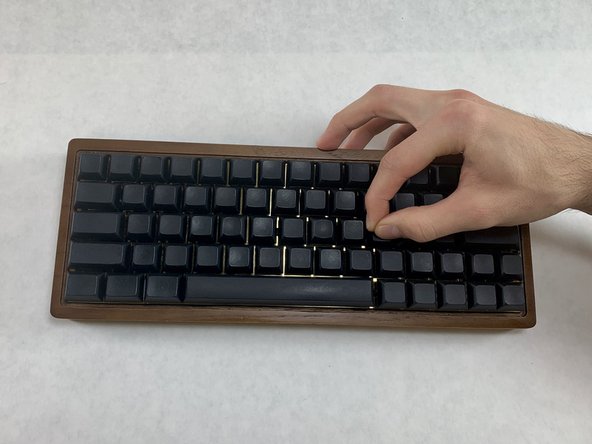
Enjoy your smooth typing!

2 weitere Nutzer:innen haben diese Anleitung absolviert.

Team

UC Davis, Team S1-G5, Andersen Winter 2020 Mitglied von UC Davis, Team S1-G5, Andersen Winter 2020

UCD-ANDERSEN-W20S1G5

3 Mitglieder

2 Anleitungen geschrieben

0 Kommentare

Kommentar hinzufügen

Seitenaufrufe:

Letzte 24 Stunden: 0

Letzte 7 Tage: 2

Letzte 30 Tage: 28

Insgesamt: 1,924