Zum Hauptinhalt wechseln

GM Key Fob Plastic Housing Replacement

Was du brauchst

  1. GM Key Fob  Plastic Housing Replacement, Key Fob Plastic Housing: Schritt 1, Bild 1 von 1
    • Pry apart the key ring to remove it from the old housing.

  2. GM Key Fob  Plastic Housing Replacement: Schritt 2, Bild 1 von 3 GM Key Fob  Plastic Housing Replacement: Schritt 2, Bild 2 von 3 GM Key Fob  Plastic Housing Replacement: Schritt 2, Bild 3 von 3
    • Once you have removed the key ring, use it to open the housing by wedging it into the groove, as pictured.

  3. GM Key Fob  Plastic Housing Replacement: Schritt 3, Bild 1 von 2 GM Key Fob  Plastic Housing Replacement: Schritt 3, Bild 2 von 2
    • Remove the electrical board and rubber key pad from the old housing.

  4. GM Key Fob  Plastic Housing Replacement: Schritt 4, Bild 1 von 2 GM Key Fob  Plastic Housing Replacement: Schritt 4, Bild 2 von 2
    • Remove the electrical board from the rubber key pad.

  5. GM Key Fob  Plastic Housing Replacement: Schritt 5, Bild 1 von 2 GM Key Fob  Plastic Housing Replacement: Schritt 5, Bild 2 von 2
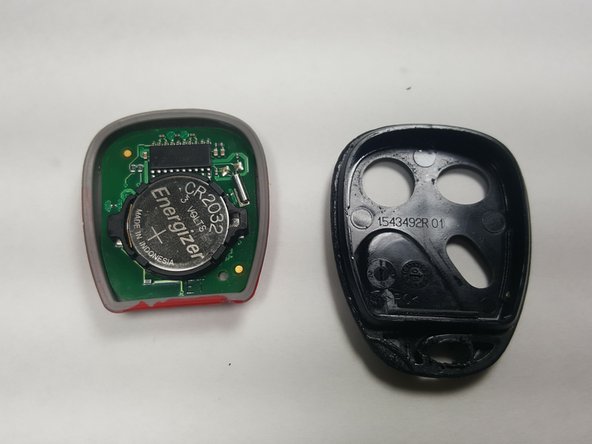
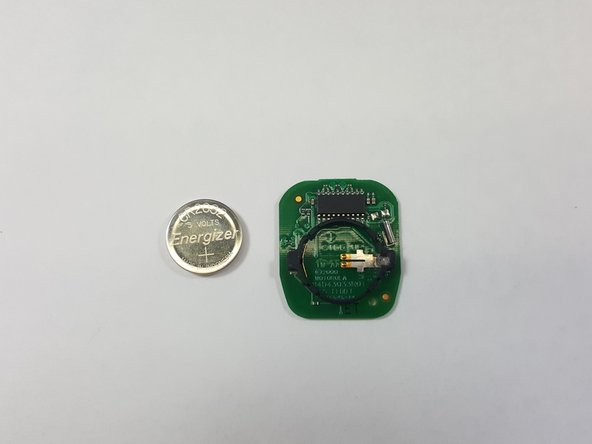
    • If necessary, remove the battery from the electrical board and replace it.

  6. GM Key Fob  Plastic Housing Replacement: Schritt 6, Bild 1 von 1
    • After Opening the new Key Fob package, select the correct housing as more than one model is included.

Abschluss

To reassemble your device, simply follow these disassembly instructions in reverse order.

Ein:e weitere:r Nutzer:in hat diese Anleitung absolviert.

Megan Hayden

Mitglied seit: 10/06/16

136 Reputation

1 Anleitung geschrieben

Team

University of Memphis, Team 4-3, Baddour Fall 2016 Mitglied von University of Memphis, Team 4-3, Baddour Fall 2016

UM-BADDOUR-F16S4G3

3 Mitglieder

1 Anleitung geschrieben

0 Kommentare

Kommentar hinzufügen

Seitenaufrufe:

Letzte 24 Stunden: 0

Letzte 7 Tage: 11

Letzte 30 Tage: 31

Insgesamt: 2,465