Diese Version enthält möglicherweise inkorrekte Änderungen. Wechsle zur letzten geprüften Version.
Was du brauchst
-
Dieser Schritt ist noch nicht übersetzt. Hilf mit, ihn zu übersetzen!
-
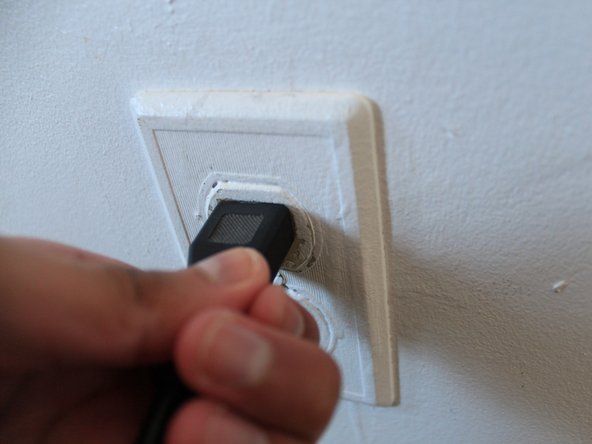
Unplug your desktop from the wall outlet.
-
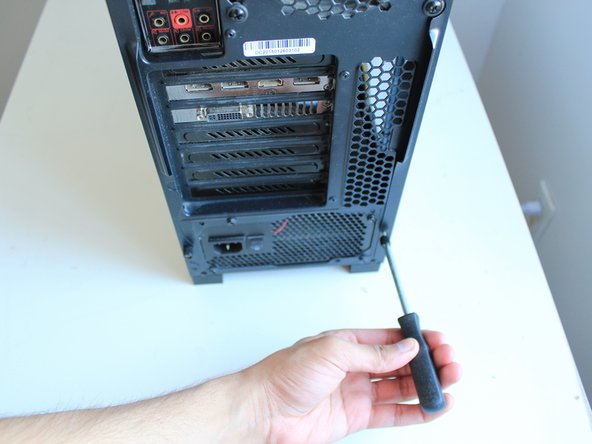
Turn your desktop so you have access to the back of the device.
-
-
Dieser Schritt ist noch nicht übersetzt. Hilf mit, ihn zu übersetzen!
-
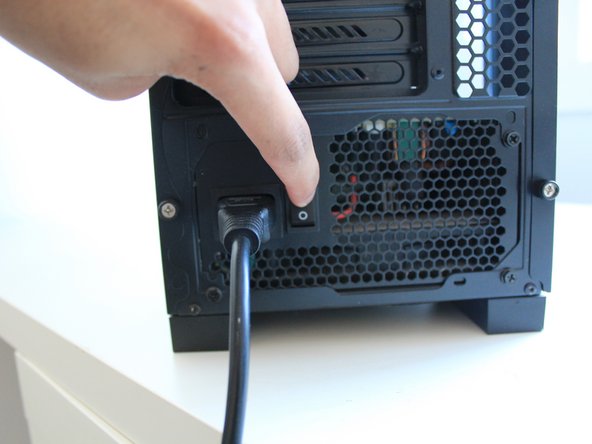
Switch off the PSU to prevent power flow.
-
Unplug your desktop to prevent any power flow.
-
-
Dieser Schritt ist noch nicht übersetzt. Hilf mit, ihn zu übersetzen!
-
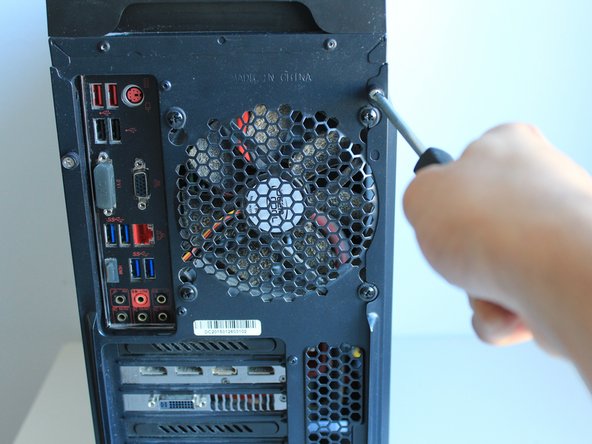
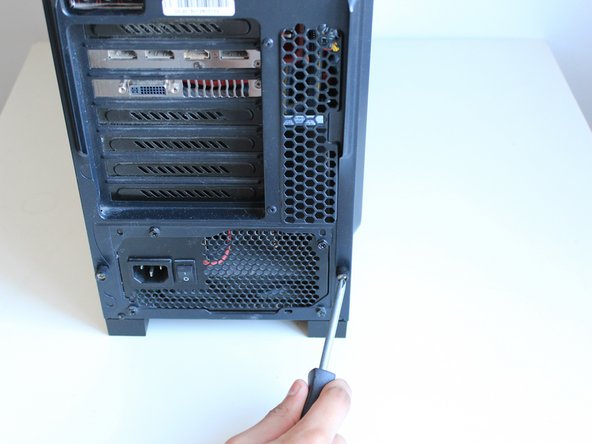
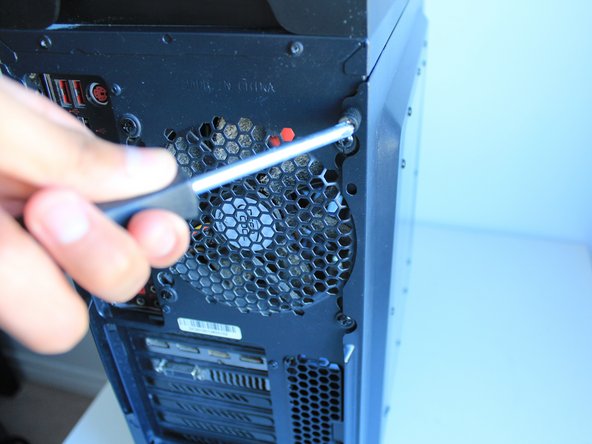
Use the Phillips #0 screwdriver to remove the two 15 mm screws on the glass panel side and remove the panel.
-
-
Dieser Schritt ist noch nicht übersetzt. Hilf mit, ihn zu übersetzen!
-
Gently remove the glass panel, by sliding it towards yourself.
-
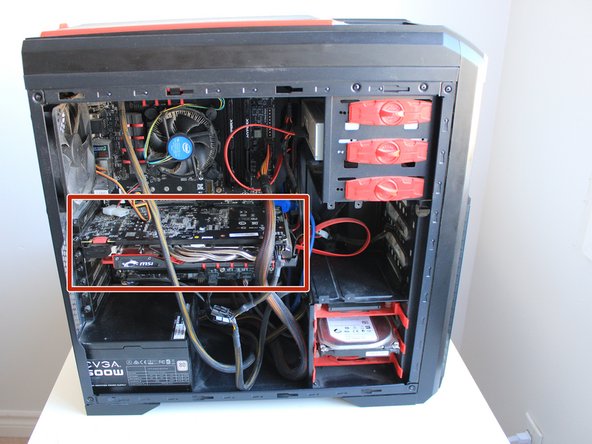
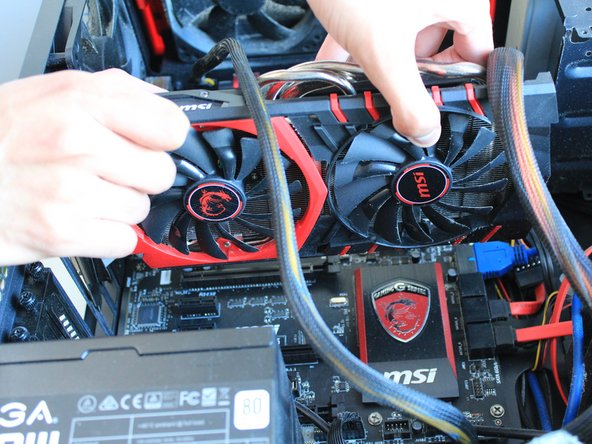
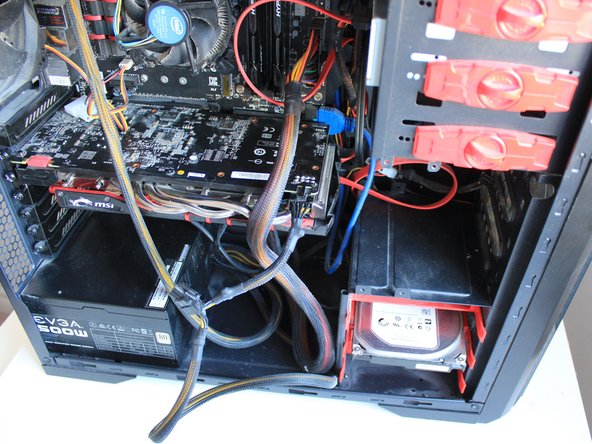
The GPU is highlighted.
-
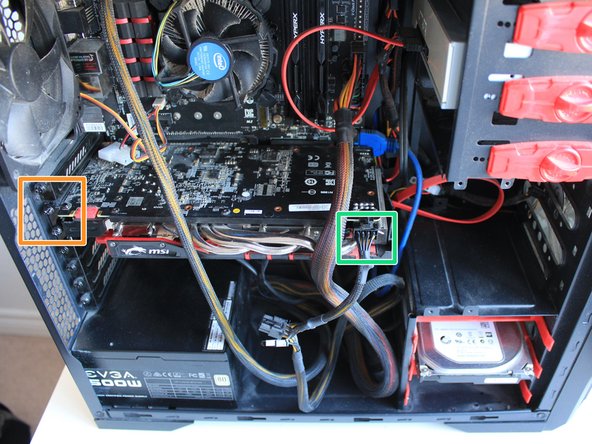
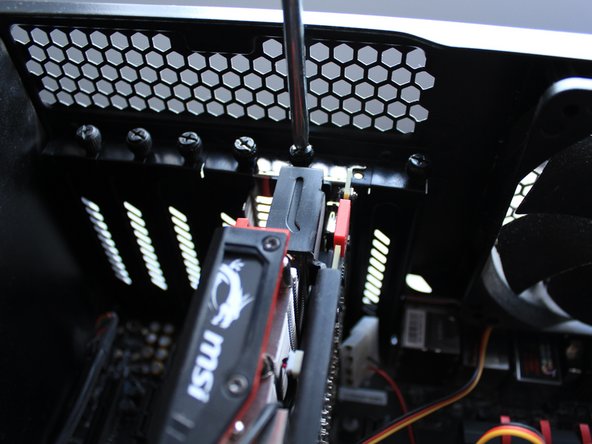
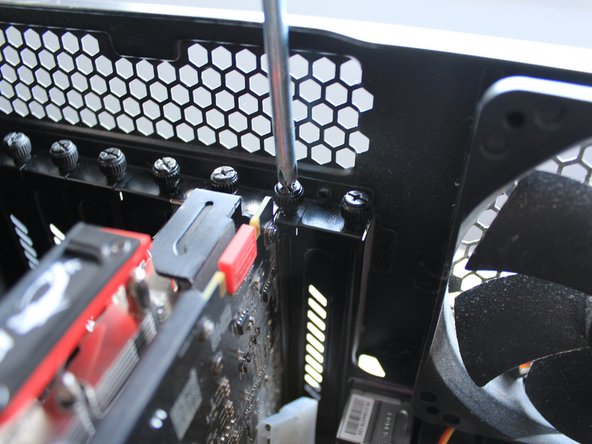
Using the Phillips #0 screwdriver, remove the three 14 mm screws connecting the GPU to the case.
-
Unplug the power cable on the GPU.
-
-
Dieser Schritt ist noch nicht übersetzt. Hilf mit, ihn zu übersetzen!
-
Unplug the GPU from the power supply, since we need to remove anything connected to it.
-
-
-
Dieser Schritt ist noch nicht übersetzt. Hilf mit, ihn zu übersetzen!
-
Use the Phillips #0 to remove the three 14mm Phillips screws from the GPU and motherboard so we can remove the GPU later.
-
-
Dieser Schritt ist noch nicht übersetzt. Hilf mit, ihn zu übersetzen!
-
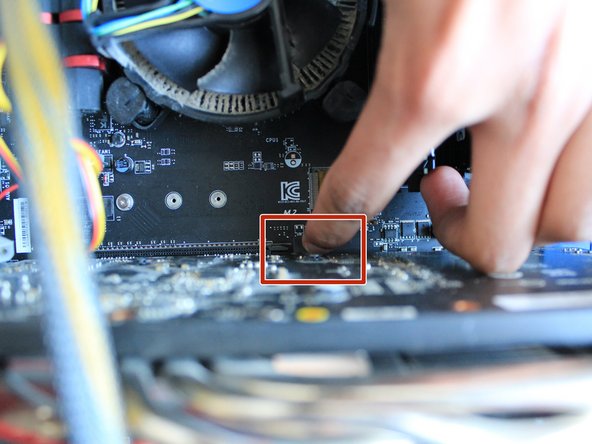
Push down on the tab to unlock the GPU.
-
-
Dieser Schritt ist noch nicht übersetzt. Hilf mit, ihn zu übersetzen!
-
Line up the GPU with the PCI-E Slot.
-
Push the GPU in, make sure to line it up properly with the PCI-E and the rear end of the case.
-
-
Dieser Schritt ist noch nicht übersetzt. Hilf mit, ihn zu übersetzen!
-
Screw the three 14 mm Phillips screws back in using the Phillips #0 screwdriver.
-
-
Dieser Schritt ist noch nicht übersetzt. Hilf mit, ihn zu übersetzen!
-
Reconnect the 8-Pin Male Cable from the PSU into the GPU to power it when we turn it on.
-
-
Dieser Schritt ist noch nicht übersetzt. Hilf mit, ihn zu übersetzen!
-
Slide the glass panel back in.
-
-
Dieser Schritt ist noch nicht übersetzt. Hilf mit, ihn zu übersetzen!
-
Using the Phillips #0 screwdriver, screw in the two 15 mm screws back into the case to lock the panel into place.
-
-
Dieser Schritt ist noch nicht übersetzt. Hilf mit, ihn zu übersetzen!
-
Connect the female part of the power cord into the PSU.
-
Turn on the switch and power on your PC.
-


Rückgängig: Ich habe diese Anleitung nicht absolviert.
Ein:e weitere:r Nutzer:in hat diese Anleitung absolviert.
Team

York University, Team S2-G11, O'Regan Winter 2021 Mitglied von York University, Team S2-G11, O'Regan Winter 2021
YORK-O'REGAN-W21S2G11
1 Mitglied
2 Anleitungen geschrieben