Einleitung
The back cover to the Garmin Nuvi 200W is exposed more than other internal elements of the device. Due to this vulnerable position, the cover may become scratched, damaged, or broken under stress. Replacing the rear cover can make the Nuvi 200W look new again, at much less cost!
It is important to note, however, that the case and it's internals require very specific screws, that are small and easy to lose. It is recommended that a magnet or tap is used to secure screws after removal. It is also important to gently remove the back cover, as it will be attached to other interior elements. This connection is sensitive and should be treated as such until the guide shows proper disconnection of this particular cable.
Only basic tools are required, such as screw drivers, and opening tools.
Was du brauchst
-
-
-
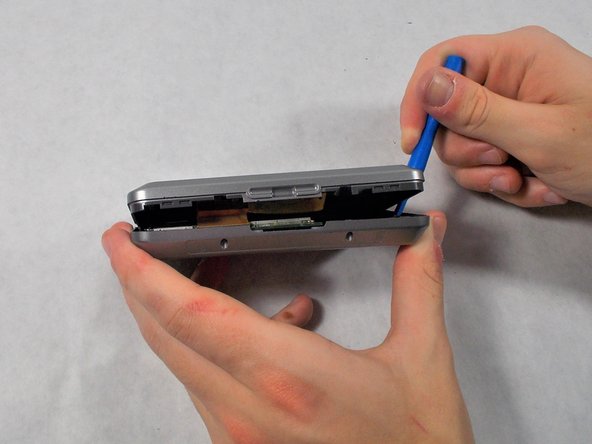
Carefully, using your plastic opening tools find the crease which separates the front and rear covers.
-
Once you have a little gap, work it around the whole device with the tool to get separation.
-


To reassemble your device, follow these instructions in reverse order.
To reassemble your device, follow these instructions in reverse order.
Team

UMass Dartmouth, Team S5-G4, Botvin Spring 2017 Mitglied von UMass Dartmouth, Team S5-G4, Botvin Spring 2017
UMASSD-BOTVIN-S17S5G4
3 Mitglieder
6 Anleitungen geschrieben