Einleitung
In this guide the repairer replaces the auxiliary audio out port of the device by disassembling to expose the motherboard and desoldering the component.
Prerequisite Guide:
Disassembling Garmin Nuvi 370 Into Core Components
Tools Used:
- Fine Point Tweezers
- Spudger
- Soldering Iron
- Solder Extraction Tool
- Copper Braid
- Solder Sucker
Estimated Duration: 15 minutes
Was du brauchst
-
-
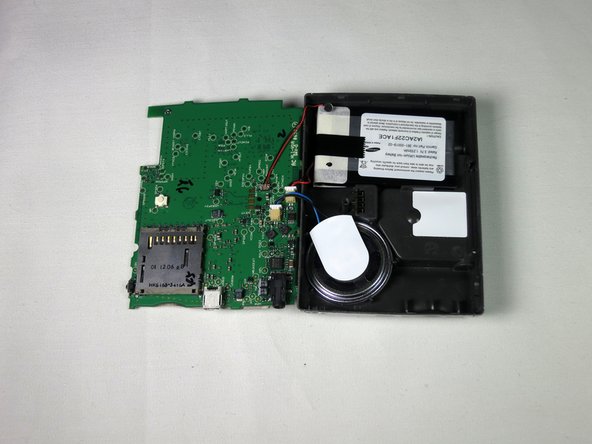
After following the instructions in the main dis-assembly guide, you should have the screen detached from the motherboard.
-
-
-
Use the tweezers or the spudger to lift the tan latch off the ribbon cable (ZIF connector)and gently pull out the ZIF connector and cable from underneath the opened latch.
-
-
-
-
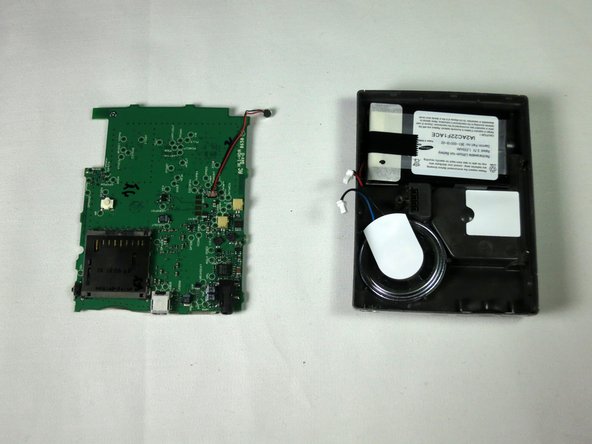
The motherboard will now freely separate from the back casing; lay it flat next to the housing.
-
-
-
Disconnect the speaker and battery from their terminals on the motherboard. This should disconnect the motherboard completely from the back panel.
-
-
-
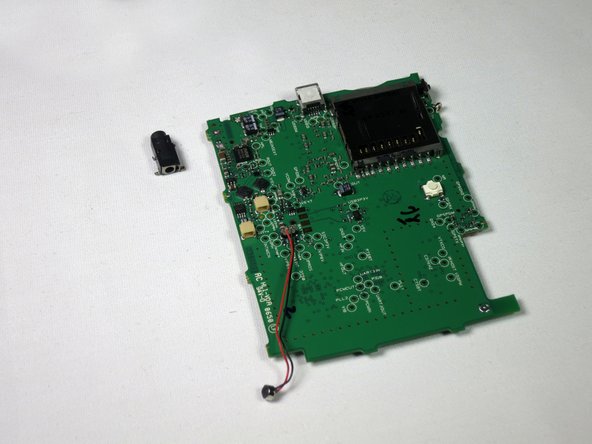
De-solder the audio out port. Use a soldering iron to melt the solder on each of the leads of the port and a solder extraction tool (not shown), such as a solder sucker or copper braid.
-
-
-
The audio out port should now be completely separated from all other components.
-
Solder new, functional audio port. Make sure all solder connections are clean.
-


To reassemble your device, follow these instructions in reverse order.
To reassemble your device, follow these instructions in reverse order.
Team

Cal Poly, Team 13-65, Johann Spring 2013 Mitglied von Cal Poly, Team 13-65, Johann Spring 2013
CPSU-JOHANN-S13S13G65
3 Mitglieder
6 Anleitungen geschrieben