Zum Hauptinhalt wechseln

Garmin nüvi 3590 LMT Speaker Replacement

Was du brauchst

  1. Garmin nüvi 3590 LMT Speaker Replacement, Battery: Schritt 1, Bild 1 von 1
    • Turn the device off by pressing and holding the power button on the top left of the device.

  2. Garmin nüvi 3590 LMT Speaker Replacement: Schritt 2, Bild 1 von 1
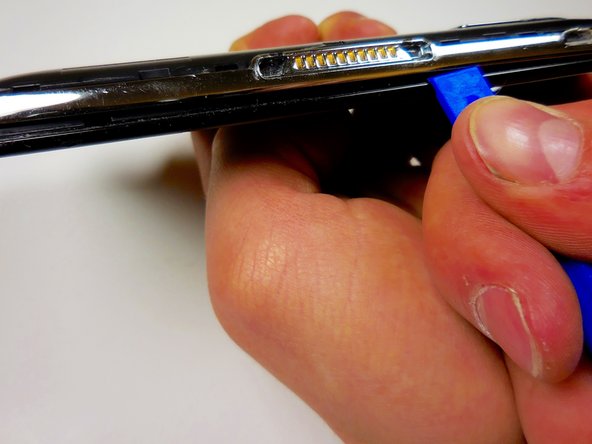
    • Use the plastic opening tool to separate the tabs on the black back cover of the device by leveraging the tool against the frame around the perimeter of the device.

  3. Garmin nüvi 3590 LMT Speaker Replacement: Schritt 3, Bild 1 von 1
    • Once all of the tabs are popped out, take the back cover off.

    • The back cover is a separate piece from the device.

  4. Garmin nüvi 3590 LMT Speaker Replacement: Schritt 4, Bild 1 von 2 Garmin nüvi 3590 LMT Speaker Replacement: Schritt 4, Bild 2 von 2
    • Using the plastic spudger, carefully remove the white tab connected to the battery from the device by pulling the tab in the opposite direction from which it is connected.

  5. Garmin nüvi 3590 LMT Speaker Replacement: Schritt 5, Bild 1 von 3 Garmin nüvi 3590 LMT Speaker Replacement: Schritt 5, Bild 2 von 3 Garmin nüvi 3590 LMT Speaker Replacement: Schritt 5, Bild 3 von 3
    • Use the plastic spudger to lift the battery up and away from the device.

    • Do not puncture or bend the battery. Serious health complications could occur.

  6. Garmin nüvi 3590 LMT Speaker Replacement, Speaker: Schritt 6, Bild 1 von 2 Garmin nüvi 3590 LMT Speaker Replacement, Speaker: Schritt 6, Bild 2 von 2
    • Using the T5 bit, unscrew the four 5.7mm screws in the four corners of the device.

  7. Garmin nüvi 3590 LMT Speaker Replacement: Schritt 7, Bild 1 von 3 Garmin nüvi 3590 LMT Speaker Replacement: Schritt 7, Bild 2 von 3 Garmin nüvi 3590 LMT Speaker Replacement: Schritt 7, Bild 3 von 3
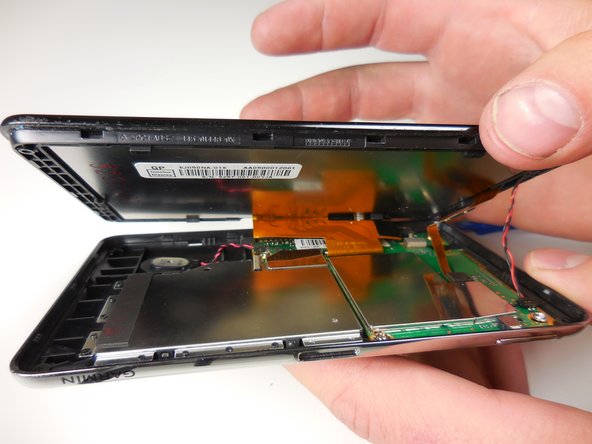
    • Leverage the plastic opening tool to pop the tabs between the black screen and the metal frame. Carefully work around the perimeter of the frame.

    • Do not forcibly separate the two pieces after the tabs have been popped as there are connections between the two pieces that could be torn.

  8. Garmin nüvi 3590 LMT Speaker Replacement: Schritt 8, Bild 1 von 1
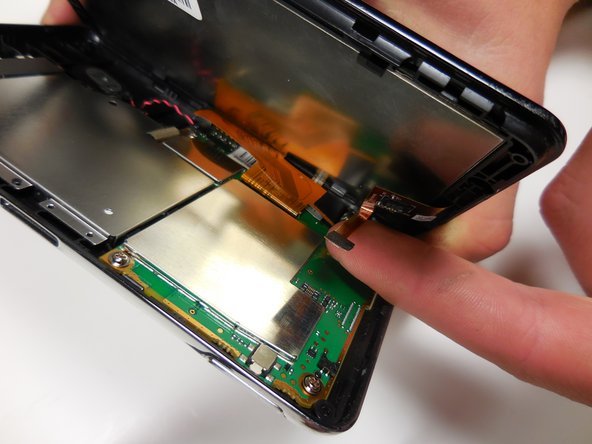
    • Using your fingers, remove the red and black wire from the back of the screen. This is the connection to the light sensor, not the speaker.

  9. Garmin nüvi 3590 LMT Speaker Replacement: Schritt 9, Bild 1 von 2 Garmin nüvi 3590 LMT Speaker Replacement: Schritt 9, Bild 2 von 2
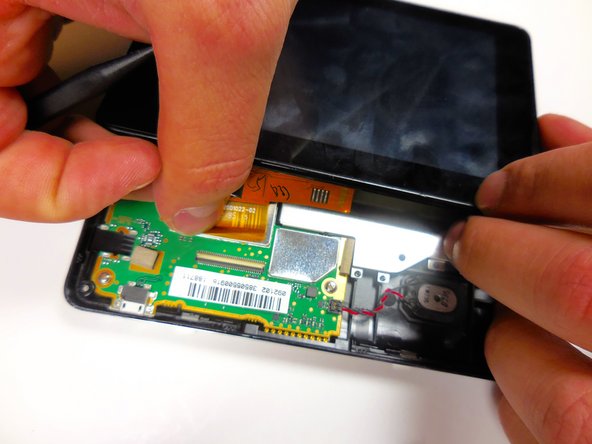
    • Pull up on the smaller orange tab with your finger from the circuit board. This connection will unplug with ease.

  10. Garmin nüvi 3590 LMT Speaker Replacement: Schritt 10, Bild 1 von 3 Garmin nüvi 3590 LMT Speaker Replacement: Schritt 10, Bild 2 von 3 Garmin nüvi 3590 LMT Speaker Replacement: Schritt 10, Bild 3 von 3
    • For the larger orange connection, there is a white tab holding the connection to the circuit board.

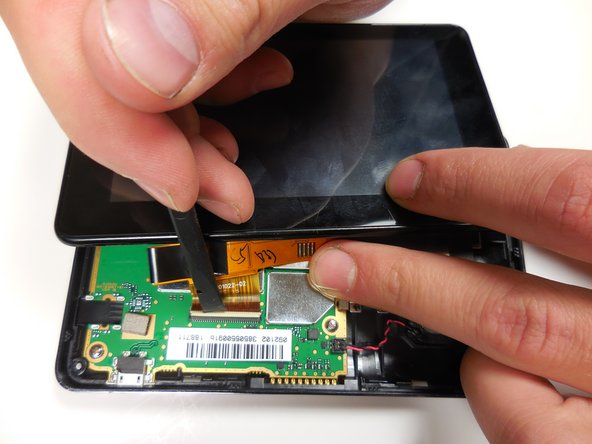
    • Lift this tab gently with the wide tipped tweezers or the plastic spudger and remove the orange connection from the circuit board.

    • After the white tab is lifted, slide the ribbon connector out from the circuit board.

  11. Garmin nüvi 3590 LMT Speaker Replacement: Schritt 11, Bild 1 von 3 Garmin nüvi 3590 LMT Speaker Replacement: Schritt 11, Bild 2 von 3 Garmin nüvi 3590 LMT Speaker Replacement: Schritt 11, Bild 3 von 3
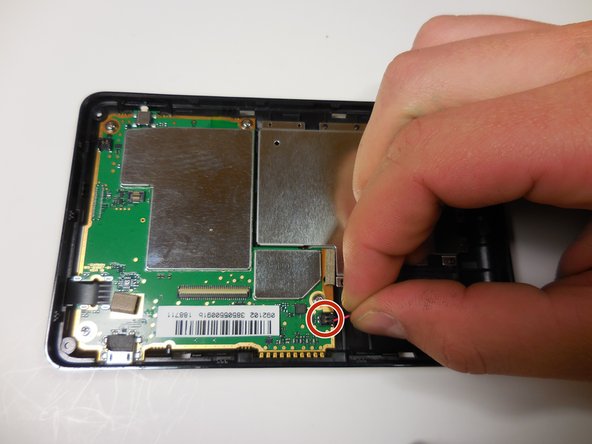
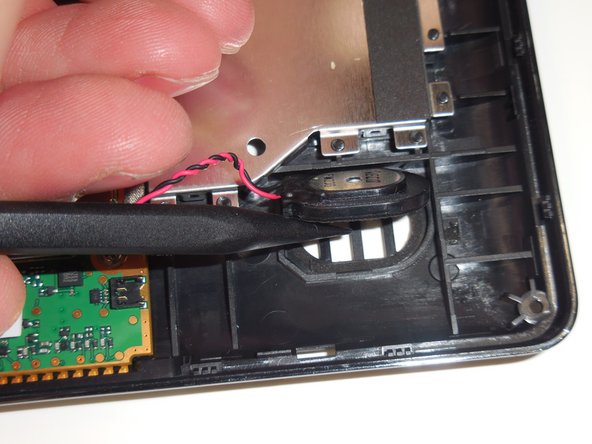
    • Locate the red and black wire that connects the speaker to the circuit board. Use your fingers (or tweezers) to gently lift the plug off the circuit board.

  12. Garmin nüvi 3590 LMT Speaker Replacement: Schritt 12, Bild 1 von 3 Garmin nüvi 3590 LMT Speaker Replacement: Schritt 12, Bild 2 von 3 Garmin nüvi 3590 LMT Speaker Replacement: Schritt 12, Bild 3 von 3
    • With the plastic spudger, lift the speaker up and out of the frame.

Abschluss

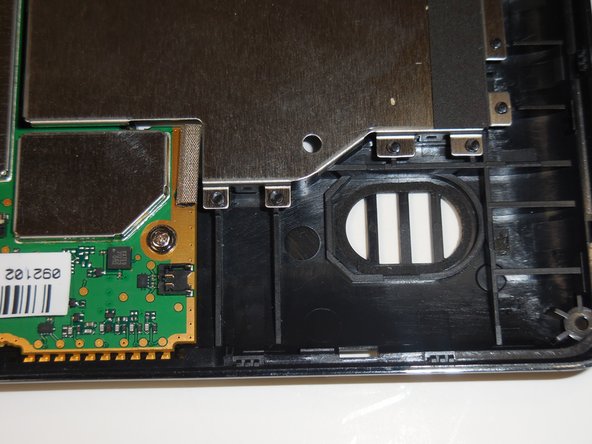
To reassemble your device, follow these instructions in reverse order.

Ein:e weitere:r Nutzer:in hat diese Anleitung absolviert.

David

Mitglied seit: 03/11/15

424 Reputation

3 Anleitungen geschrieben

Team

Colorado Springs, Team 4-1, Panko Spring 2015 Mitglied von Colorado Springs, Team 4-1, Panko Spring 2015

UCCS-PANKO-S15S4G1

2 Mitglieder

5 Anleitungen geschrieben

Ein Kommentar

Hi There. Where can I find one of these speakers. I'm in Australia.

Daniel Burdiek - Antwort

Kommentar hinzufügen

Seitenaufrufe:

Letzte 24 Stunden: 0

Letzte 7 Tage: 1

Letzte 30 Tage: 3

Insgesamt: 486