Einleitung
This is a guide on how to remove and replace the hard drive on the Gateway KAV60 LT2016U Netbook. Reasons for removal include:
- Current hard drive no longer works
- Hard drive upgrade
Was du brauchst
-
-
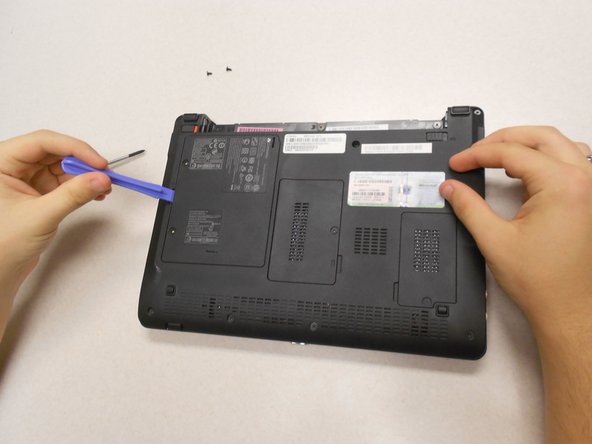
The hard drive is located on the bottom of the laptop on the left hand side.
-
-
-
-
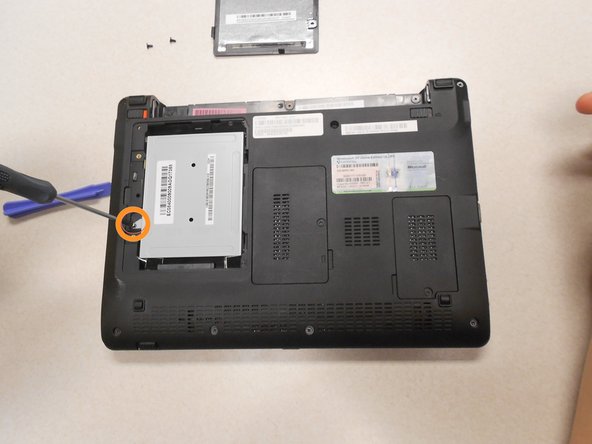
Remove the one screw holding the hard drive in place with the same screw driver.
-


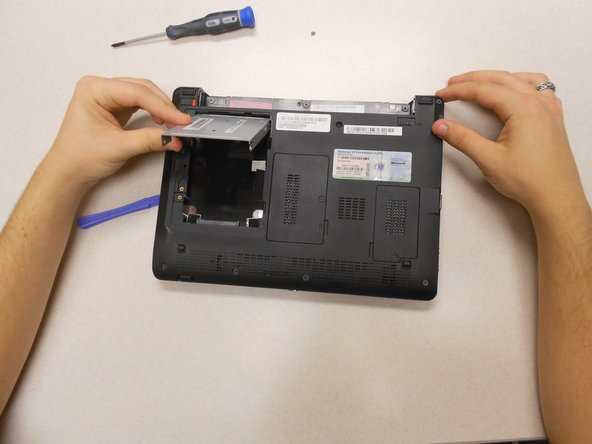
To reassemble your device, follow these instructions in reverse order.
To reassemble your device, follow these instructions in reverse order.
Rückgängig: Ich habe diese Anleitung nicht absolviert.
Eine weitere Person hat diese Anleitung absolviert.
Team

UMass Dartmouth, Team 3-2, Calaway Spring 2014 Mitglied von UMass Dartmouth, Team 3-2, Calaway Spring 2014
UMASSD-CALAWAY-S14S3G2
4 Mitglieder
6 Anleitungen geschrieben