Einleitung
If your laptop is running slowly, or crashing unexpectedly, the issue could be with faulty or insufficient RAM. Use this guide to upgrade or replace the laptop’s RAM. The RAM replacement is fairly simple on this laptop because it doesn’t require a full disassembly.
Was du brauchst
-
-
-
Push the battery slider to the other side. This will automatically eject the battery.
-
You can now remove the battery.
-
-
-
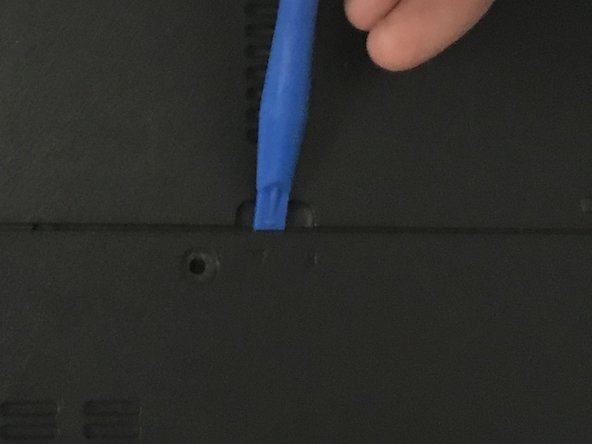
Remove the back cover by placing the plastic opening tool in the indention, and prying upwards.
-
-
-
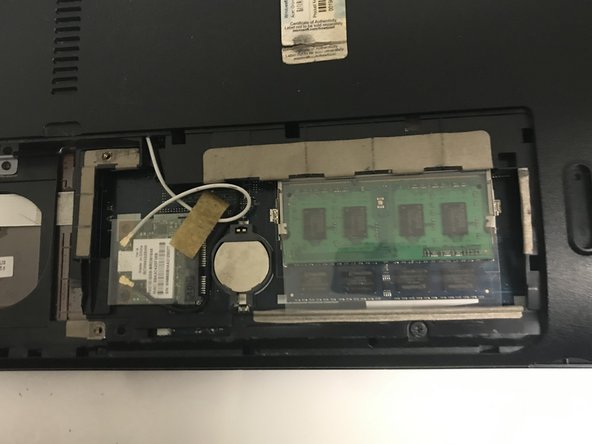
Hold back the plastic that protects the RAM so you can access the clips underneath.
-
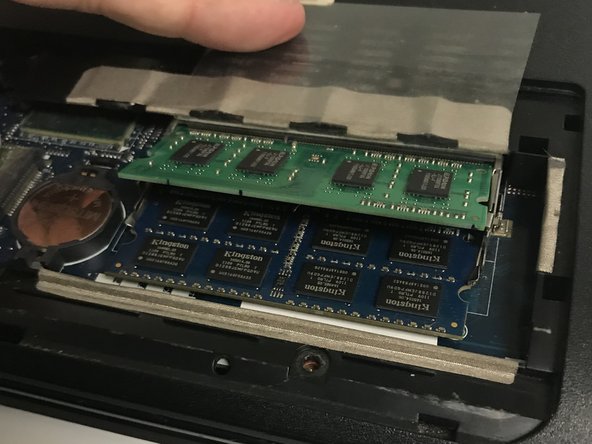
Gently push the holding clips outwards. The RAM will angle itself upwards.
-
Gently remove the RAM from the laptop
-


To reassemble your device, follow these instructions in reverse order.
To reassemble your device, follow these instructions in reverse order.
Rückgängig: Ich habe diese Anleitung nicht absolviert.
Eine weitere Person hat diese Anleitung absolviert.
Team

University of North Texas, Team S8-G1, Riccardelli Fall 2018 Mitglied von University of North Texas, Team S8-G1, Riccardelli Fall 2018
UNT-RICCARDELLI-F18S8G1
5 Mitglieder
9 Anleitungen geschrieben