Zum Hauptinhalt wechseln

Gateway P-6831FX Heatsink Replacement

Was du brauchst

  1. Gateway P-6831FX Heatsink Replacement, Heatsink: Schritt 1, Bild 1 von 2 Gateway P-6831FX Heatsink Replacement, Heatsink: Schritt 1, Bild 2 von 2
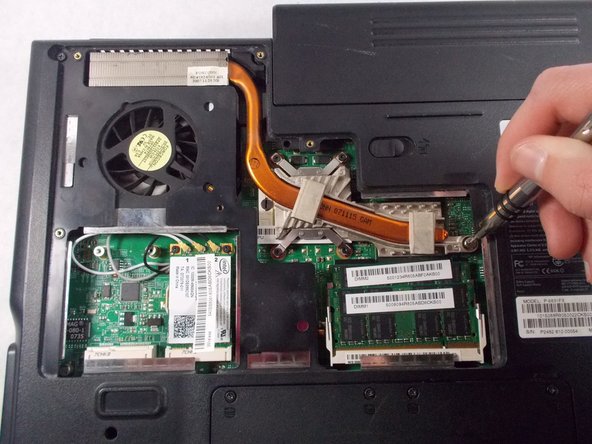
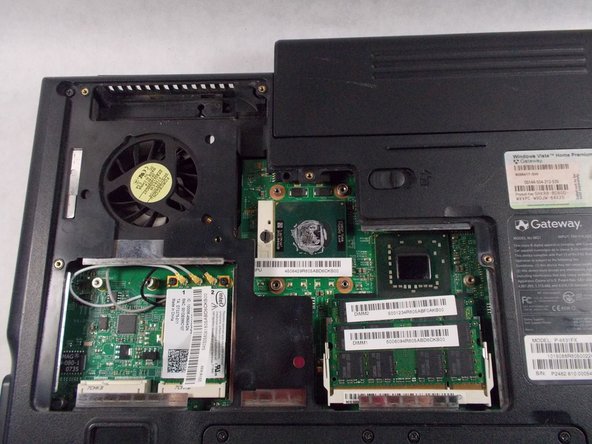
    • Turn your laptop upside down and remove the five Philips #0 (5mm) screws for the cover of the Heatsink.

    • Make sure to unplug your laptop charger, as removing the Heatsink while the device is charging may damage the Heatsink and or the charger.

  2. Gateway P-6831FX Heatsink Replacement: Schritt 2, Bild 1 von 1
    • Gently pull the cover away from the device.

  3. Gateway P-6831FX Heatsink Replacement: Schritt 3, Bild 1 von 2 Gateway P-6831FX Heatsink Replacement: Schritt 3, Bild 2 von 2
    • Remove the five Phillips #0 (5mm) screws around the Heatsink.

  4. Gateway P-6831FX Heatsink Replacement: Schritt 4, Bild 1 von 2 Gateway P-6831FX Heatsink Replacement: Schritt 4, Bild 2 von 2
    • Gently pull the Heatsink up and away from the chassis.

Abschluss

To reassemble your device, follow these instructions in reverse order.

Team

UMass Dartmouth, Team S3-G5, Peak Spring 2018 Mitglied von UMass Dartmouth, Team S3-G5, Peak Spring 2018

UMASSD-PEAK-S18S3G5

2 Mitglieder

12 Anleitungen geschrieben

0 Kommentare

Kommentar hinzufügen

Seitenaufrufe:

Letzte 24 Stunden: 0

Letzte 7 Tage: 0

Letzte 30 Tage: 3

Insgesamt: 193