Diese Version enthält möglicherweise inkorrekte Änderungen. Wechsle zur letzten geprüften Version.
Was du brauchst
-
Dieser Schritt ist noch nicht übersetzt. Hilf mit, ihn zu übersetzen!
-
Turn off the computer by unplugging the power cord from the wall outlet.
-
Remove the power supply cable from the computer.
-
Change the power switch on the back of the computer to the “off” position.
-
-
Dieser Schritt ist noch nicht übersetzt. Hilf mit, ihn zu übersetzen!
-
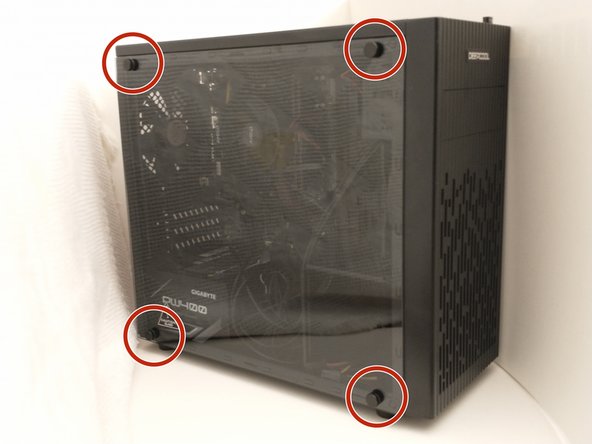
Place the computer on its right side and unclamp the left panel by turning the screws.
-
Remove the side panel.
-
-
Dieser Schritt ist noch nicht übersetzt. Hilf mit, ihn zu übersetzen!
-
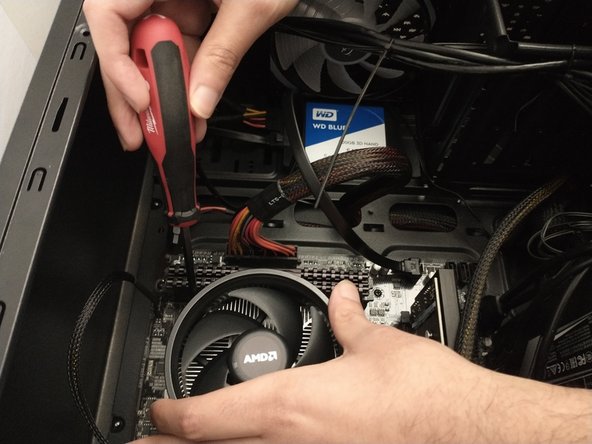
Using a Phillips #0 screwdriver, carefully remove the four screws located in each of the CPU cooler's four corners.
-
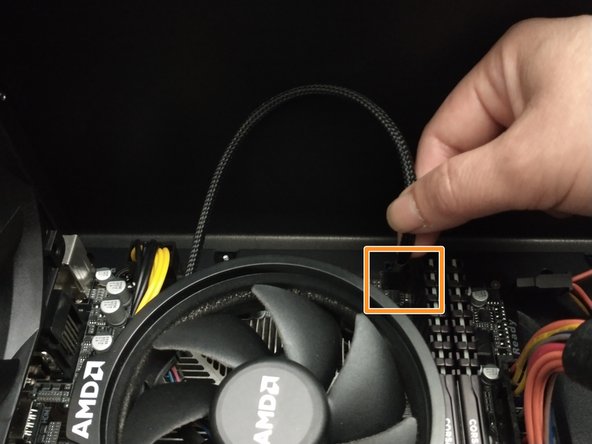
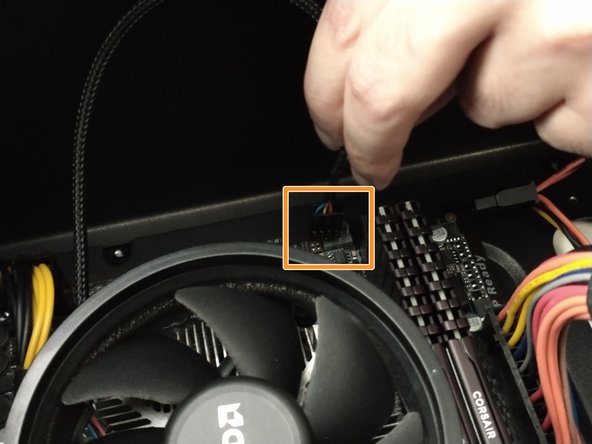
Disconnect the fan's power cable from the motherboard.
-
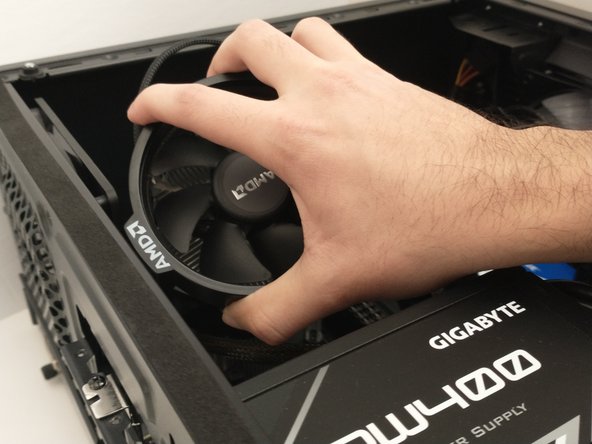
Gently lift and removed the CPU fan from the motherboard.
-
Be sure to clean off the portion of the underside of the fan that was in contact with the CPU off using isopropyl alcohol. This will remove any old thermal paste to ensure a clean connection during reinstallation.
-
-
-
Dieser Schritt ist noch nicht übersetzt. Hilf mit, ihn zu übersetzen!
-
Lift the retention arm to unsecure the CPU.
-
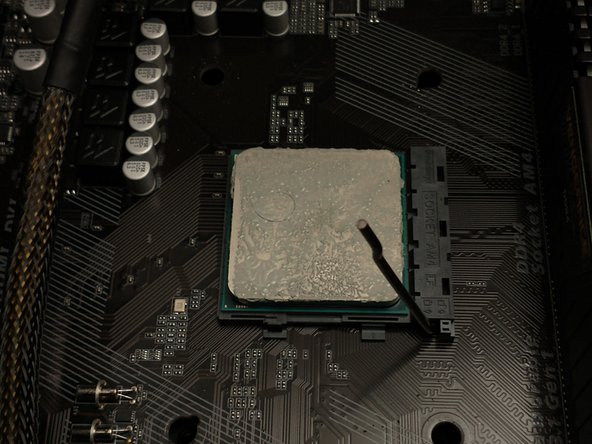
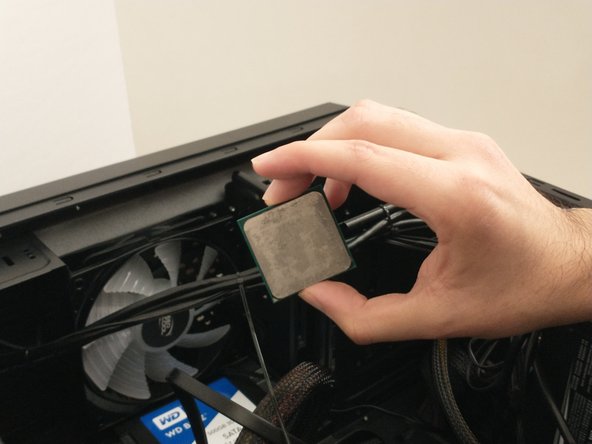
Carefully remove the CPU from the socket.
-
-
Dieser Schritt ist noch nicht übersetzt. Hilf mit, ihn zu übersetzen!
-
Find the right way to plug in the processor and gently place it in the slot.
-
Lock the retention arm to secure the CPU.
-
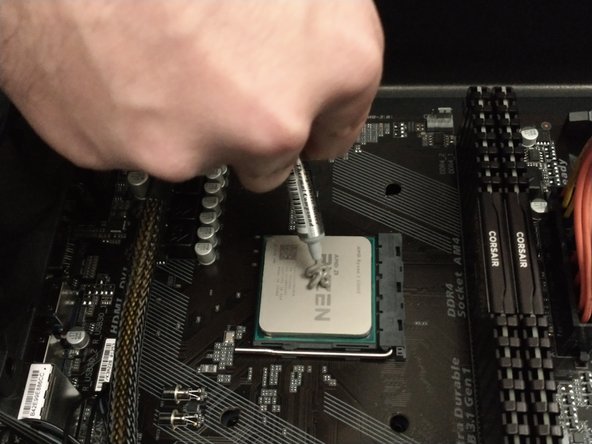
Apply a small amount of thermal paste onto the new processor.
-
-
Dieser Schritt ist noch nicht übersetzt. Hilf mit, ihn zu übersetzen!
-
Place the CPU cooler on top of the CPU and using a Phillips #0 screwdriver to tighten the four 10 mm screws in place.
-
Reconnect the fan connector to the motherboard.
-
-
Dieser Schritt ist noch nicht übersetzt. Hilf mit, ihn zu übersetzen!
-
Place back the side panel and attach the screws in their proper spaces.
-
Place the computer upright.
-
-
Dieser Schritt ist noch nicht übersetzt. Hilf mit, ihn zu übersetzen!
-
Attach the power cord and plug it in.
-
Change the power switch to “on” position.
-


Rückgängig: Ich habe diese Anleitung nicht absolviert.
3 weitere Nutzer:innen haben diese Anleitung absolviert.
Team

York University, Team S16-G2, Turner Winter 2021 Mitglied von York University, Team S16-G2, Turner Winter 2021
YORK-TURNER-W21S16G2
3 Mitglieder
2 Anleitungen geschrieben